01/29/2015
building a table | pt. 1
I just moved into an off-campus apartment in Atlanta. I bought a bed from Ikea, the closet came with a shelving unit, but I didn't see any desks I particularly liked or could afford. My parents had one or two desks with tops I could have resized, but I wasn't particularly fond of the surface finishes, and I thought it'd be fun to get my hands dusty and build my own on the cheap. I had seen lots of people around the internet doing stuff with pallets, so I decided to see what all the rage was.
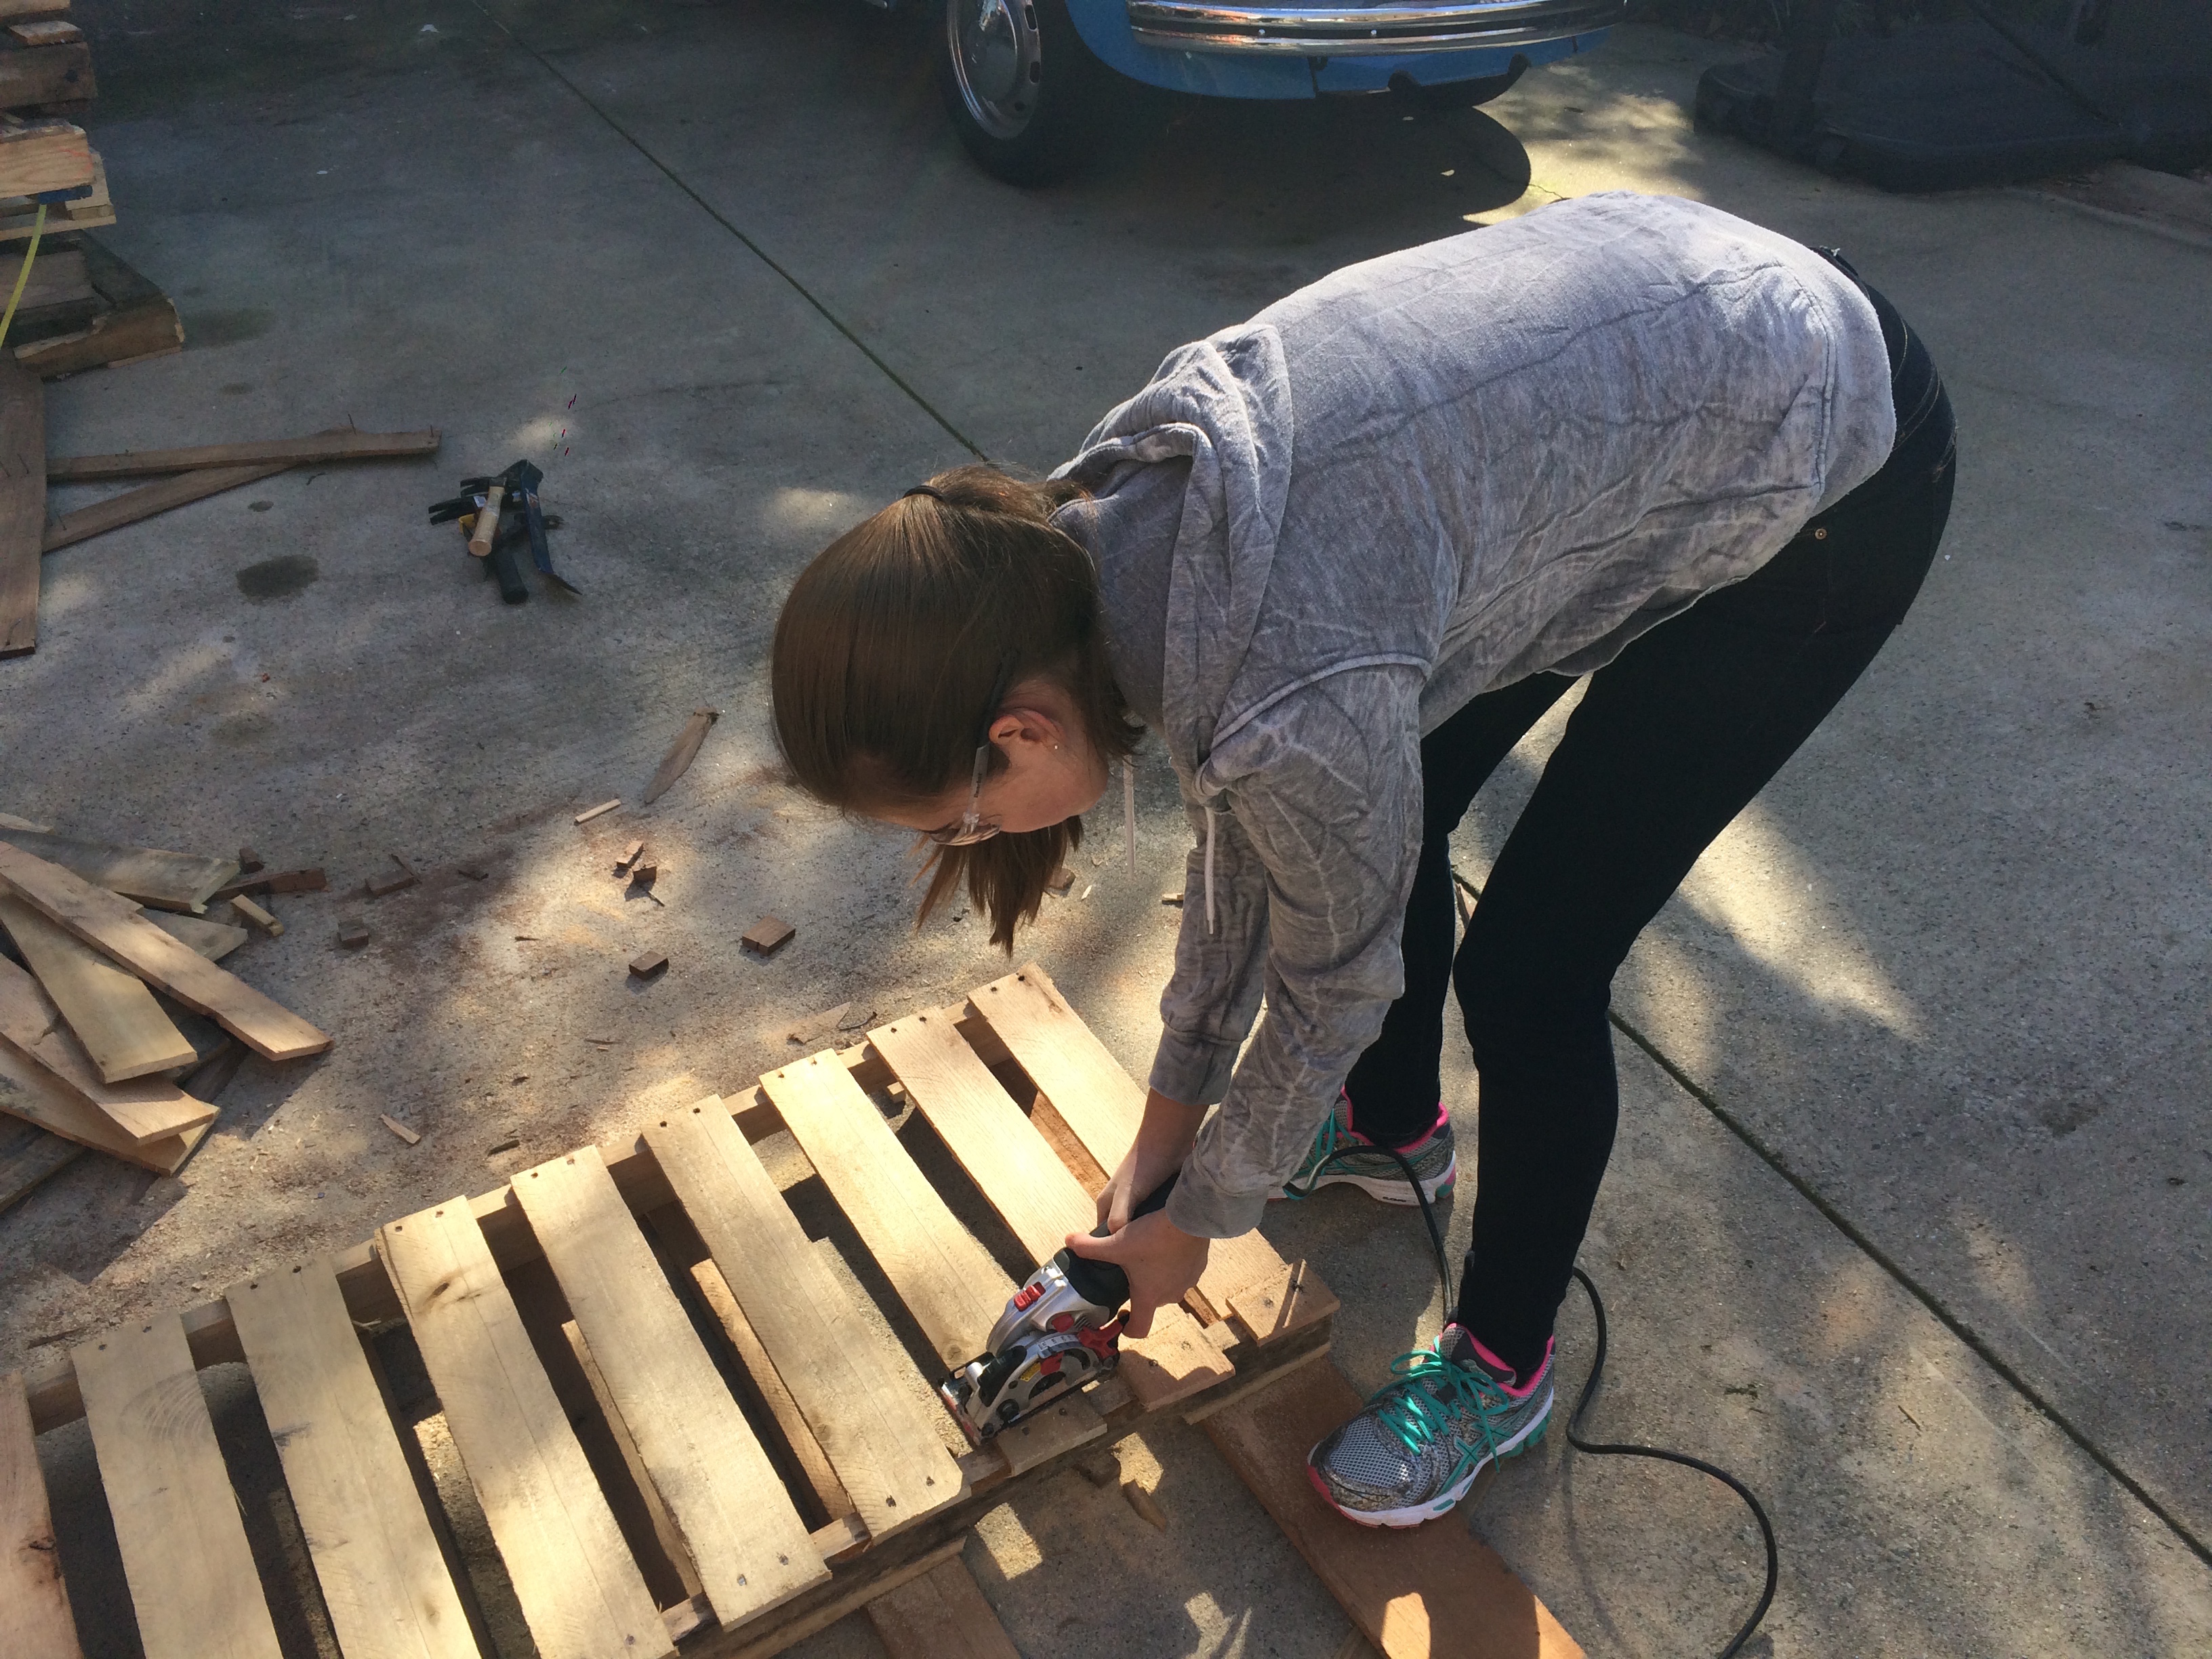
My girlfriend and I searched around campus a few weeks ago in various dumpsters and managed to fill up the back of my Dad's car with 10 clean, dry pallets. The next weekend we got them home and started processing the pallets into useable wood. We tried a few times to use a crowbar to get the cross members off and remove the nails, but most of the boards were cracking unless we pried up each nail slowly. We took an alternative approach and cut the planks out on either side of the braces.
I wanted to take a different, more aesthetically pleasing approach to pallet projects. Instead of using the bare pallets as supports, and using the entire width of the wood as the surface, I wanted to create more of a butcher-block look. To this, I needed to process the wood down into thin strips of equal height and equal thickness.
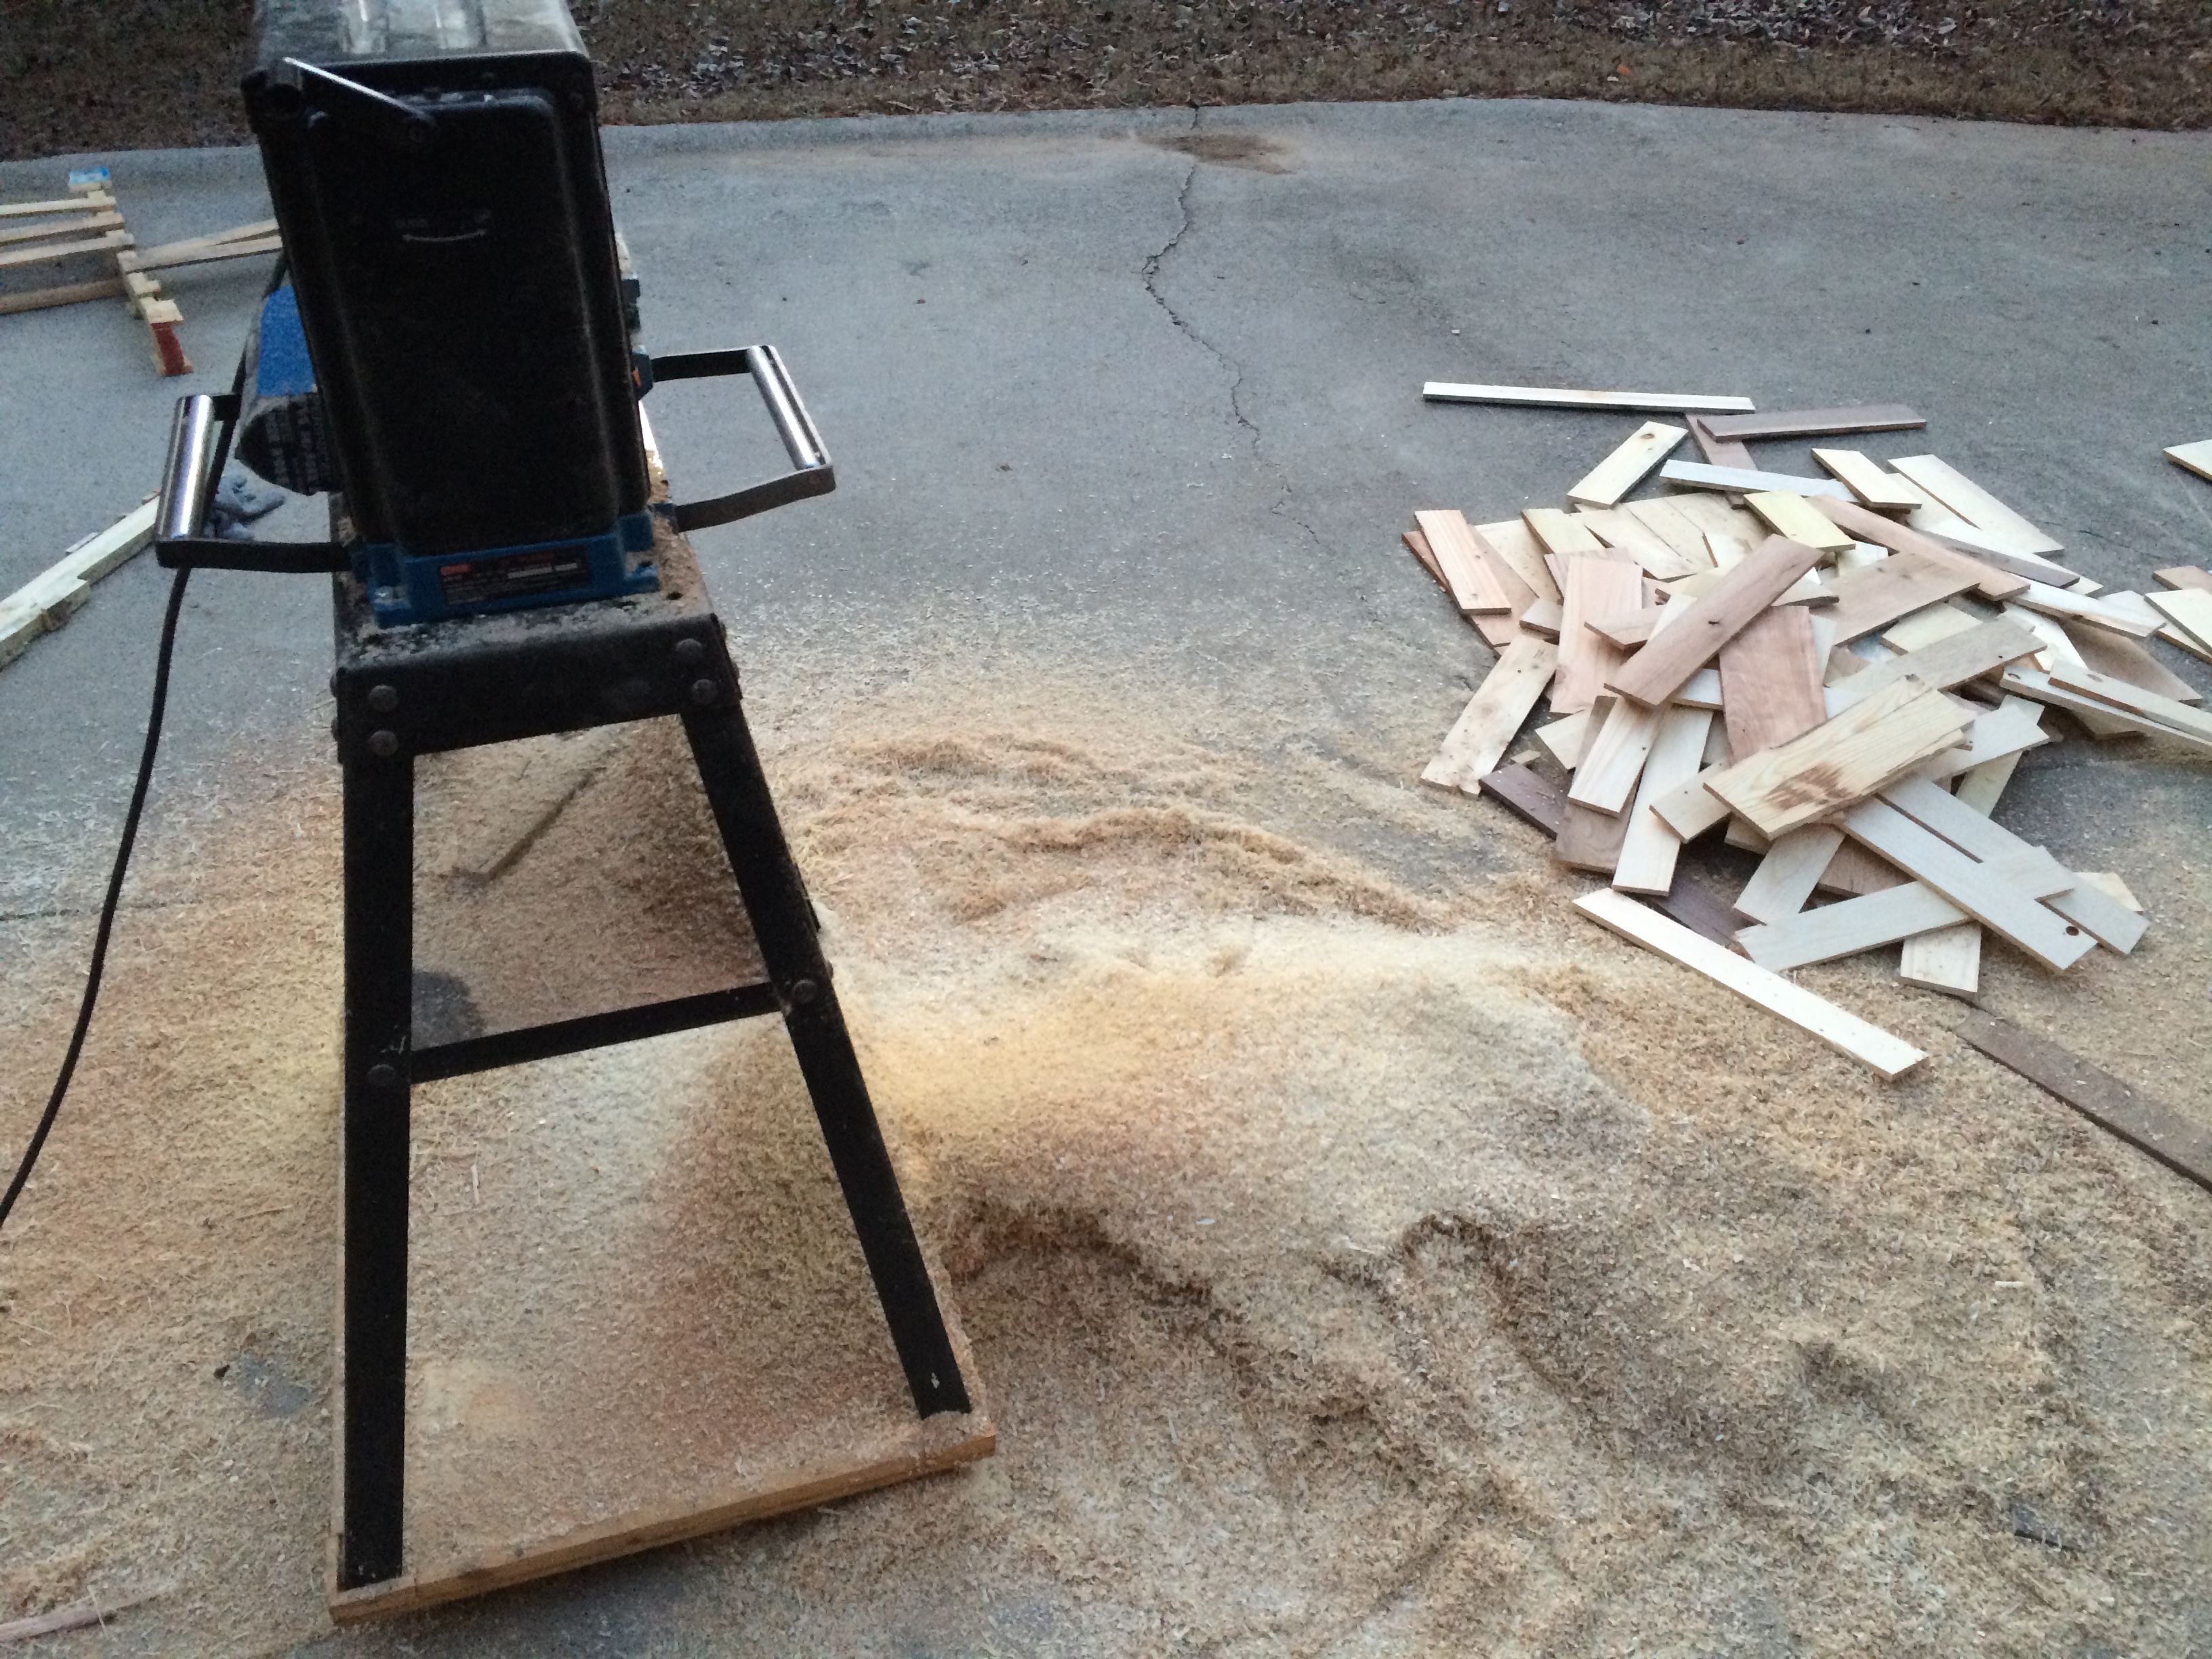
A generous neighbor lent me his planer. I ripped everything down to just shy of 3/8". I was changing the height of the planer so frequently, I wanted to do a last pass at exactly 3/8" on every plank without changing the height. As a side note, planers are awesome. It took super gross wood and turned it into wood I could have bought from a lumber supply company. It was kind of cathartic actually. Look at all the beautiful wood!
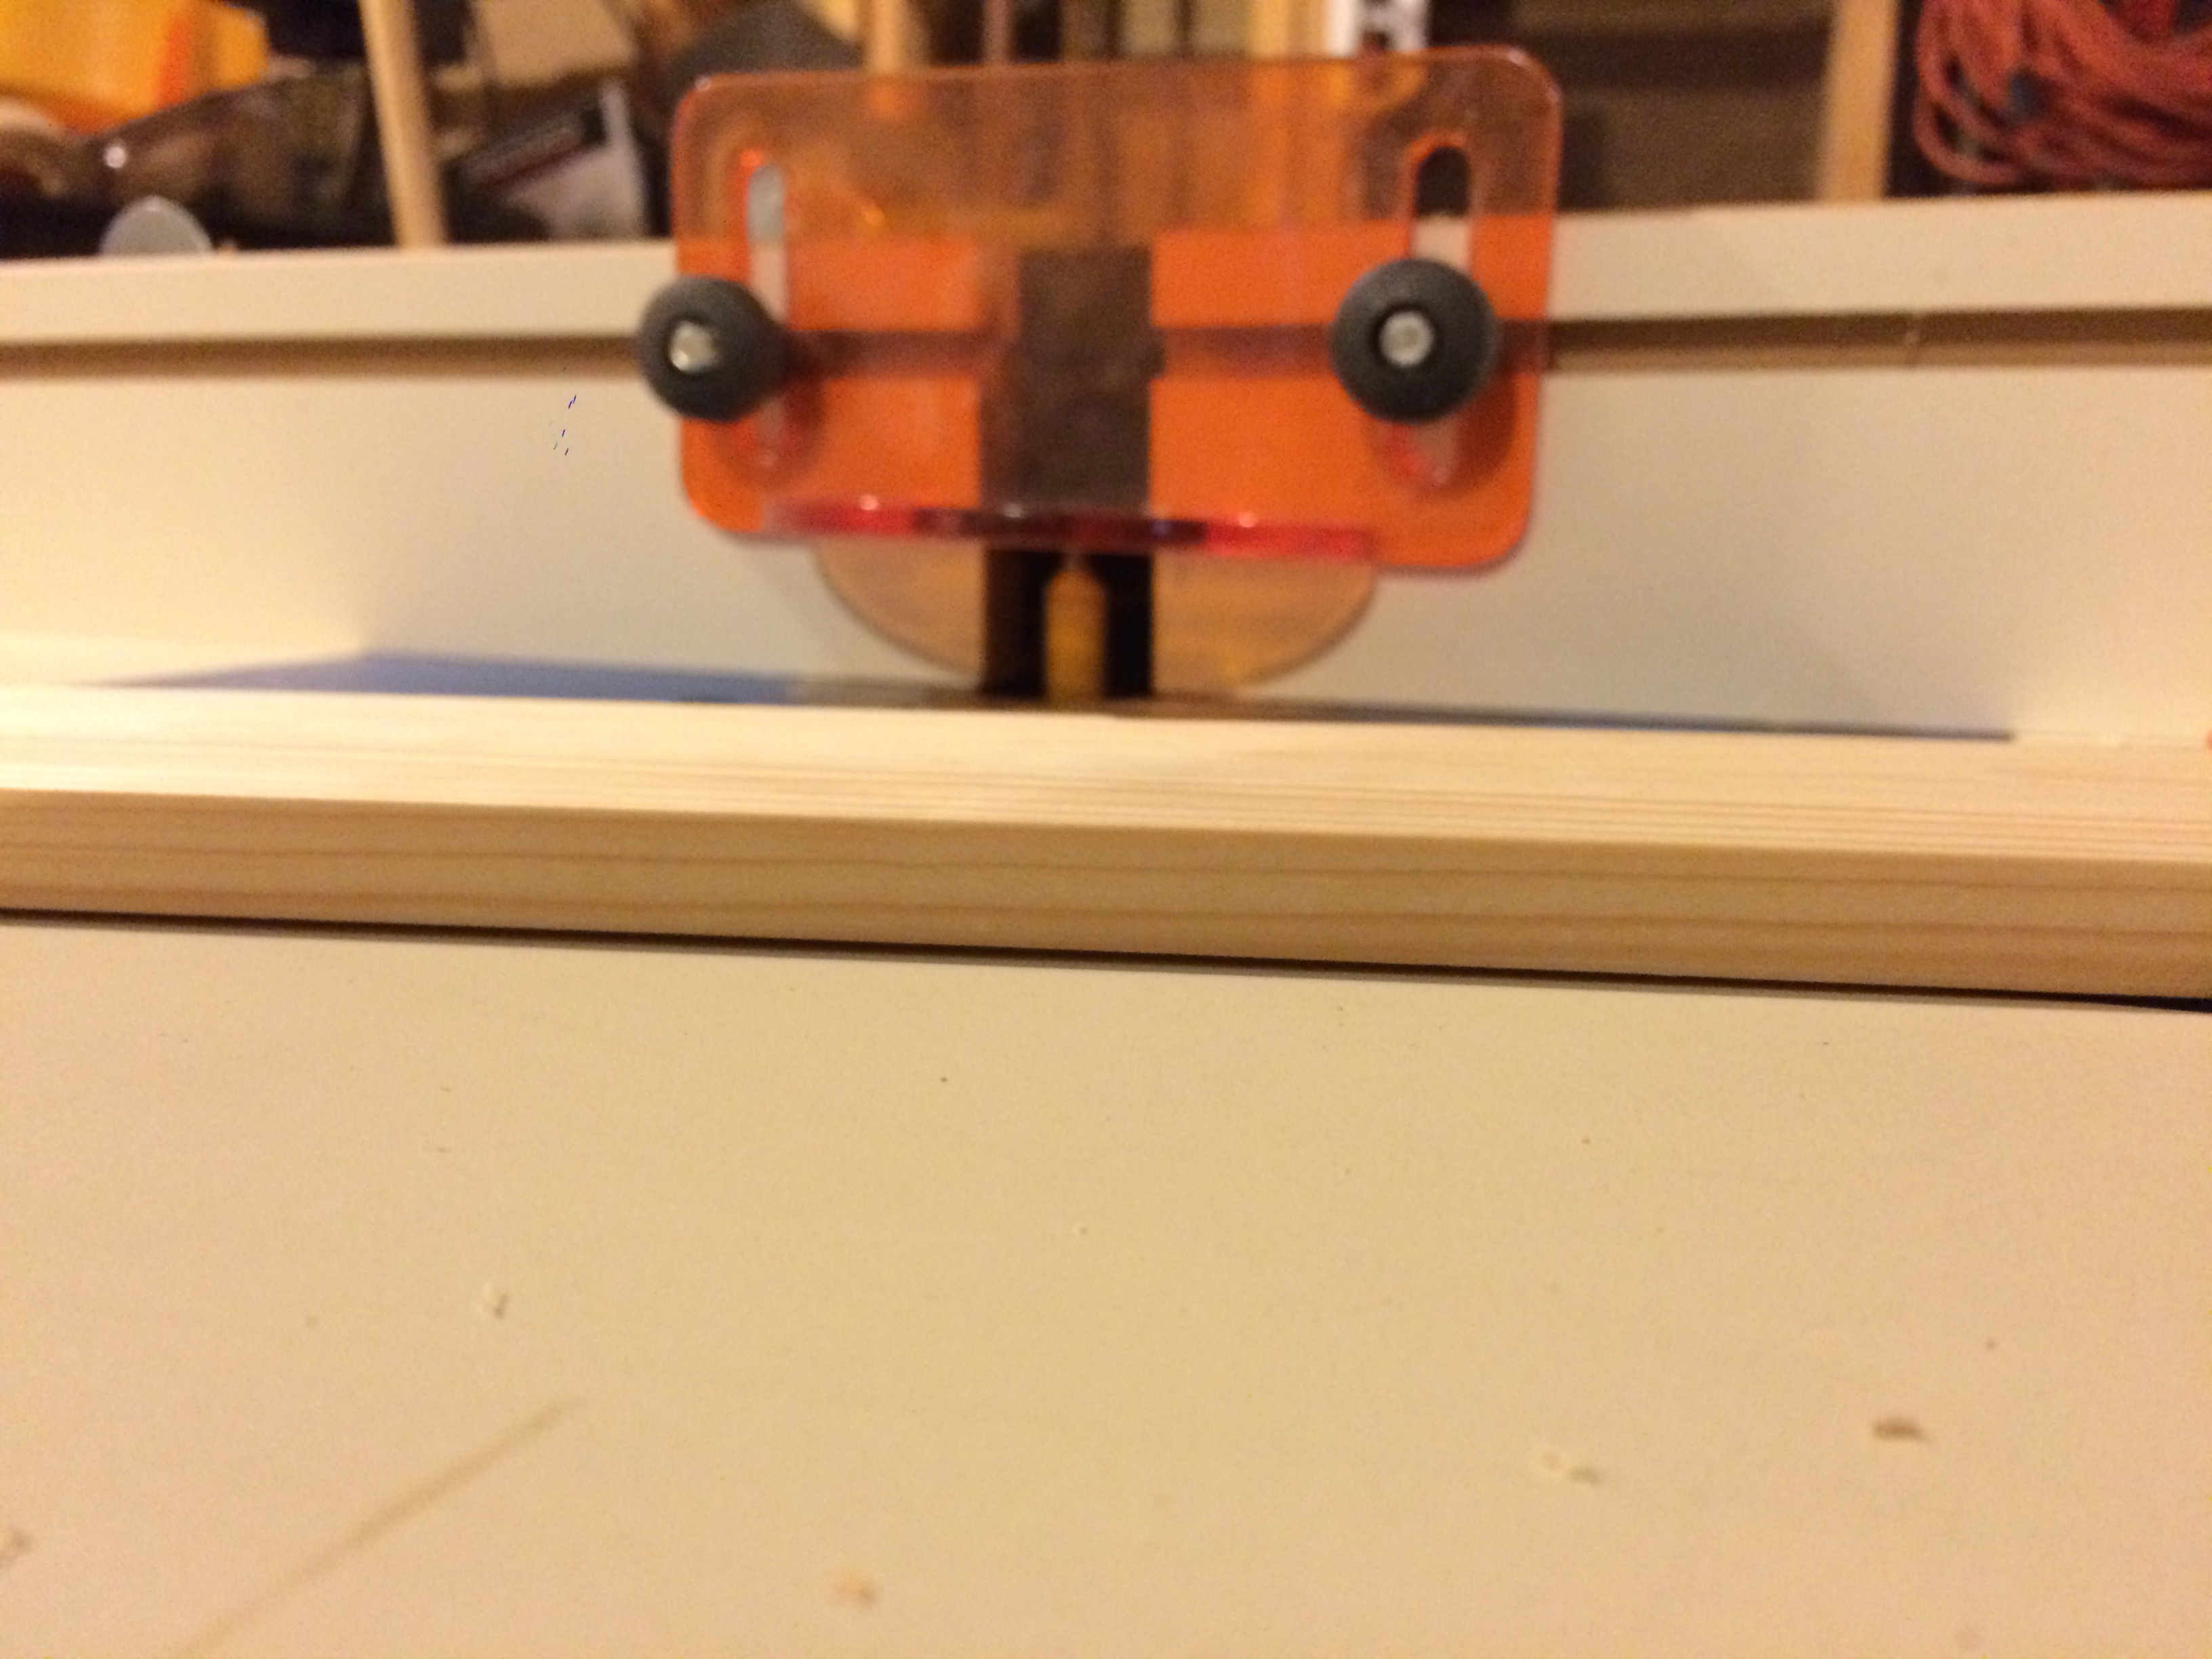
Next, I needed to rip each piece into 1 1/4" wide strips. I could have used the table saw to rip an edge on each of them, but it would have taken lots of adjusting of the saw. Instead, my father showed me a trick on the router table. We used some washers to offset the output-side of the router forward from the feed-side. The output-side guide was aligned with the outside of the straight router bit, while the feed-side guide was slightly behind it. When a piece of wood is passed through the router table, a slight amount of material is taken off the side of the piece, and the new edge rests up against the output-side fence. This prevents the piece from teetering on the bit. It's basically a router table set up as a joiner. After a pass or two through the router an edge that looked like this:
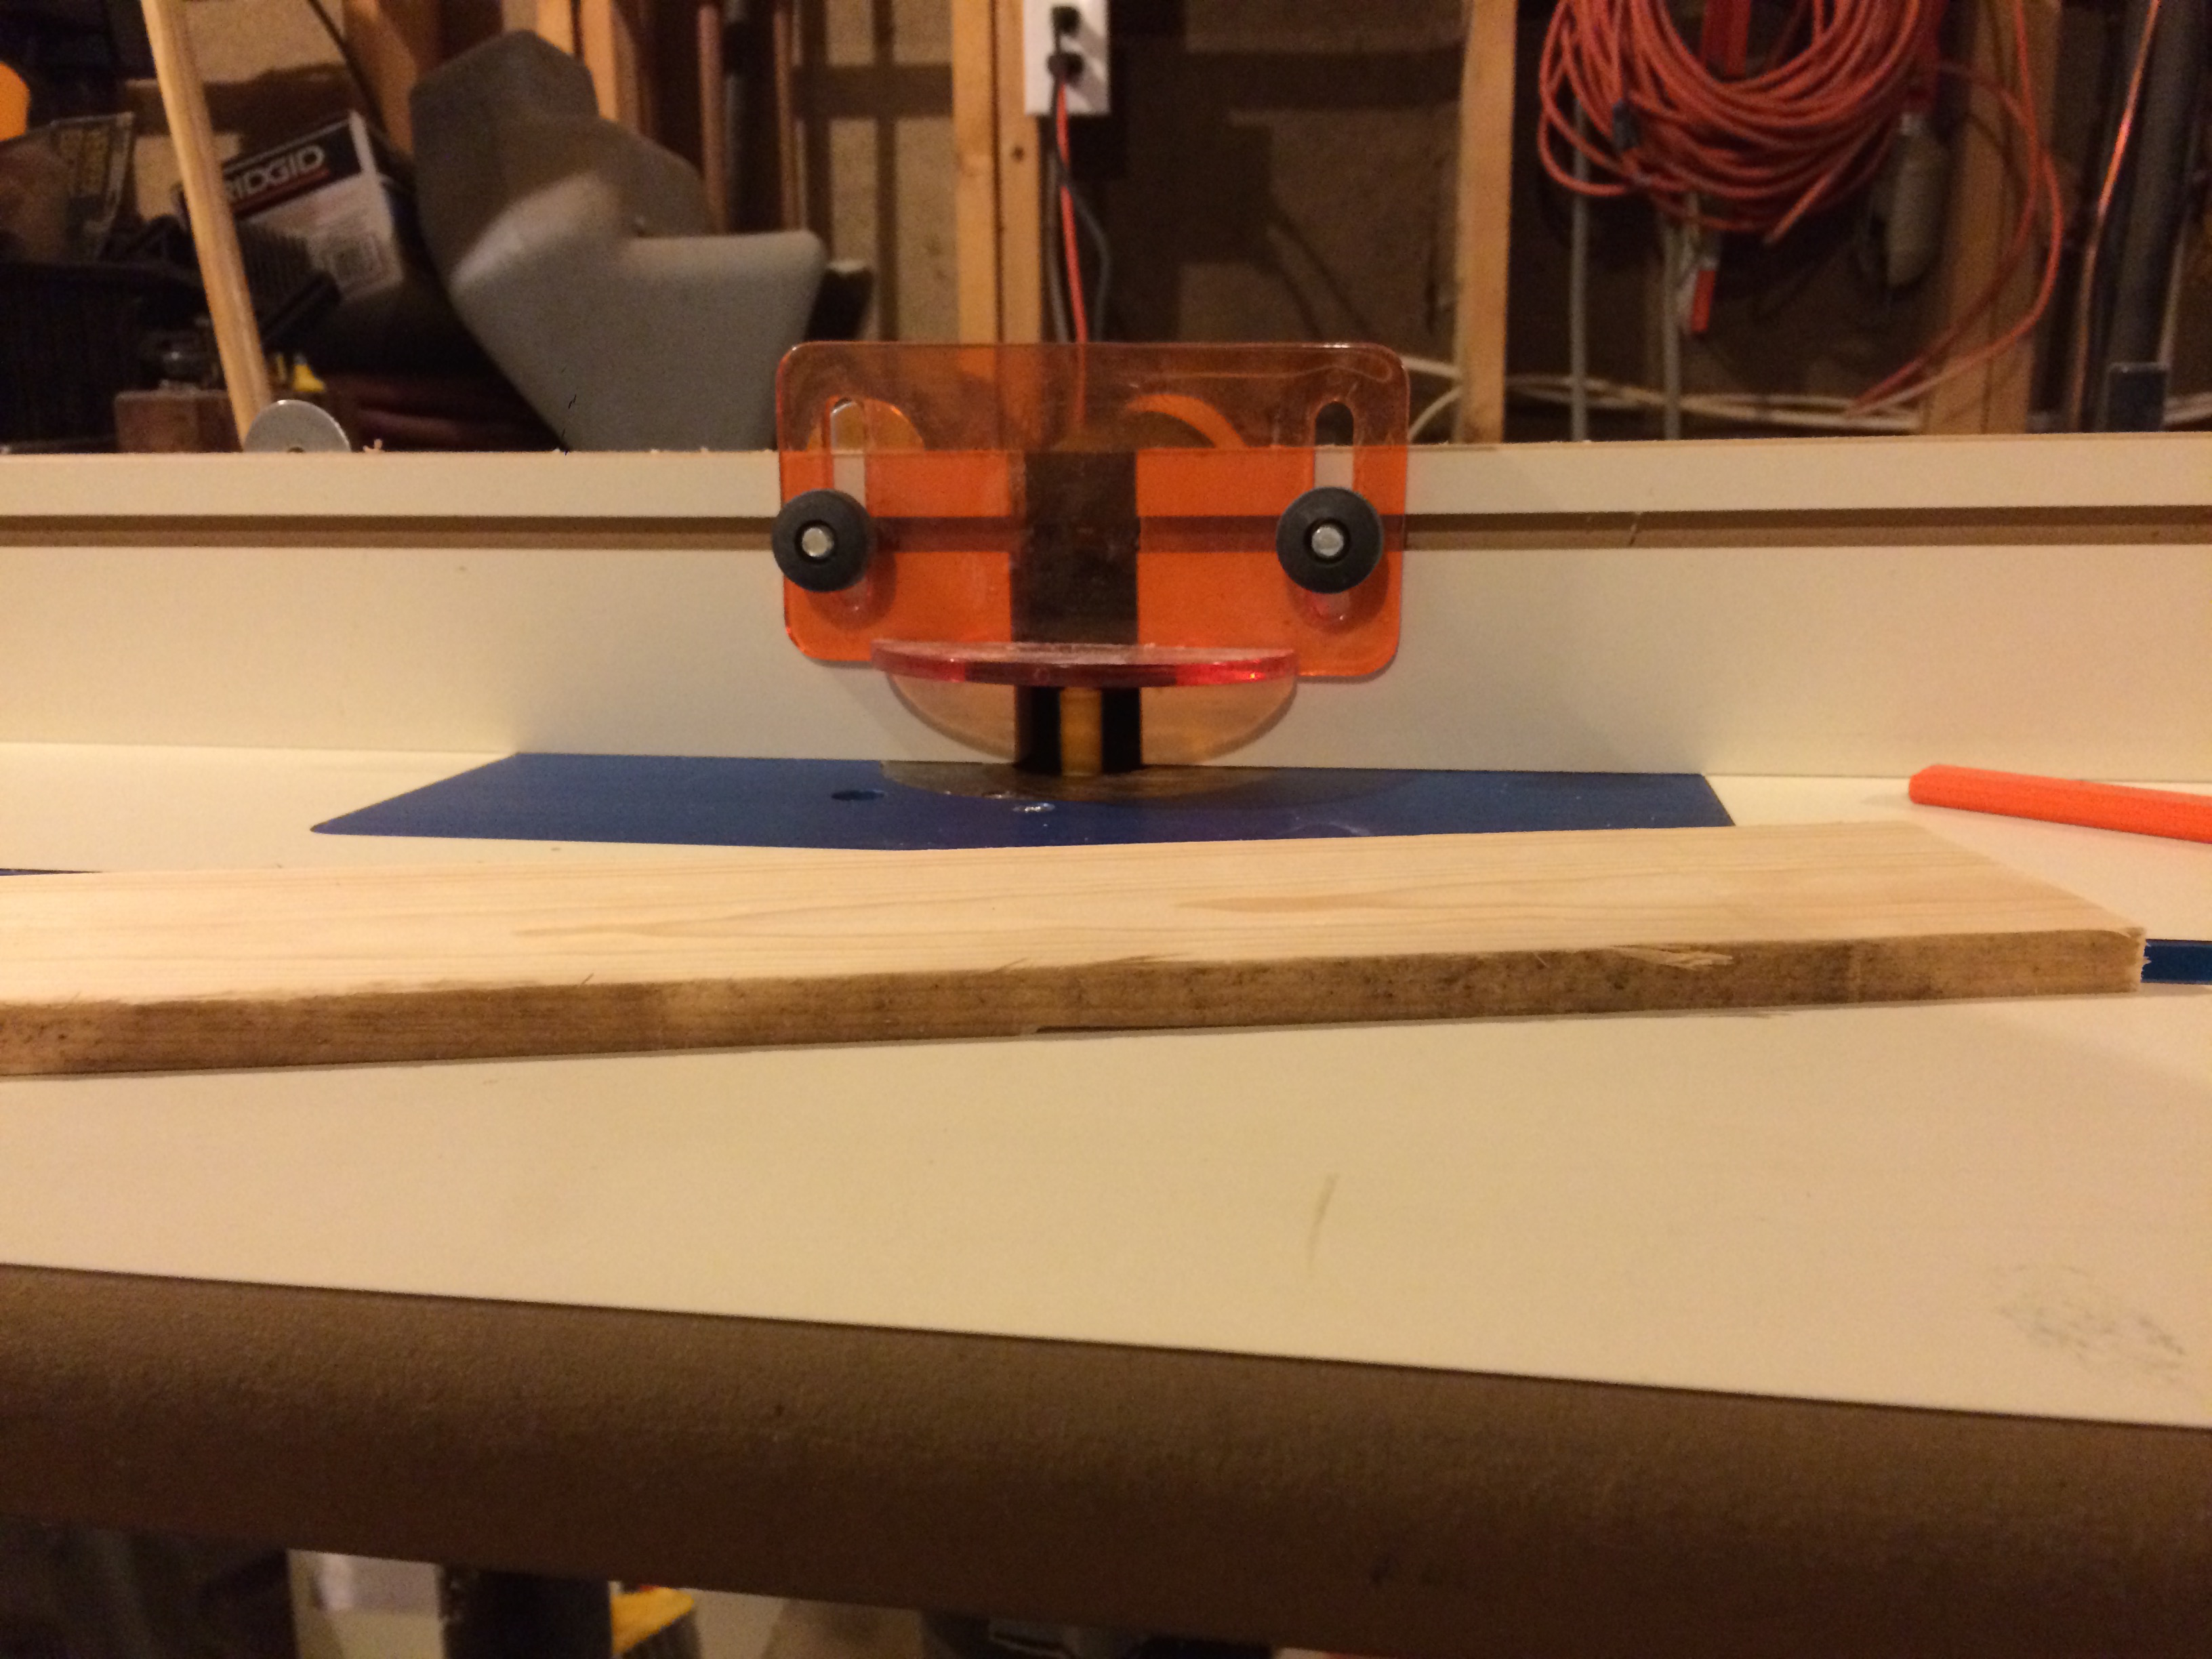
Looks like this:
With this perfect edge, it was easy to keep the table saw set up at 1 1/4" to rip each plank into strips. All that was left was to square the edges off with a miter saw. Here's what the wood looked like at this point. (Shout out to Dad and Valerie for their crazy amount of help.)
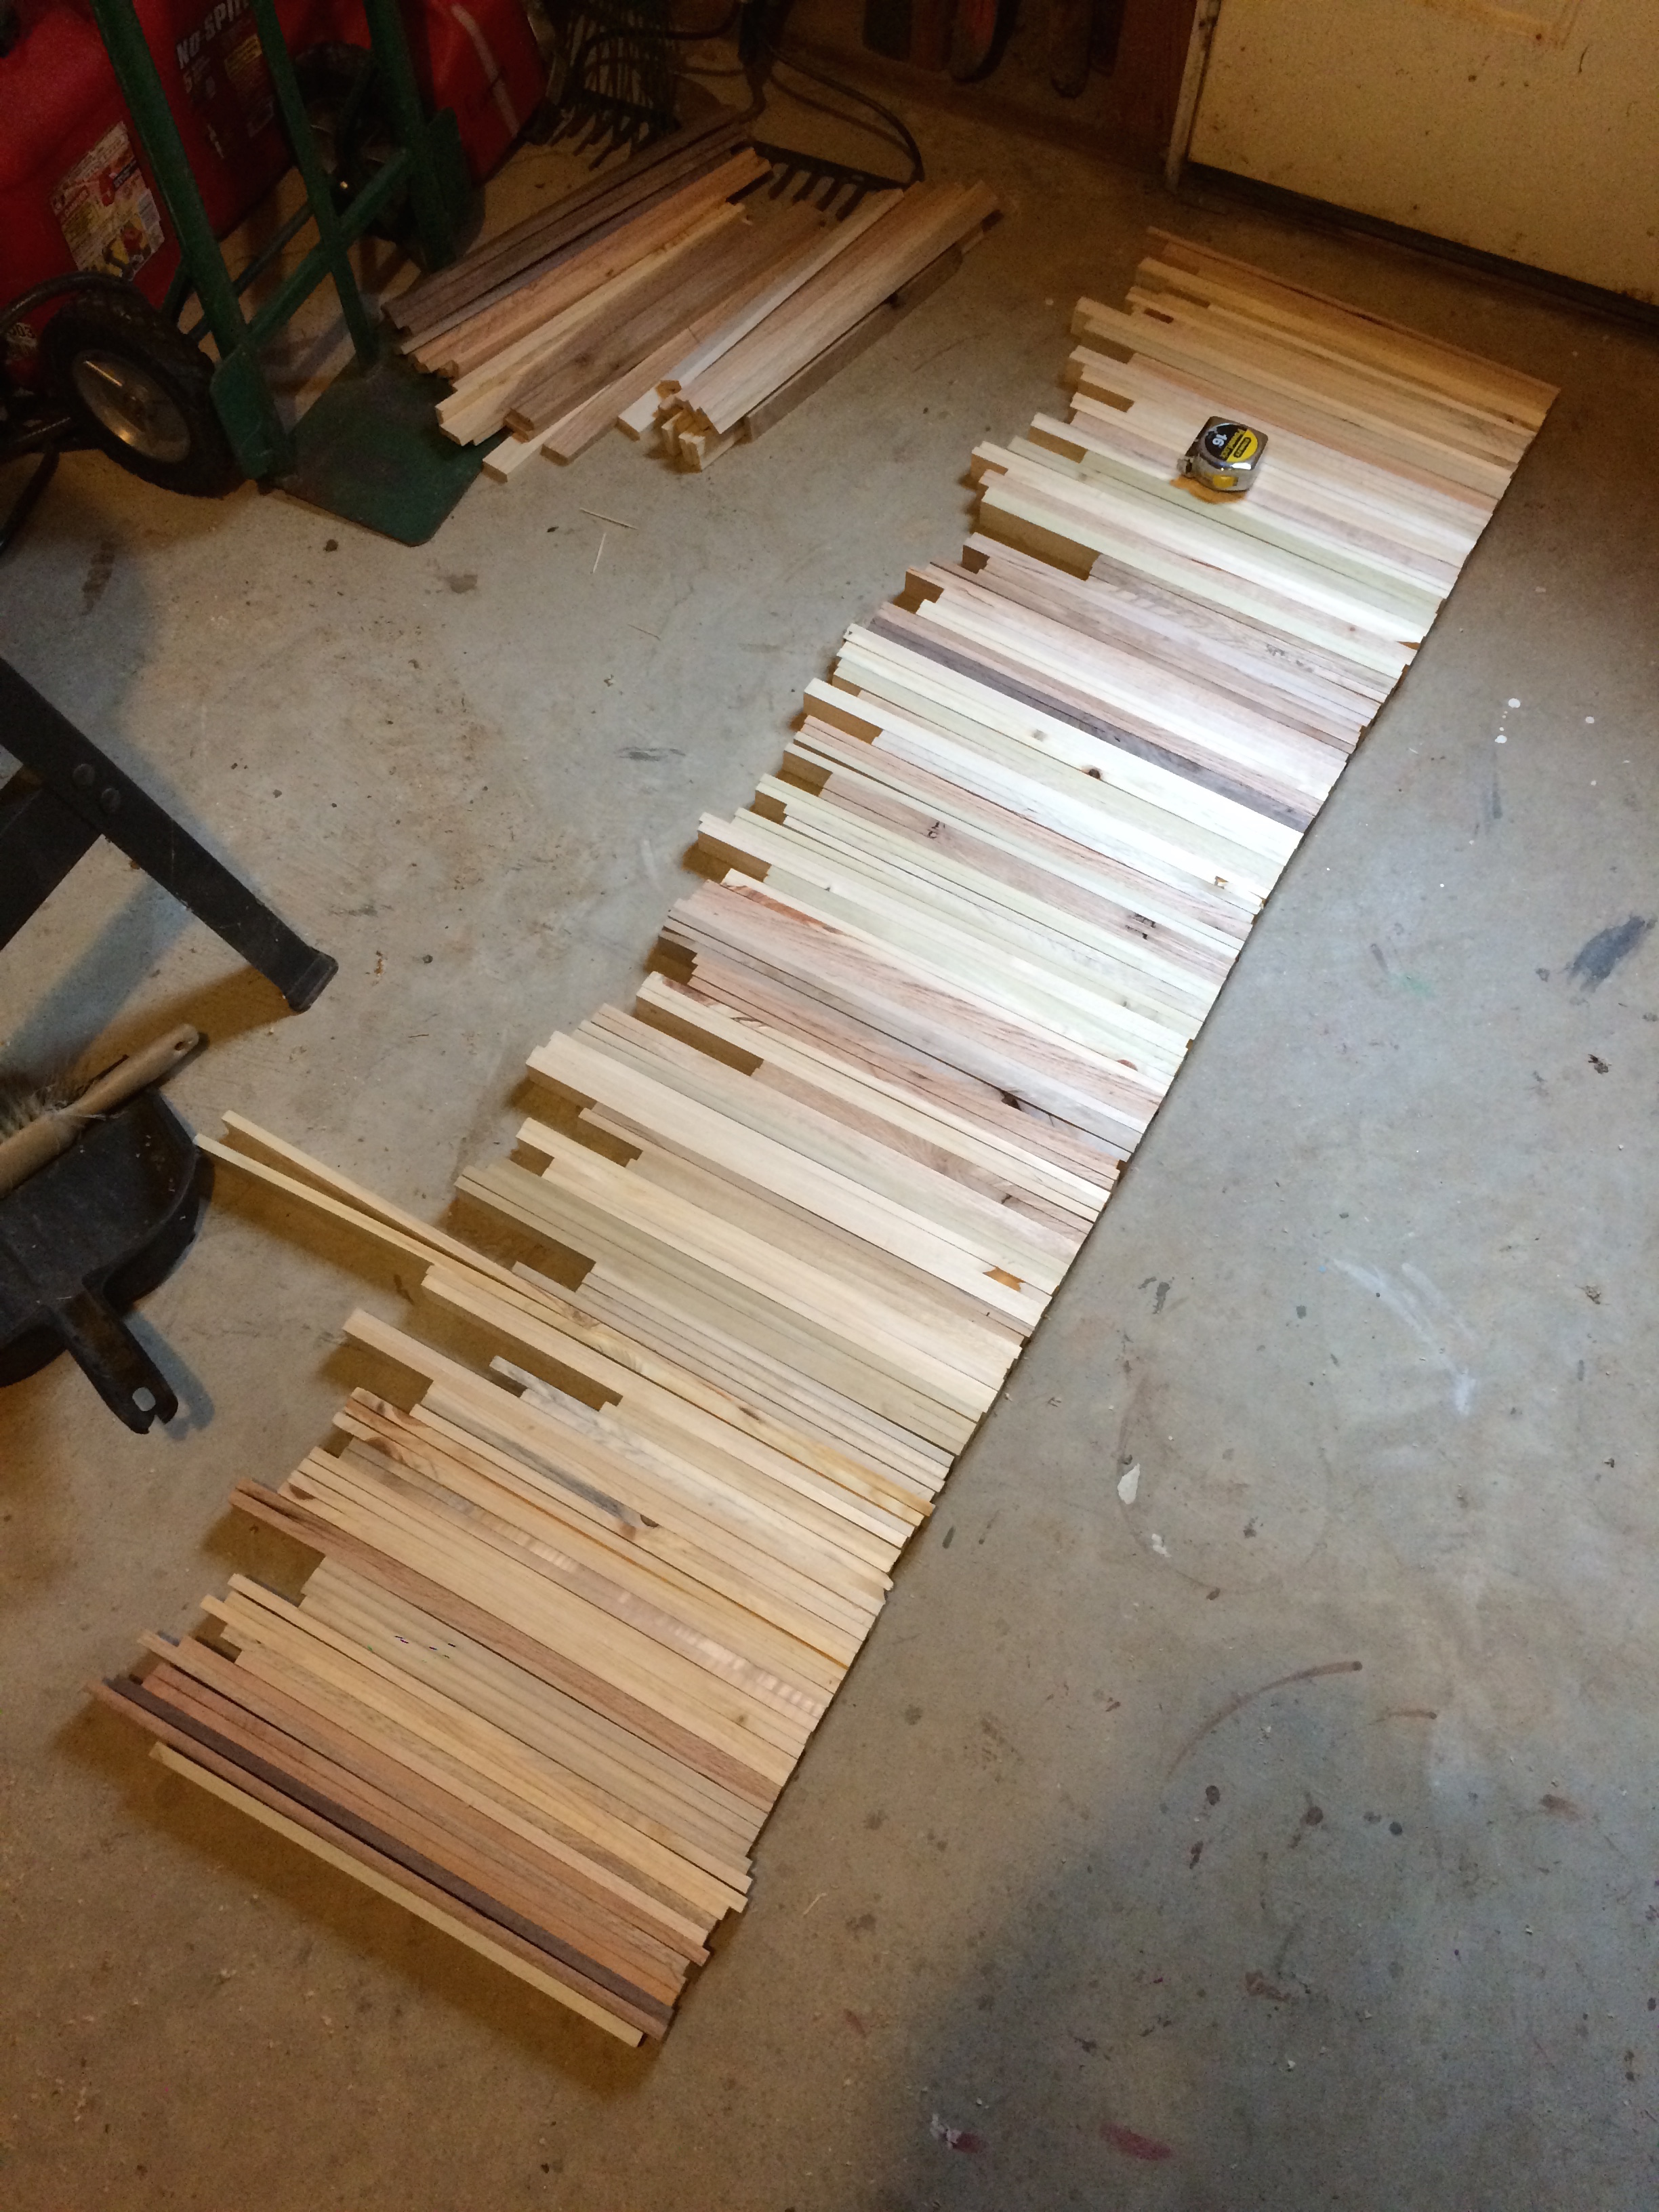
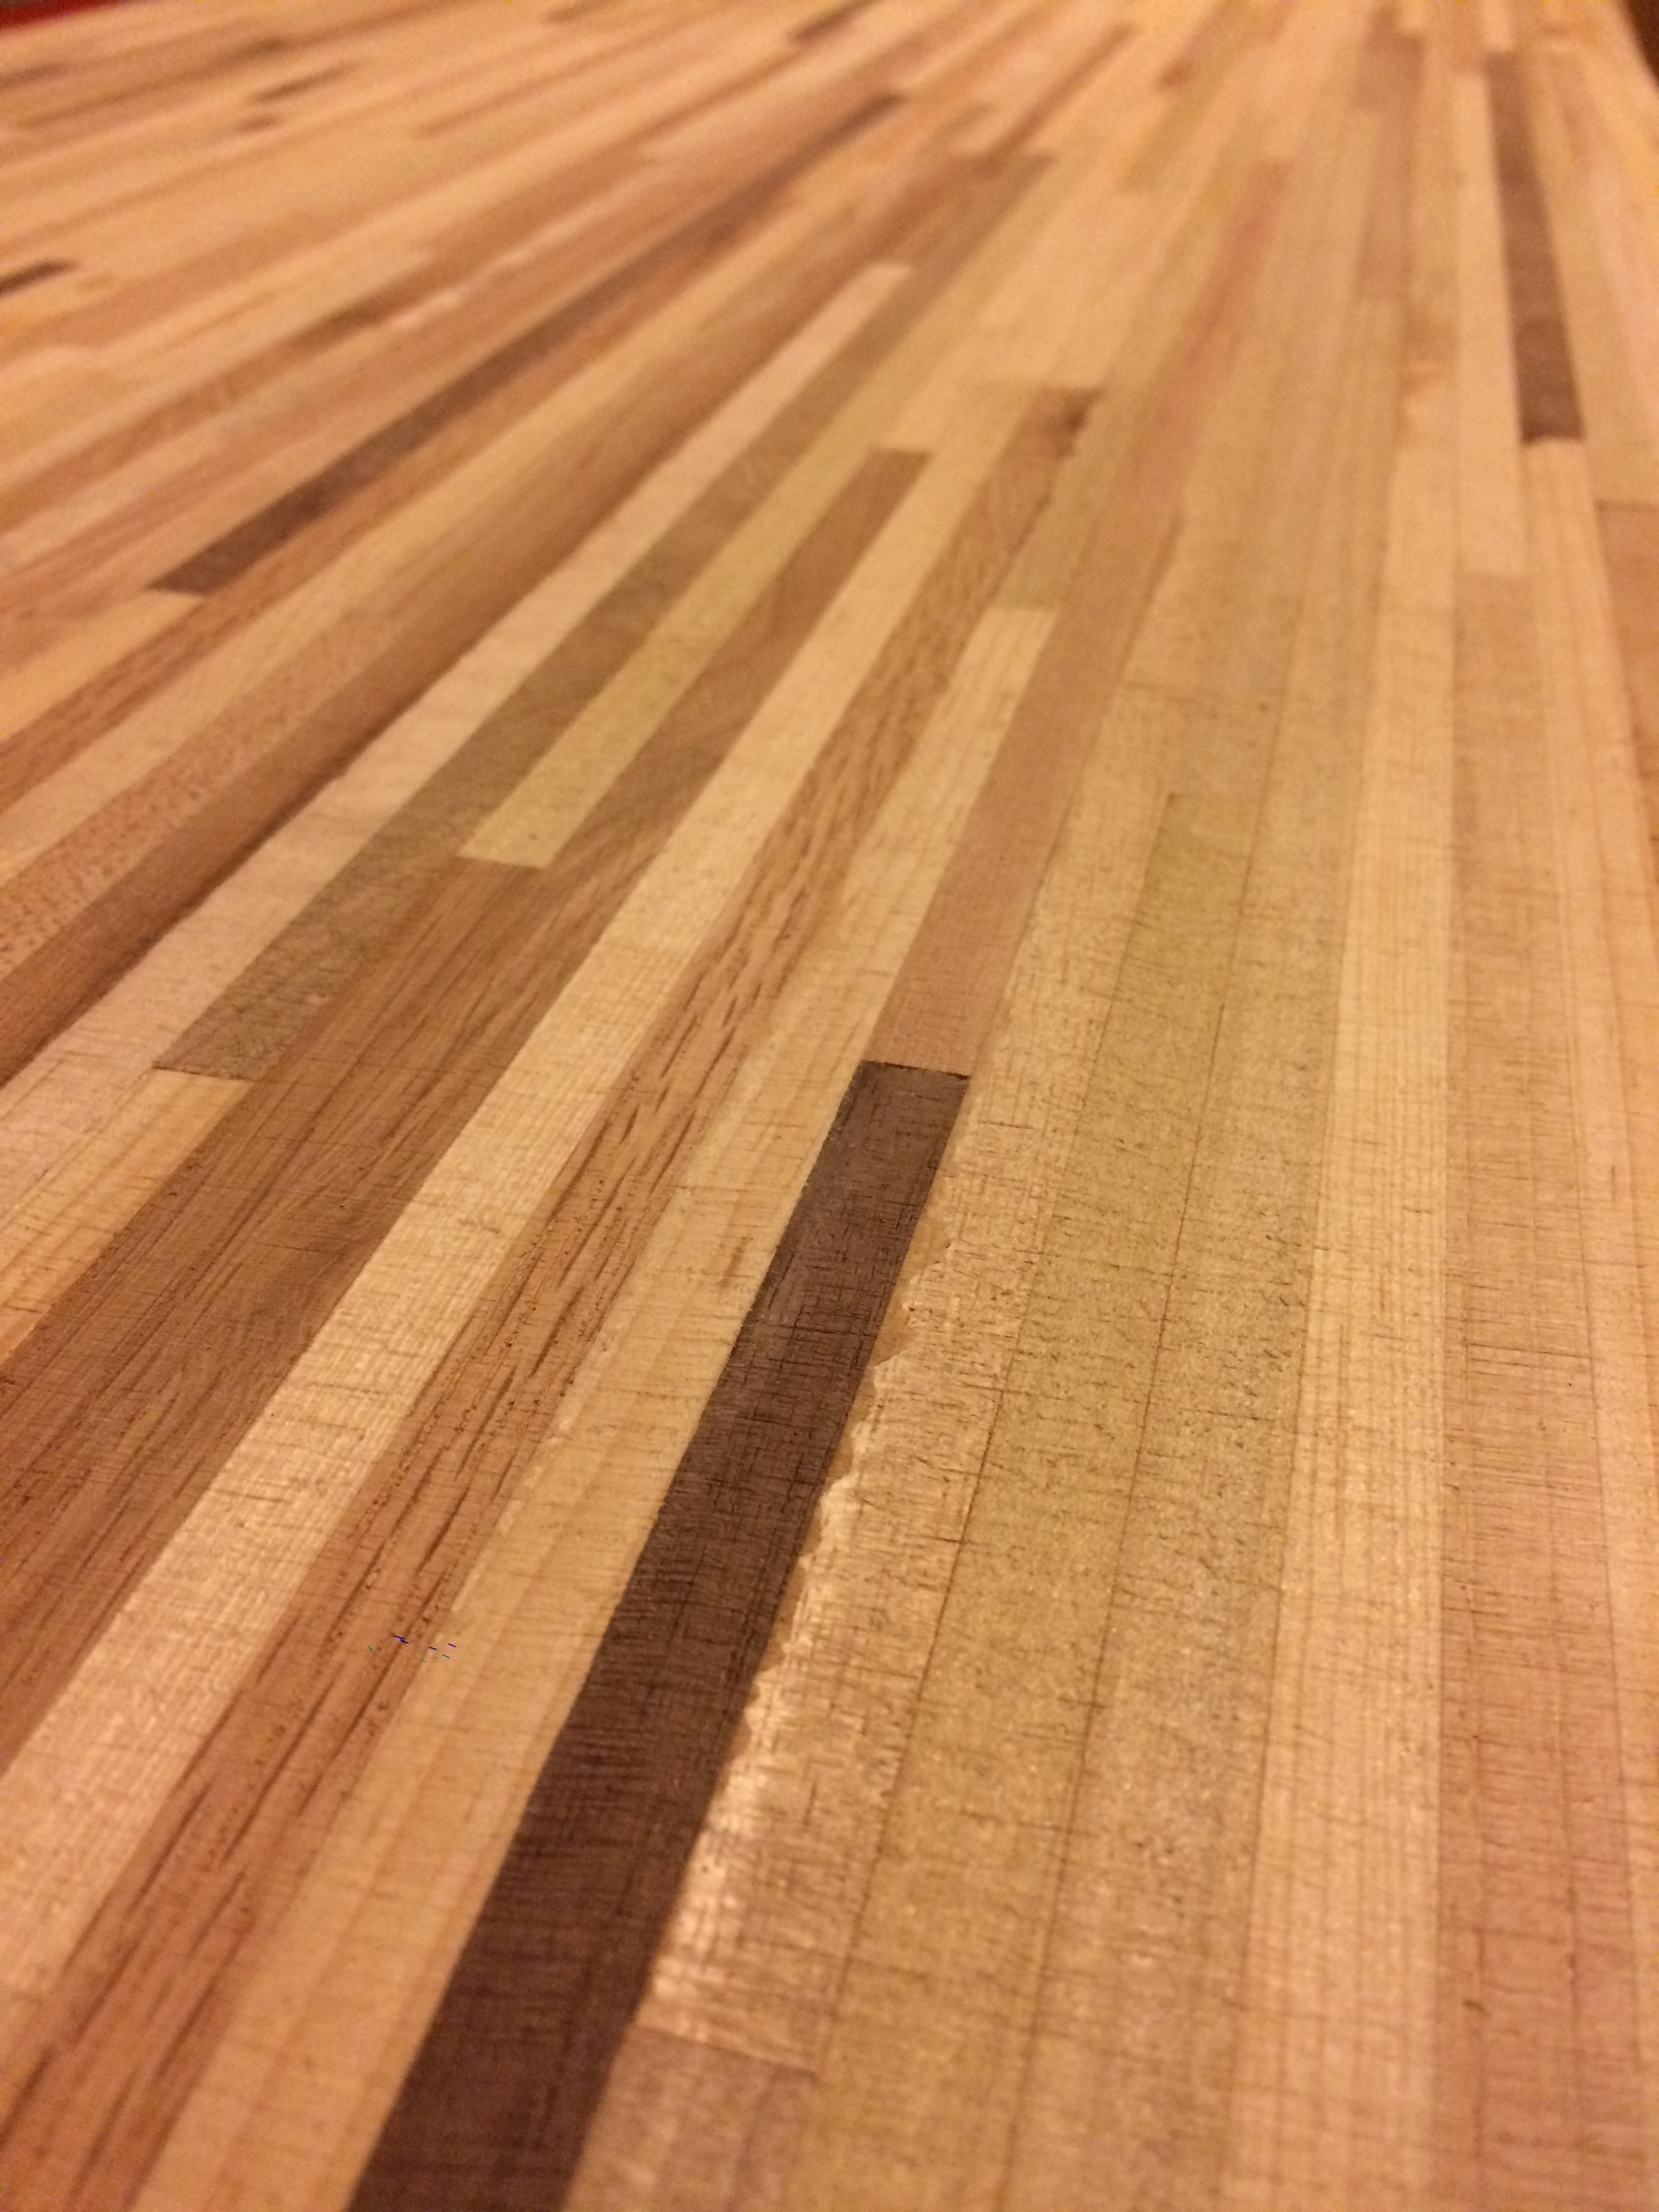
We then spent a little while figuring out how we wanted the desk to look. I had some darker pieces (which I think are Ash, not sure), so I put those at a somewhat even number of rows away from another to add some nice accents to the desk.
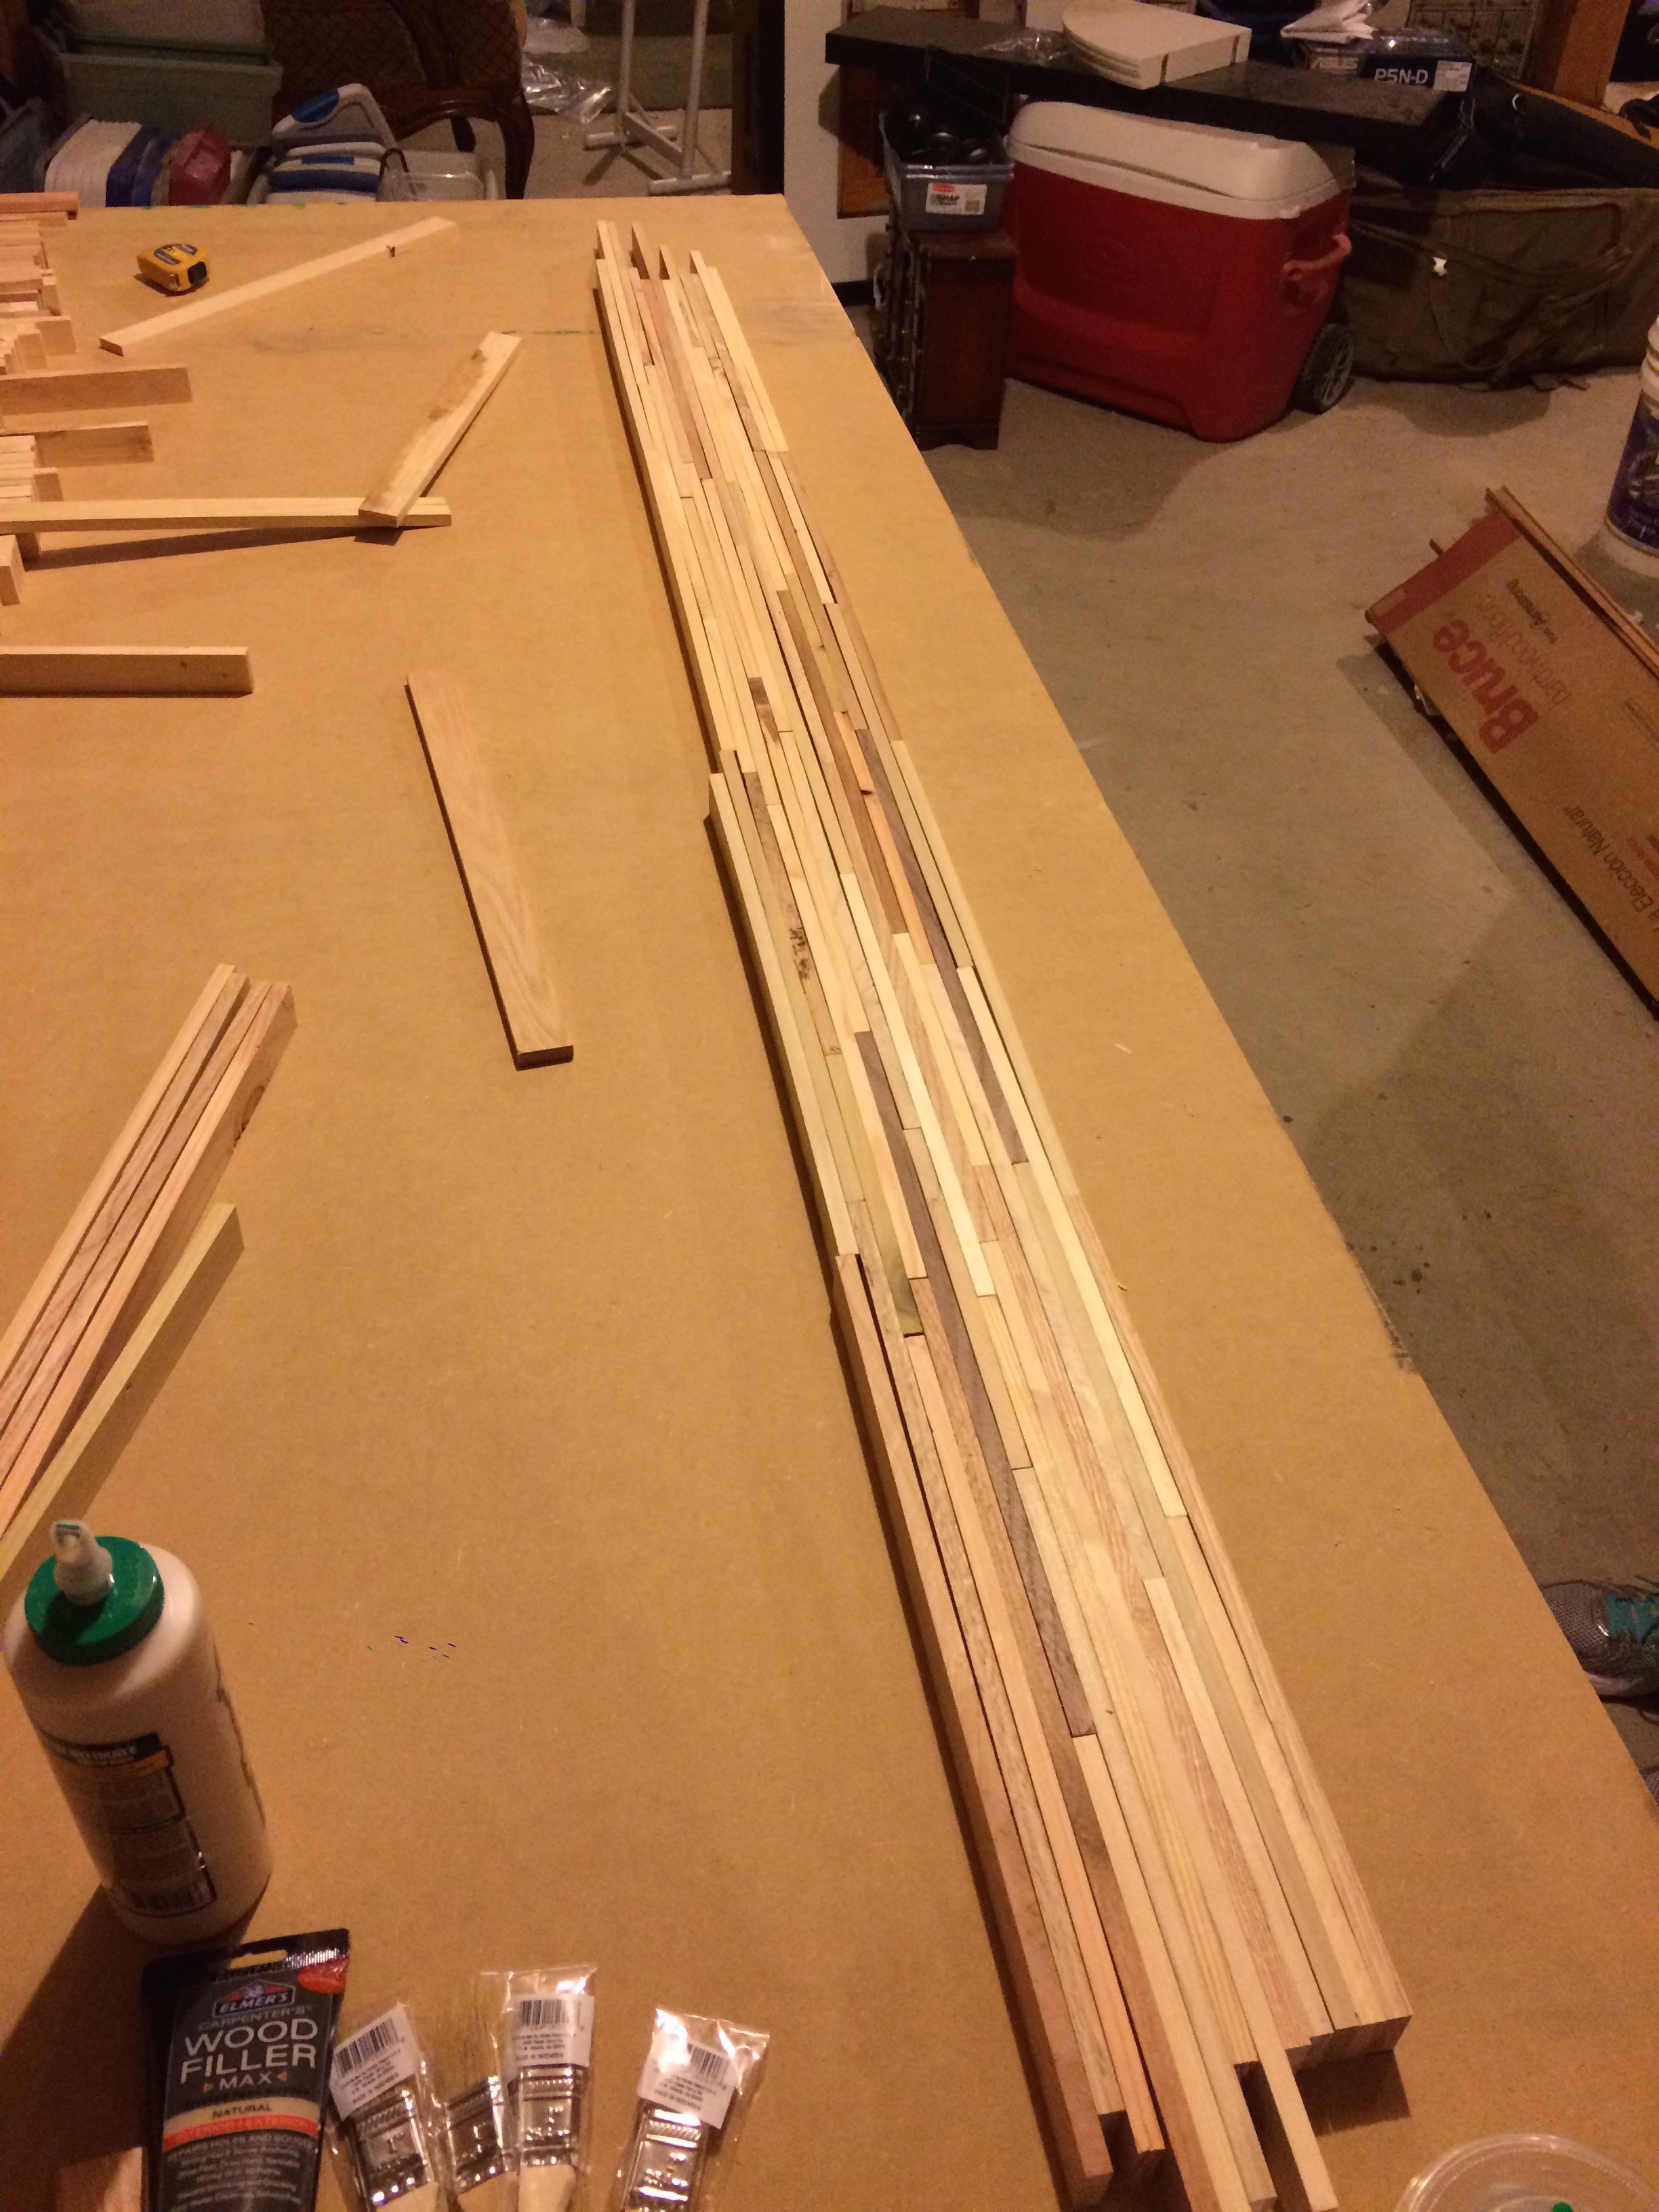
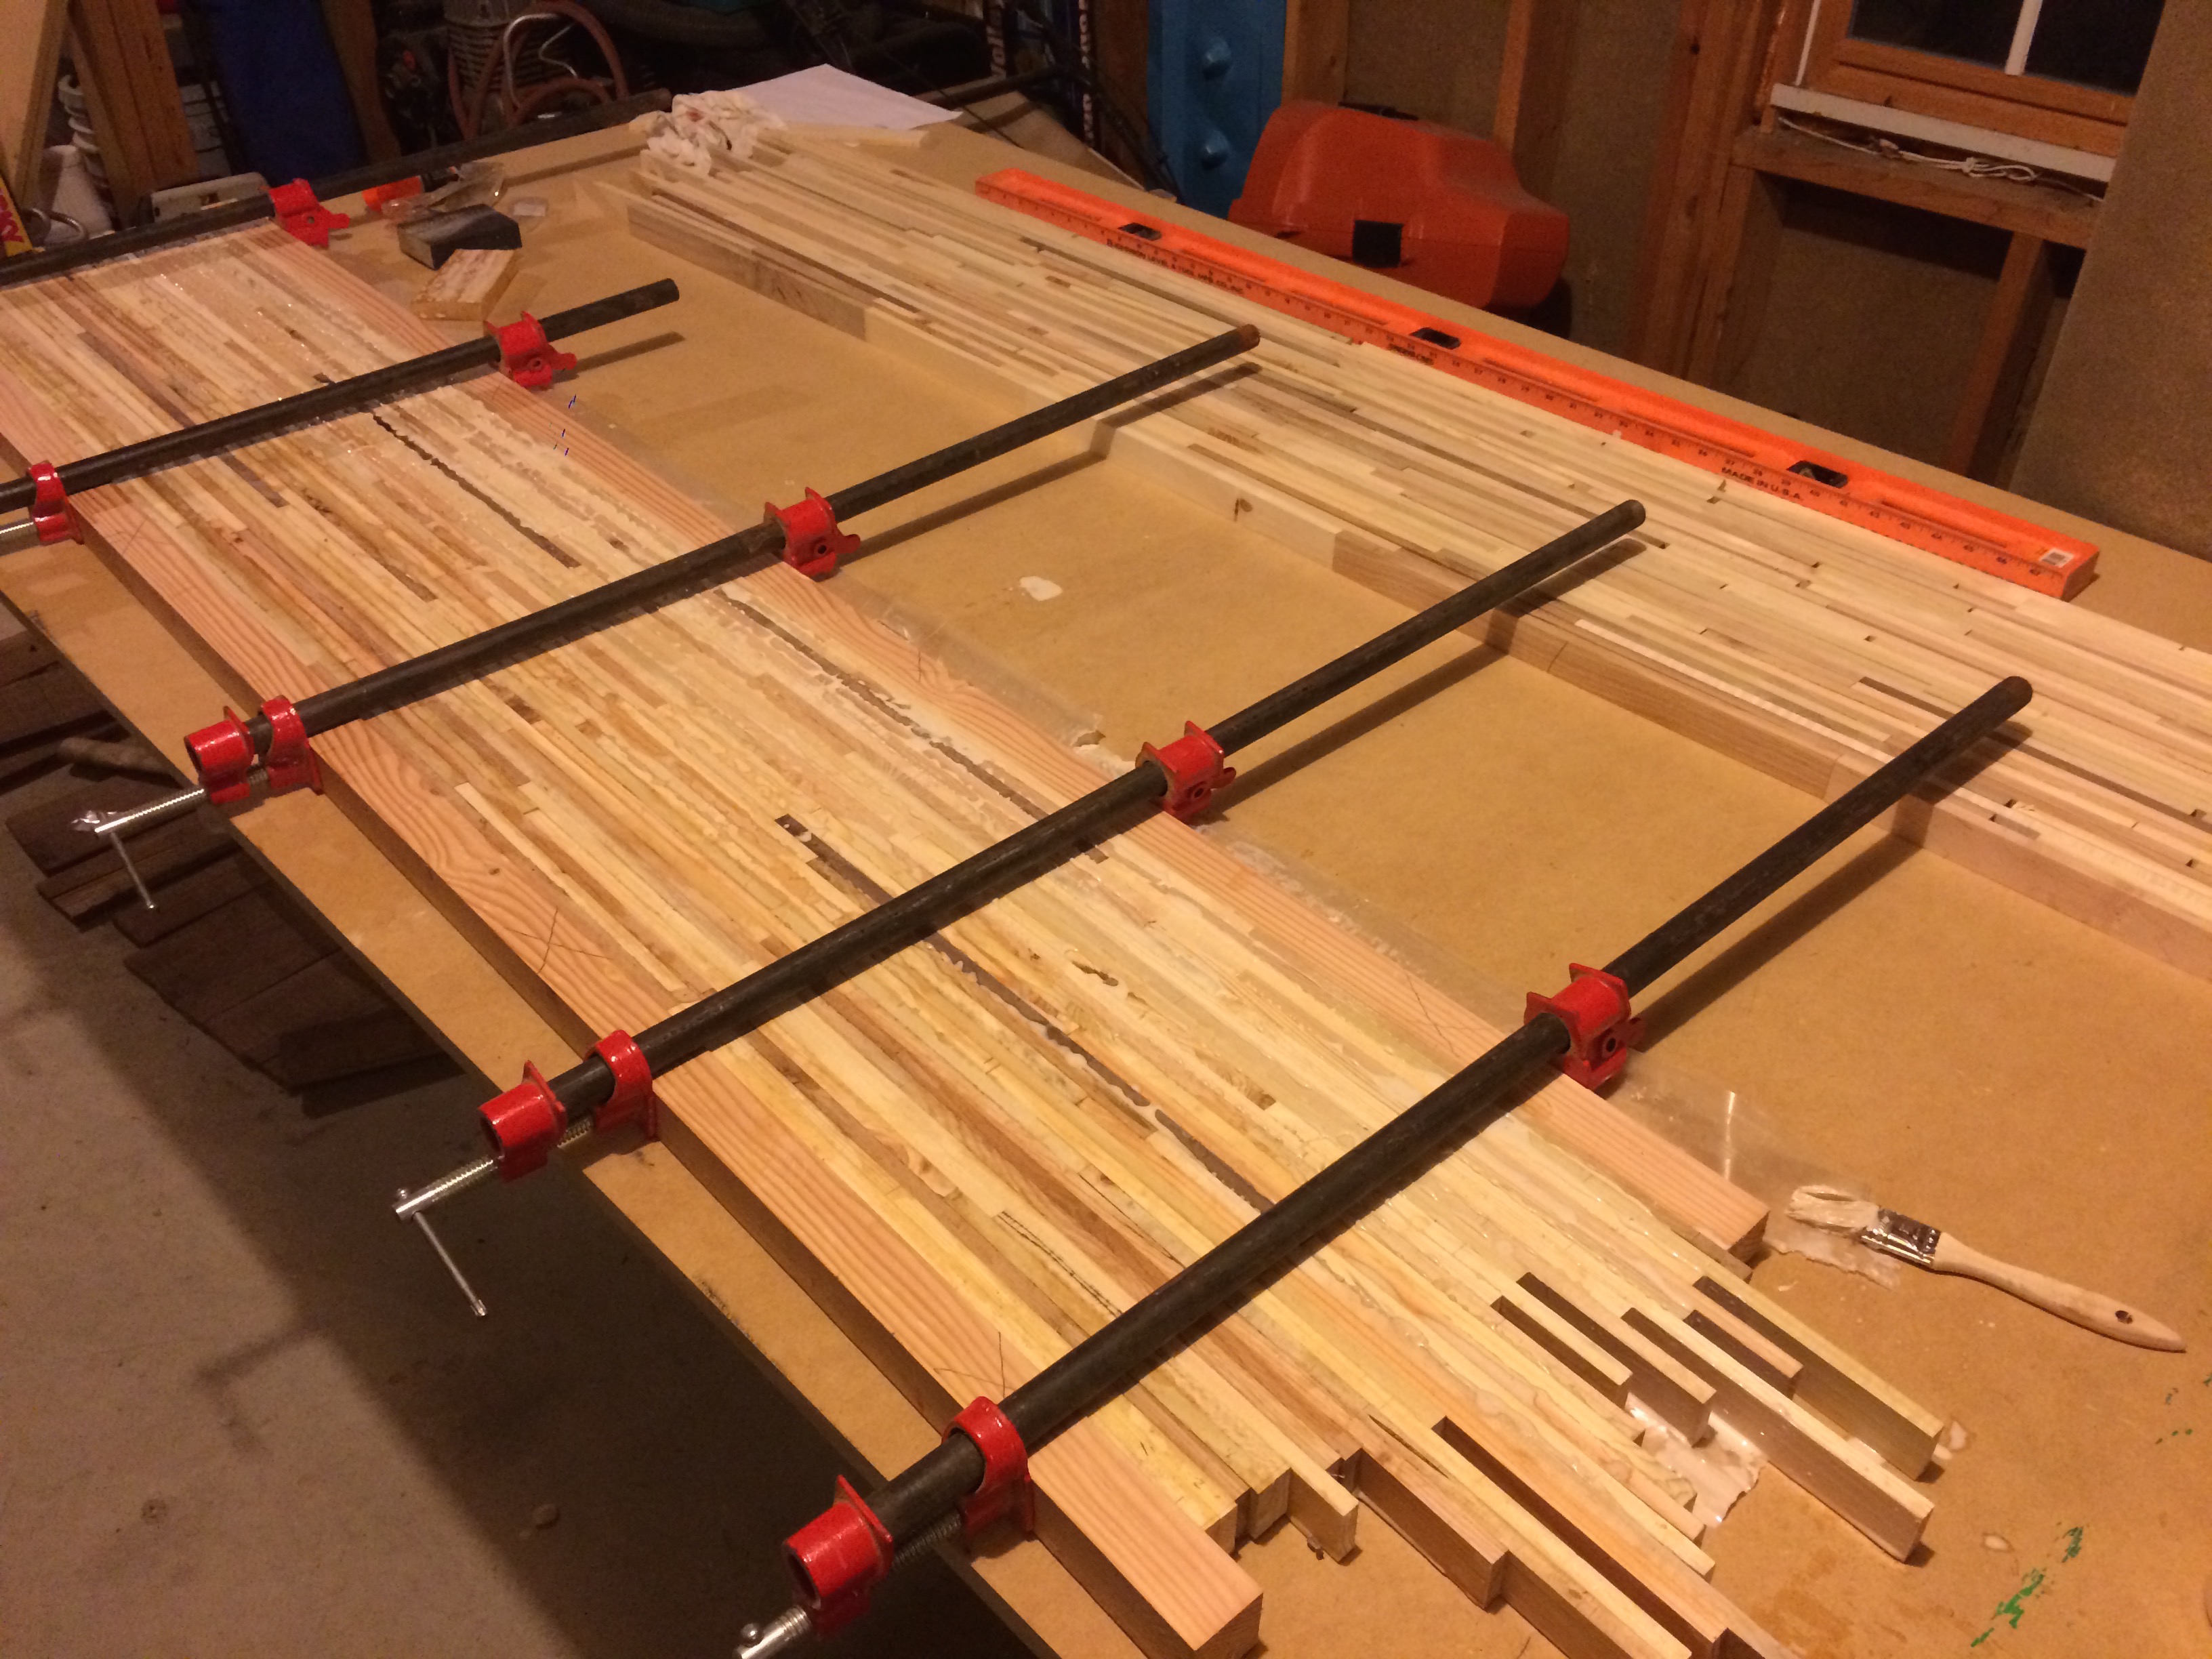
We returned the next weekend to glue. This process was slow and stressful. I think we clamped the planks too hard, and didn't take enough precautions to make sure that the clamps covered the entire height of the desk. We didn't notice until around the end that the pieces had started slanting in one direction. We couldn't come up with a way of fixing this, so the last few strips we glued we glued onto the row we started with, which was still 90° to the gluing surface. It should end up fine (hopefully). The most important things we found were that
- The glue cures faster than you think, and once you've done three or four rows, you can't really move the strips in the middle. So before you continue gluing the next row, push on the end of the row to make sure that all of the sides are butted up against one another.
- Make sure the strips are pushed down towards the surface you're gluing on.
- Don't clamp too hard, and make sure the clamp is clamping the centers together, not compressing the bottom or top of the strips more.
- Buy a lot of glue. The table is held together with about three bottles of wood glue.
Now here's the fun part. Sanding. We used a scraper to get most of the big chunks of glue off. We should have bene more diligent about wiping the glue off with a damp towel, this would have reduced the number of big glue chunks on the surface. Also helpful was a rasp to get lots of material off quickly. The top of the table was anything but flat. Lots of pieces were not completely pushed down onto the surface I was gluing on, and due to the slanting problem we had the last few rows were significantly lower than the others. Belt sanders, loud music and patience are helpful tools.
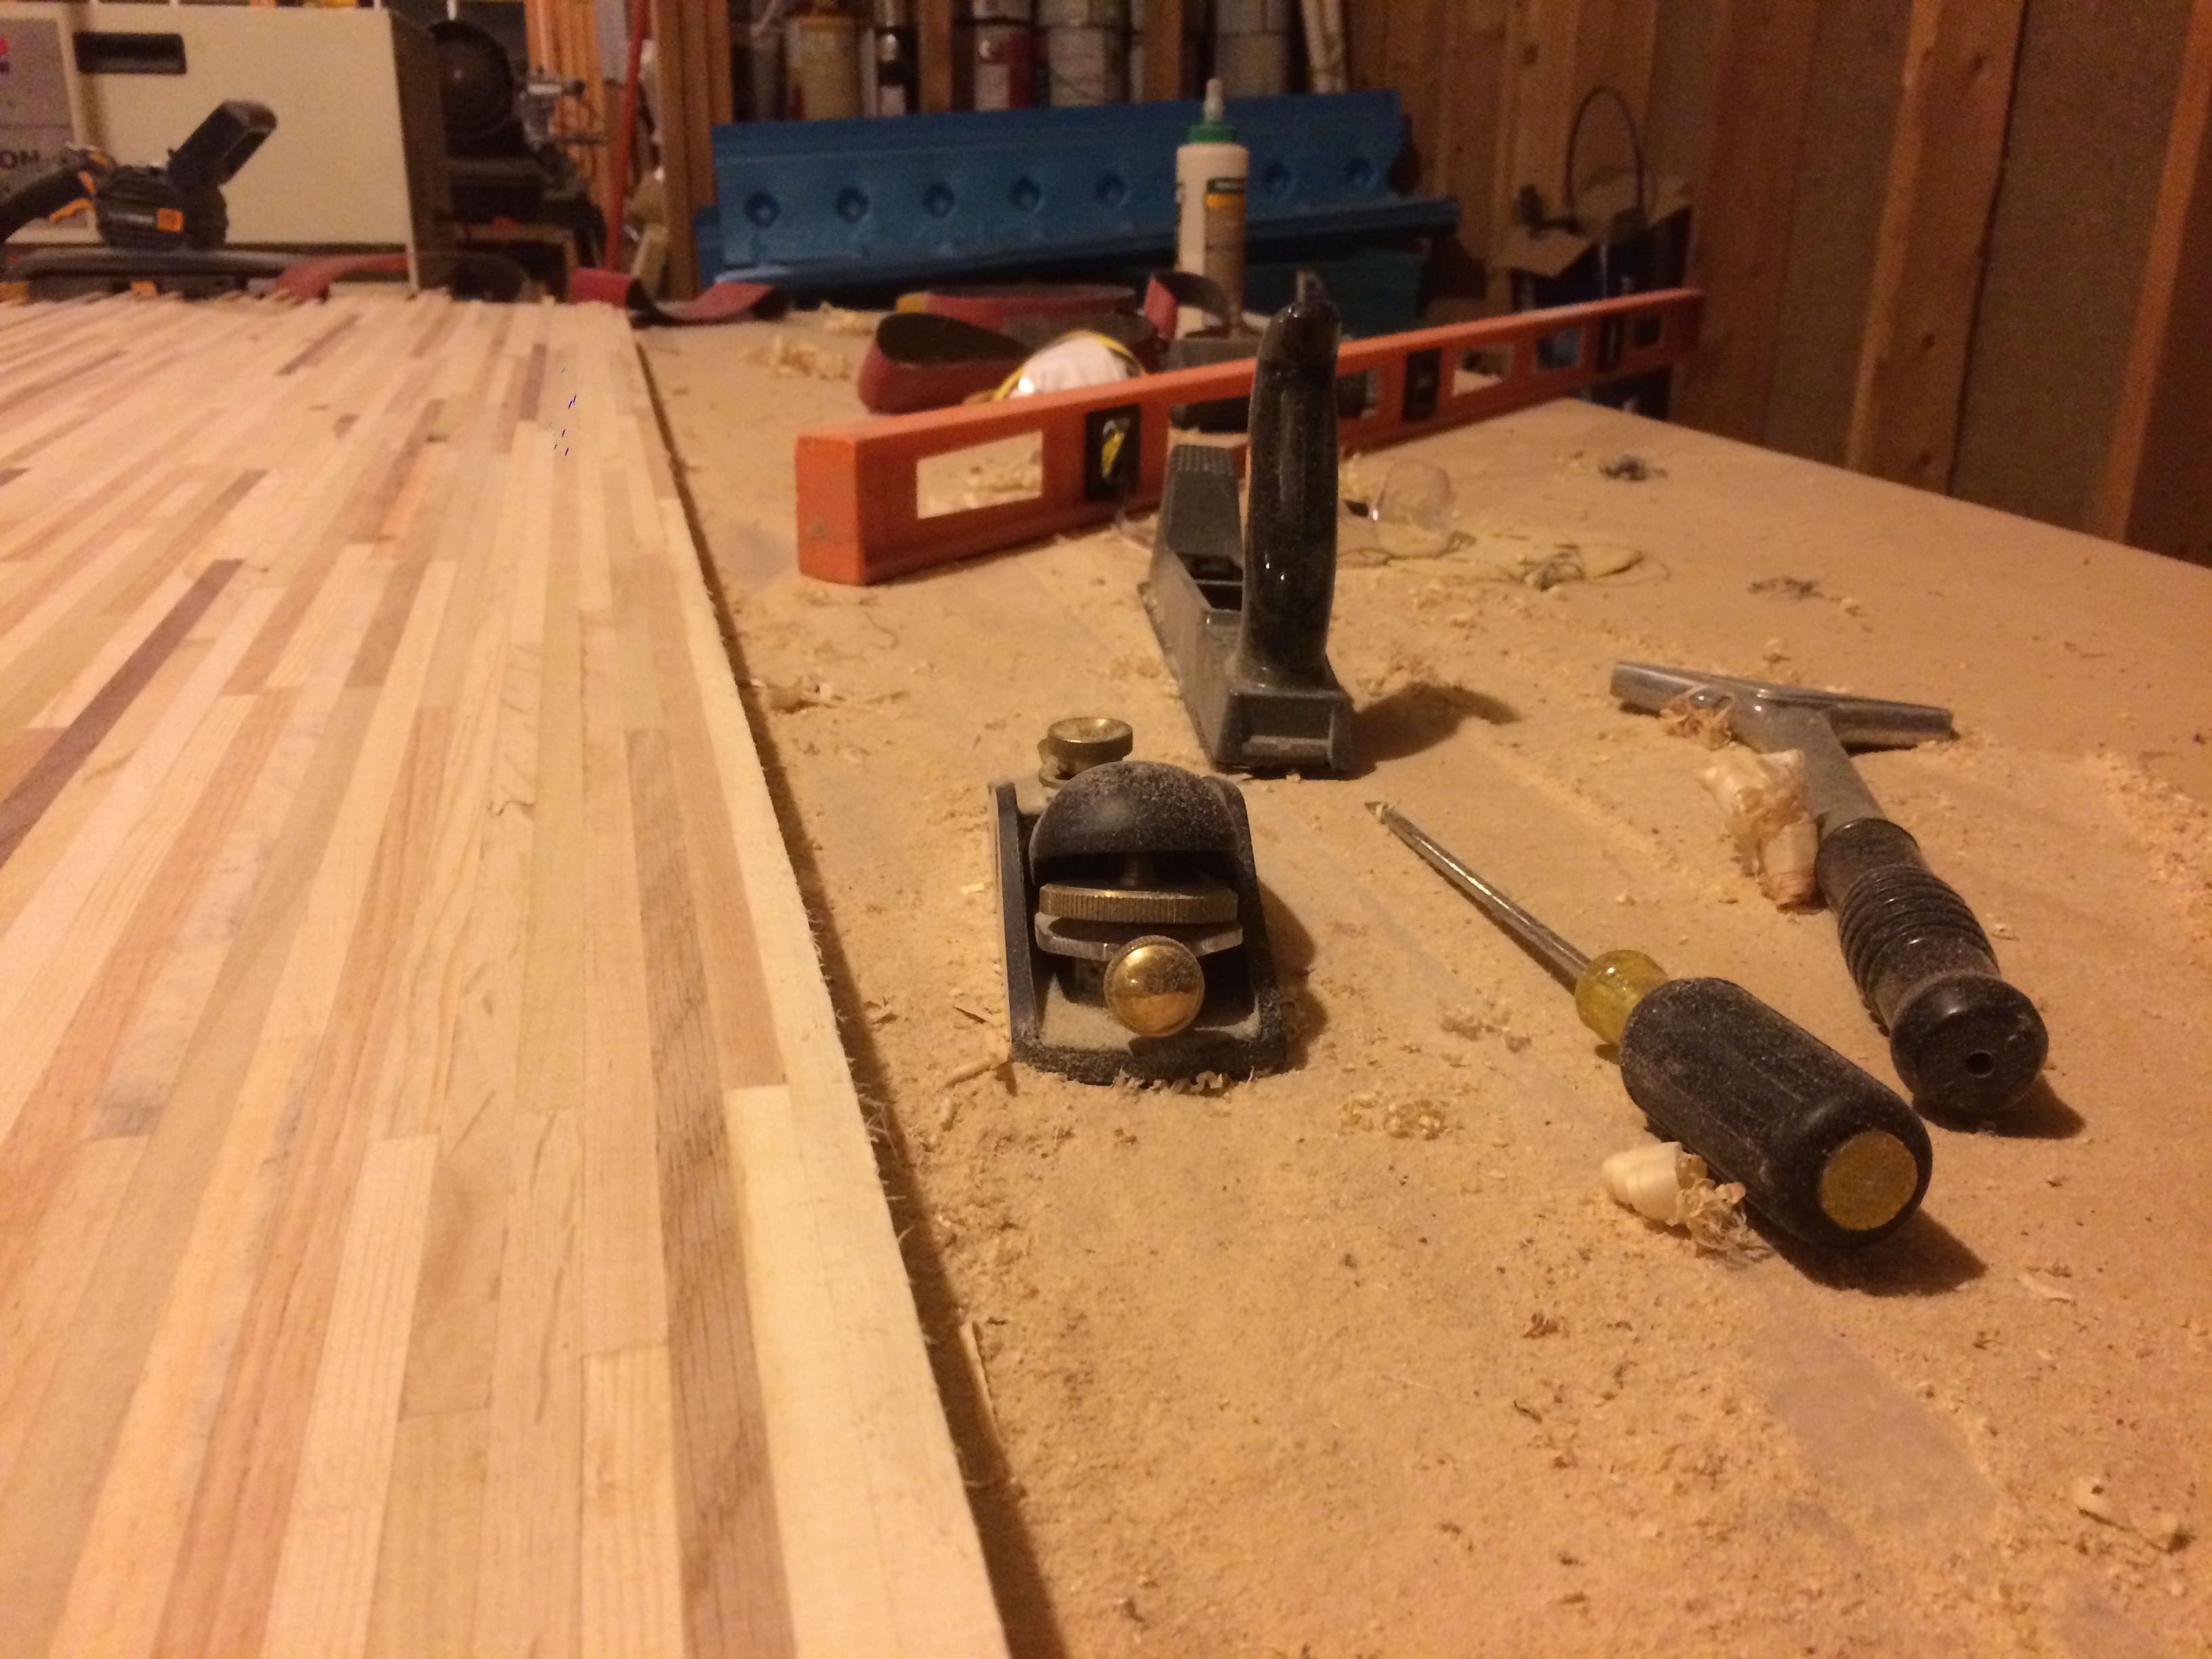
There's still a lot of sanding to do. I need to keep using the rougher grit sandpaper to level the surface off as best as I can. I'm continuously dragging a level across the surface to check for dips, though it's a time consuming process. After the surface is mostly flat, I'll be taking 120 grit to it using the belt sander, in long even strokes, and then after that a random orbital with 240 grit and possibly a few passes higher. I didn't get enough pallets to get quite the depth that I wanted, so I'll be adding a trim of ripped 2x4s or something around the edges. Hopefully the edges will give it some strength, because I am slightly worried about the glue holding the table together against weights placed in the middle. For legs, I'll probably be ordering some hairpin legs off the internet, though this hasn't been decided yet.
For the surface finish, I'll either go with simply tung oil and call it a day (easiest, but the surface isn't very hard, so pen strokes will transfer), or give it a coat of varnish or polyurethane. Also haven't decided this yet. Either way, I'm super happy with how it's turning out so far.