02/10/2015
building a table | pt. 2
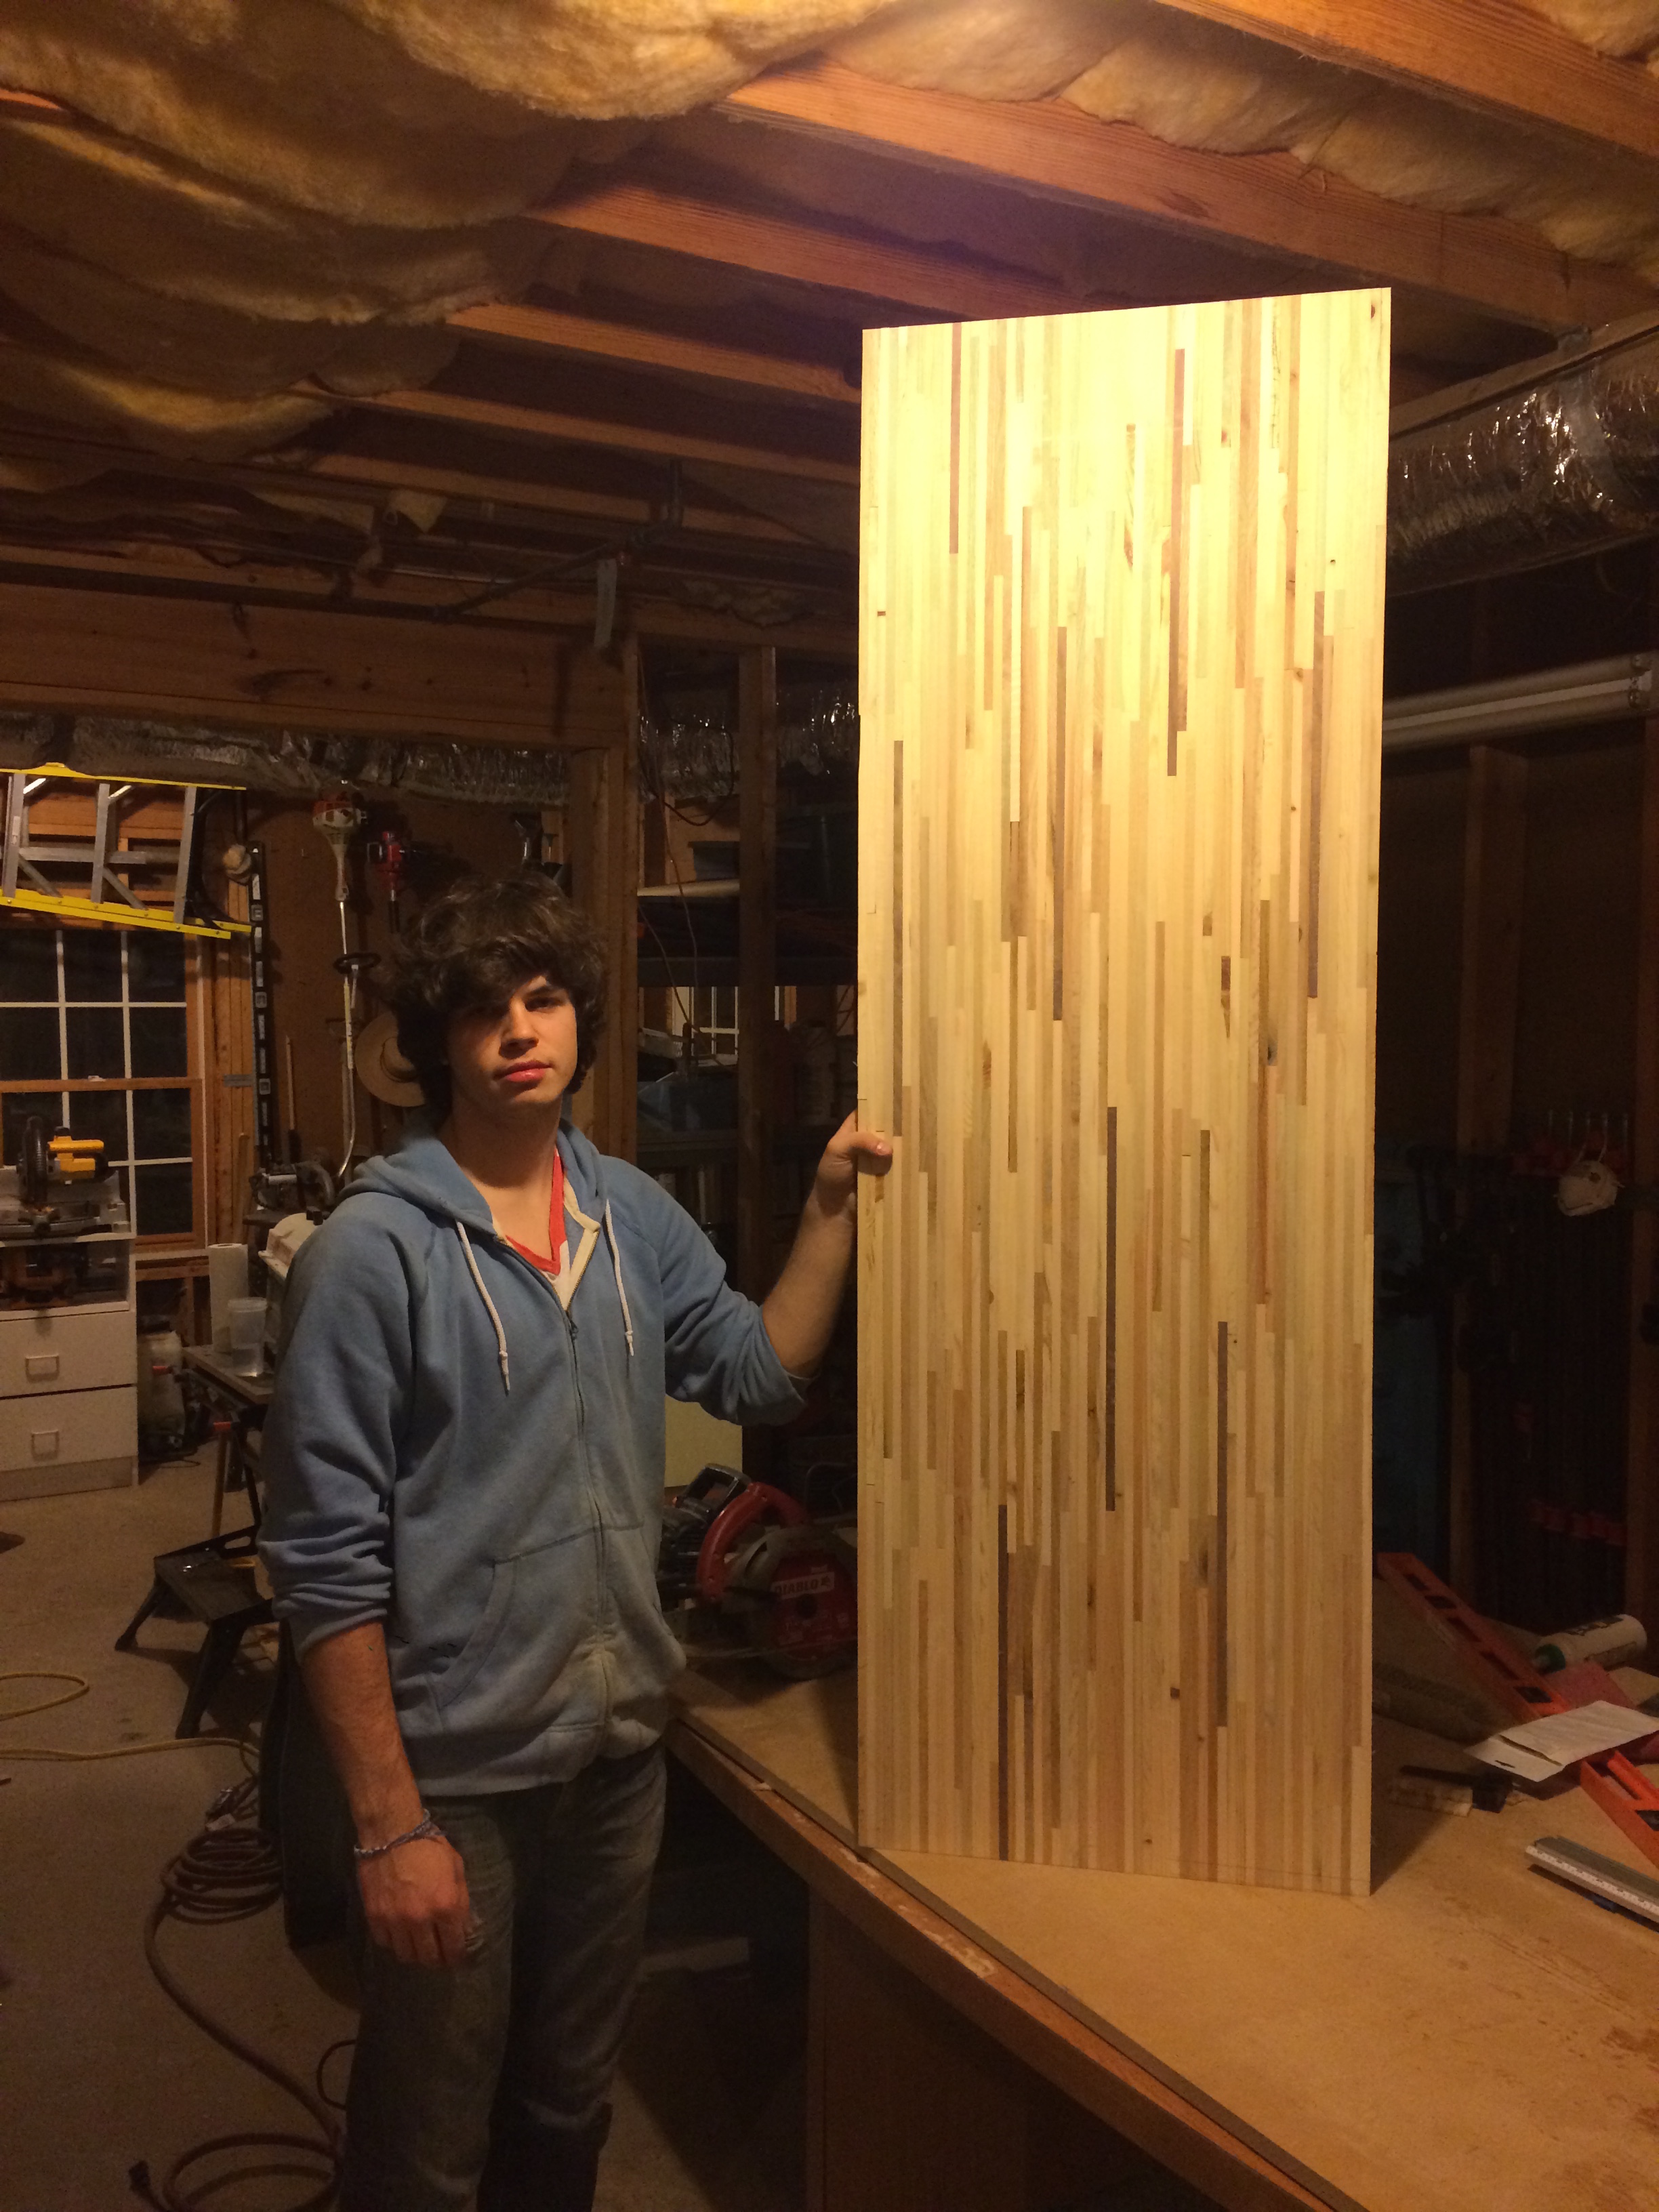
It's done! I took one weekend to finish the sanding. I finished working down the large inconsistencies in the surface with a rasp and a hand plane, then an 80 grit belt. I checked occasionally with a straightedge across the depth of the table to find any large dips.
Ideally, one would use a large planer to flatten the surface. I considered gluing the desk in multiple pieces, which I could pass through the planer individually, and then glue the pieces together. However, I think if the sides of the pieces were not perfectly perpendicular to the surface, the resulting surface of the desk would be slanted, just in sections. An alternative method would be to use a router jig that held the router at a constant height above the surface that the desk was resting on, that allowed for the router to be slid back and forth on the surface with some sort of fly-cutting bit. I didn't consider this at the time, but I believe that it would have been even more time consuming than the method I used, through may have resuled in a better result.
After the surface was sufficiently flat (a measure of which was highly influenced by how dusty my mask was and my level of fatigue), I switched to an 120 grit belt, then a 220 grit belt, just to smooth the surface. Finally, I worked up to 500 grit in a few steps on the random orbital sander. The last thing I did was cut the ends of the desk with a circular saw and a guide.
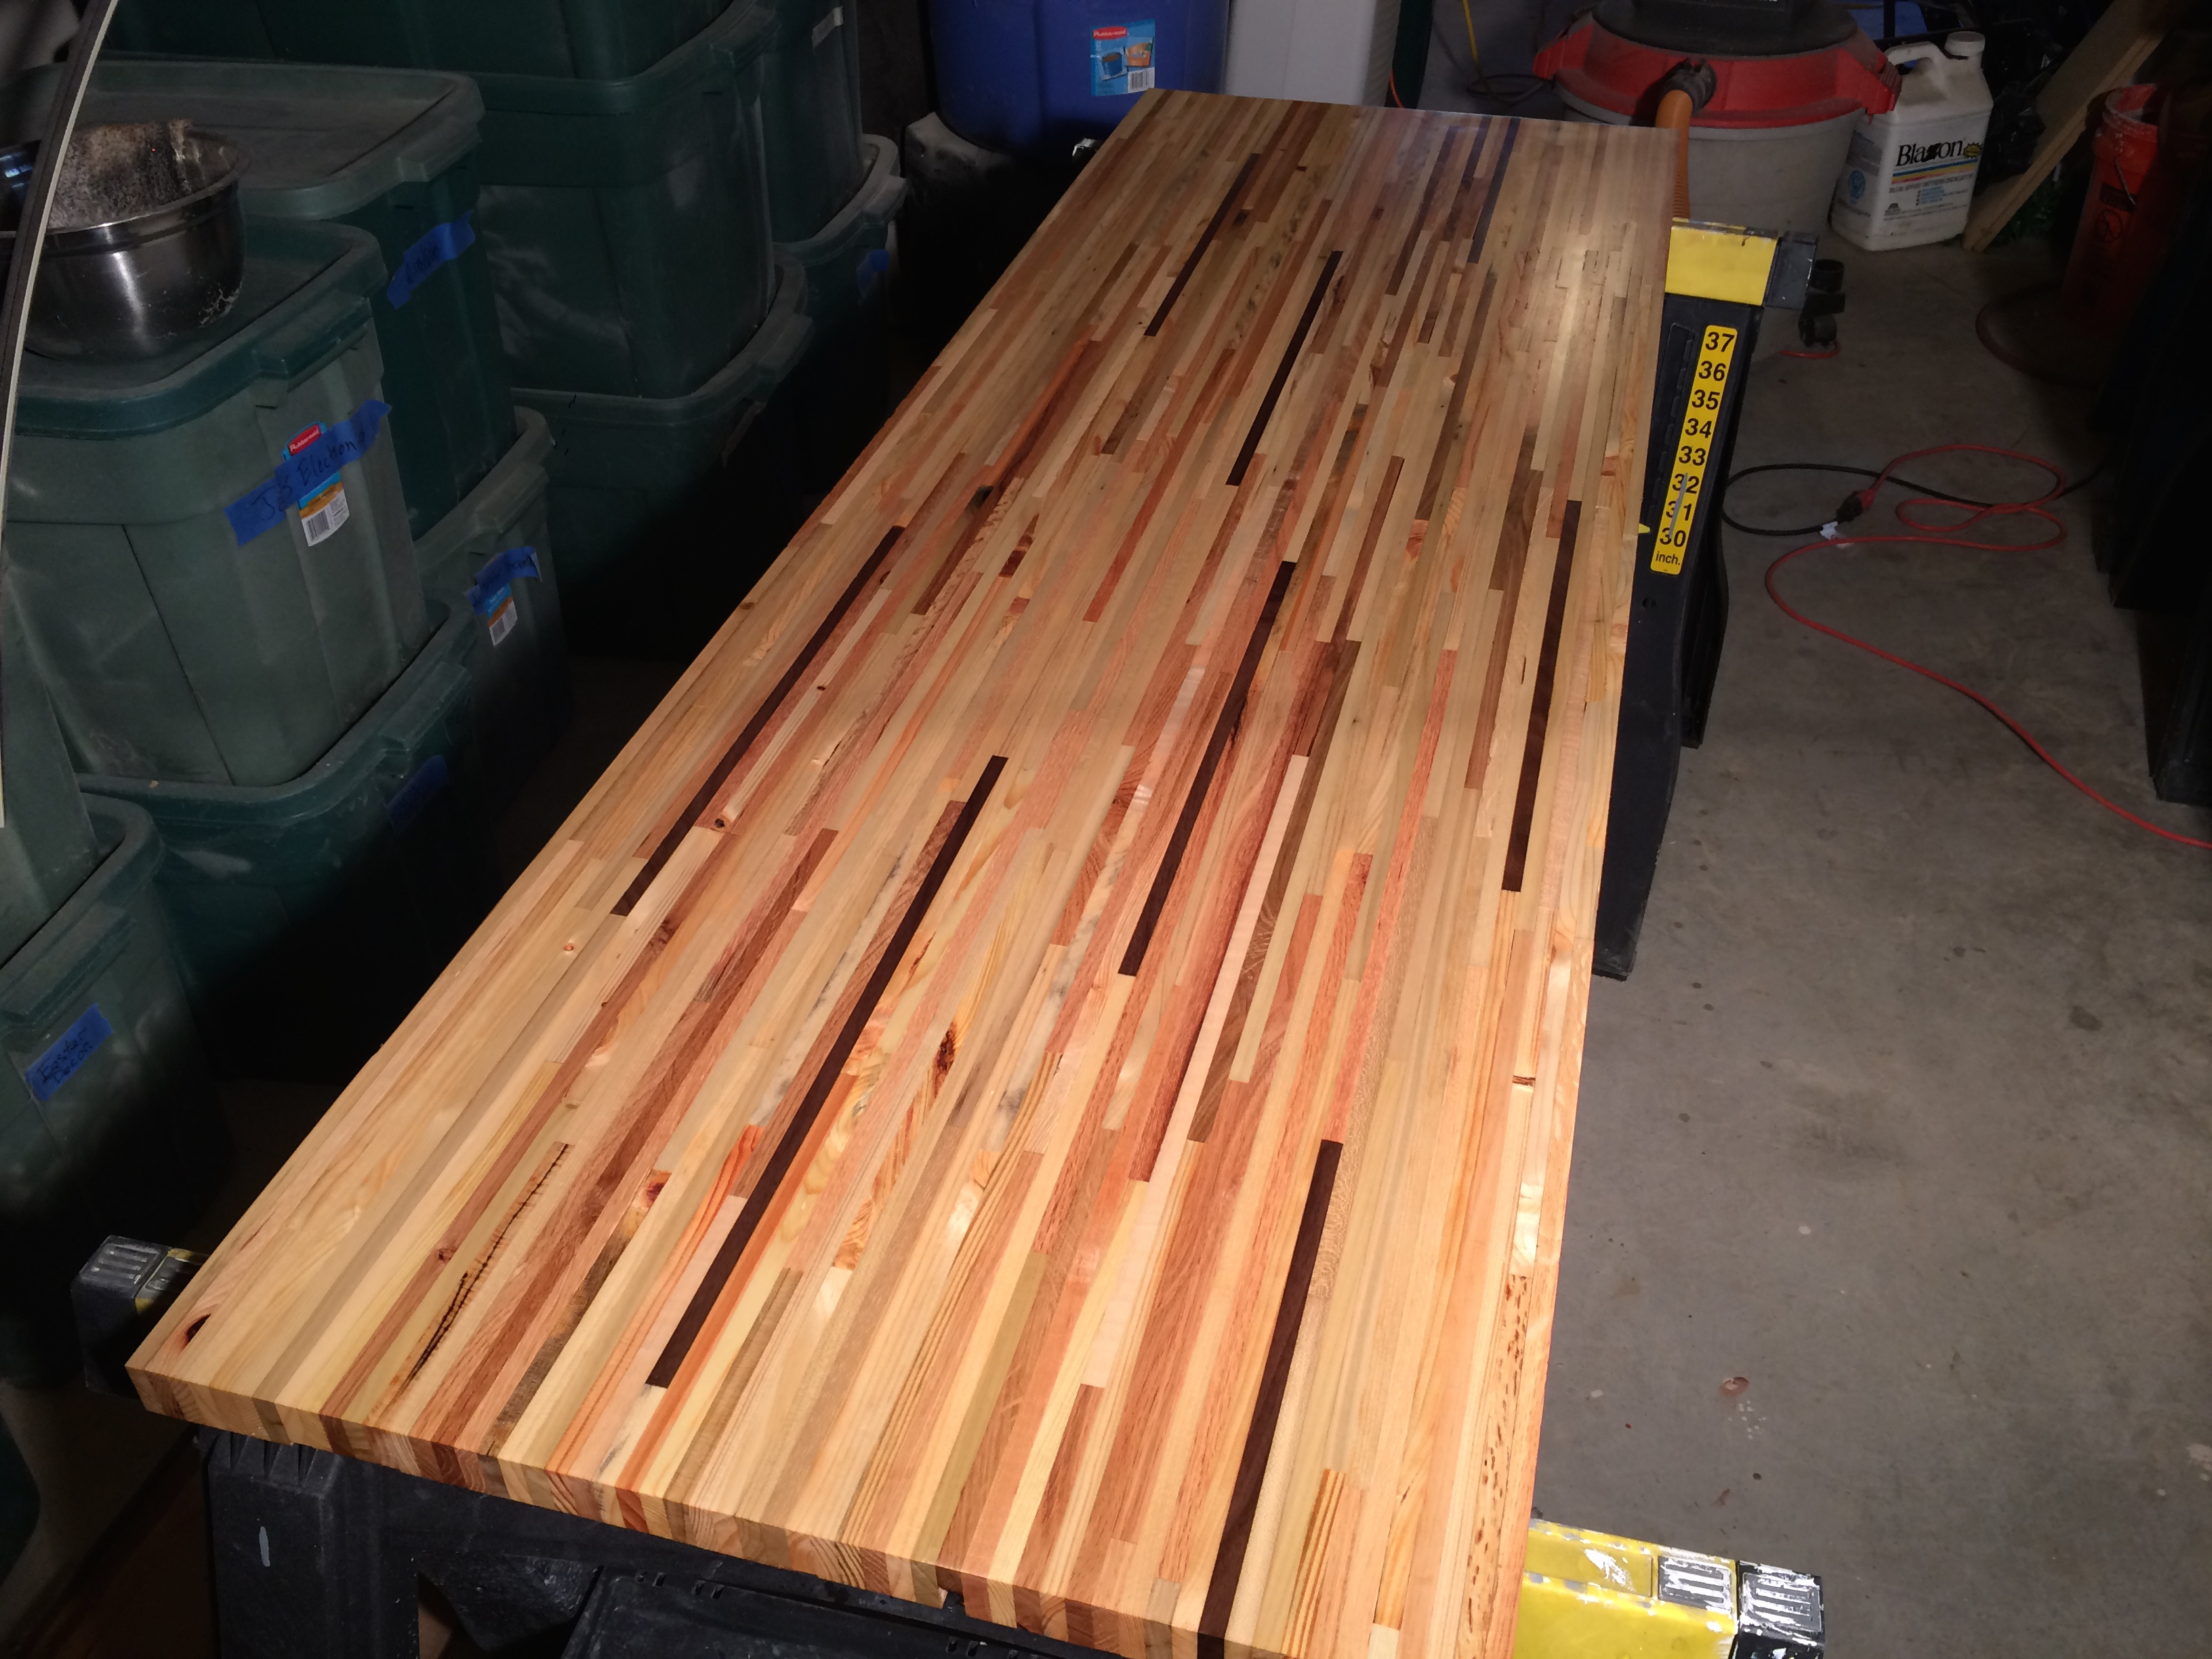
I decided to go with a satin polyurethane, and no stain. I briefly considered a black stain, but decided the color of the wood was too beautiful to mask. To make sure the finish was as perfect as possible, I took extra time to pretreat the surface as per the directions on the can. I completed the sanding with super-fine (~1000 grit) sandpaper. Since all of the advice I had seen for polyurethane included some note about applying the finish in a separate room to ensure no dust settled on the drying surface, I decided to leave the air filtering system running for a week before I applied the finish.
The next weekend I first applied a coat sanding sealer, which I let dry before sanding lightly with 500 grit sandpaper, just to knock off the fibers that had raised above the surface. After sanding, I wiped the surface down with a dry paper towel to take any dust off the surface.
I then applied multiple coats of polyurethane using a fine brush and even strokes (following the directions on the can). After each coat, I let the finish dry, sanded lightly, removed the dust, and applied another coat. I applied three coats total.
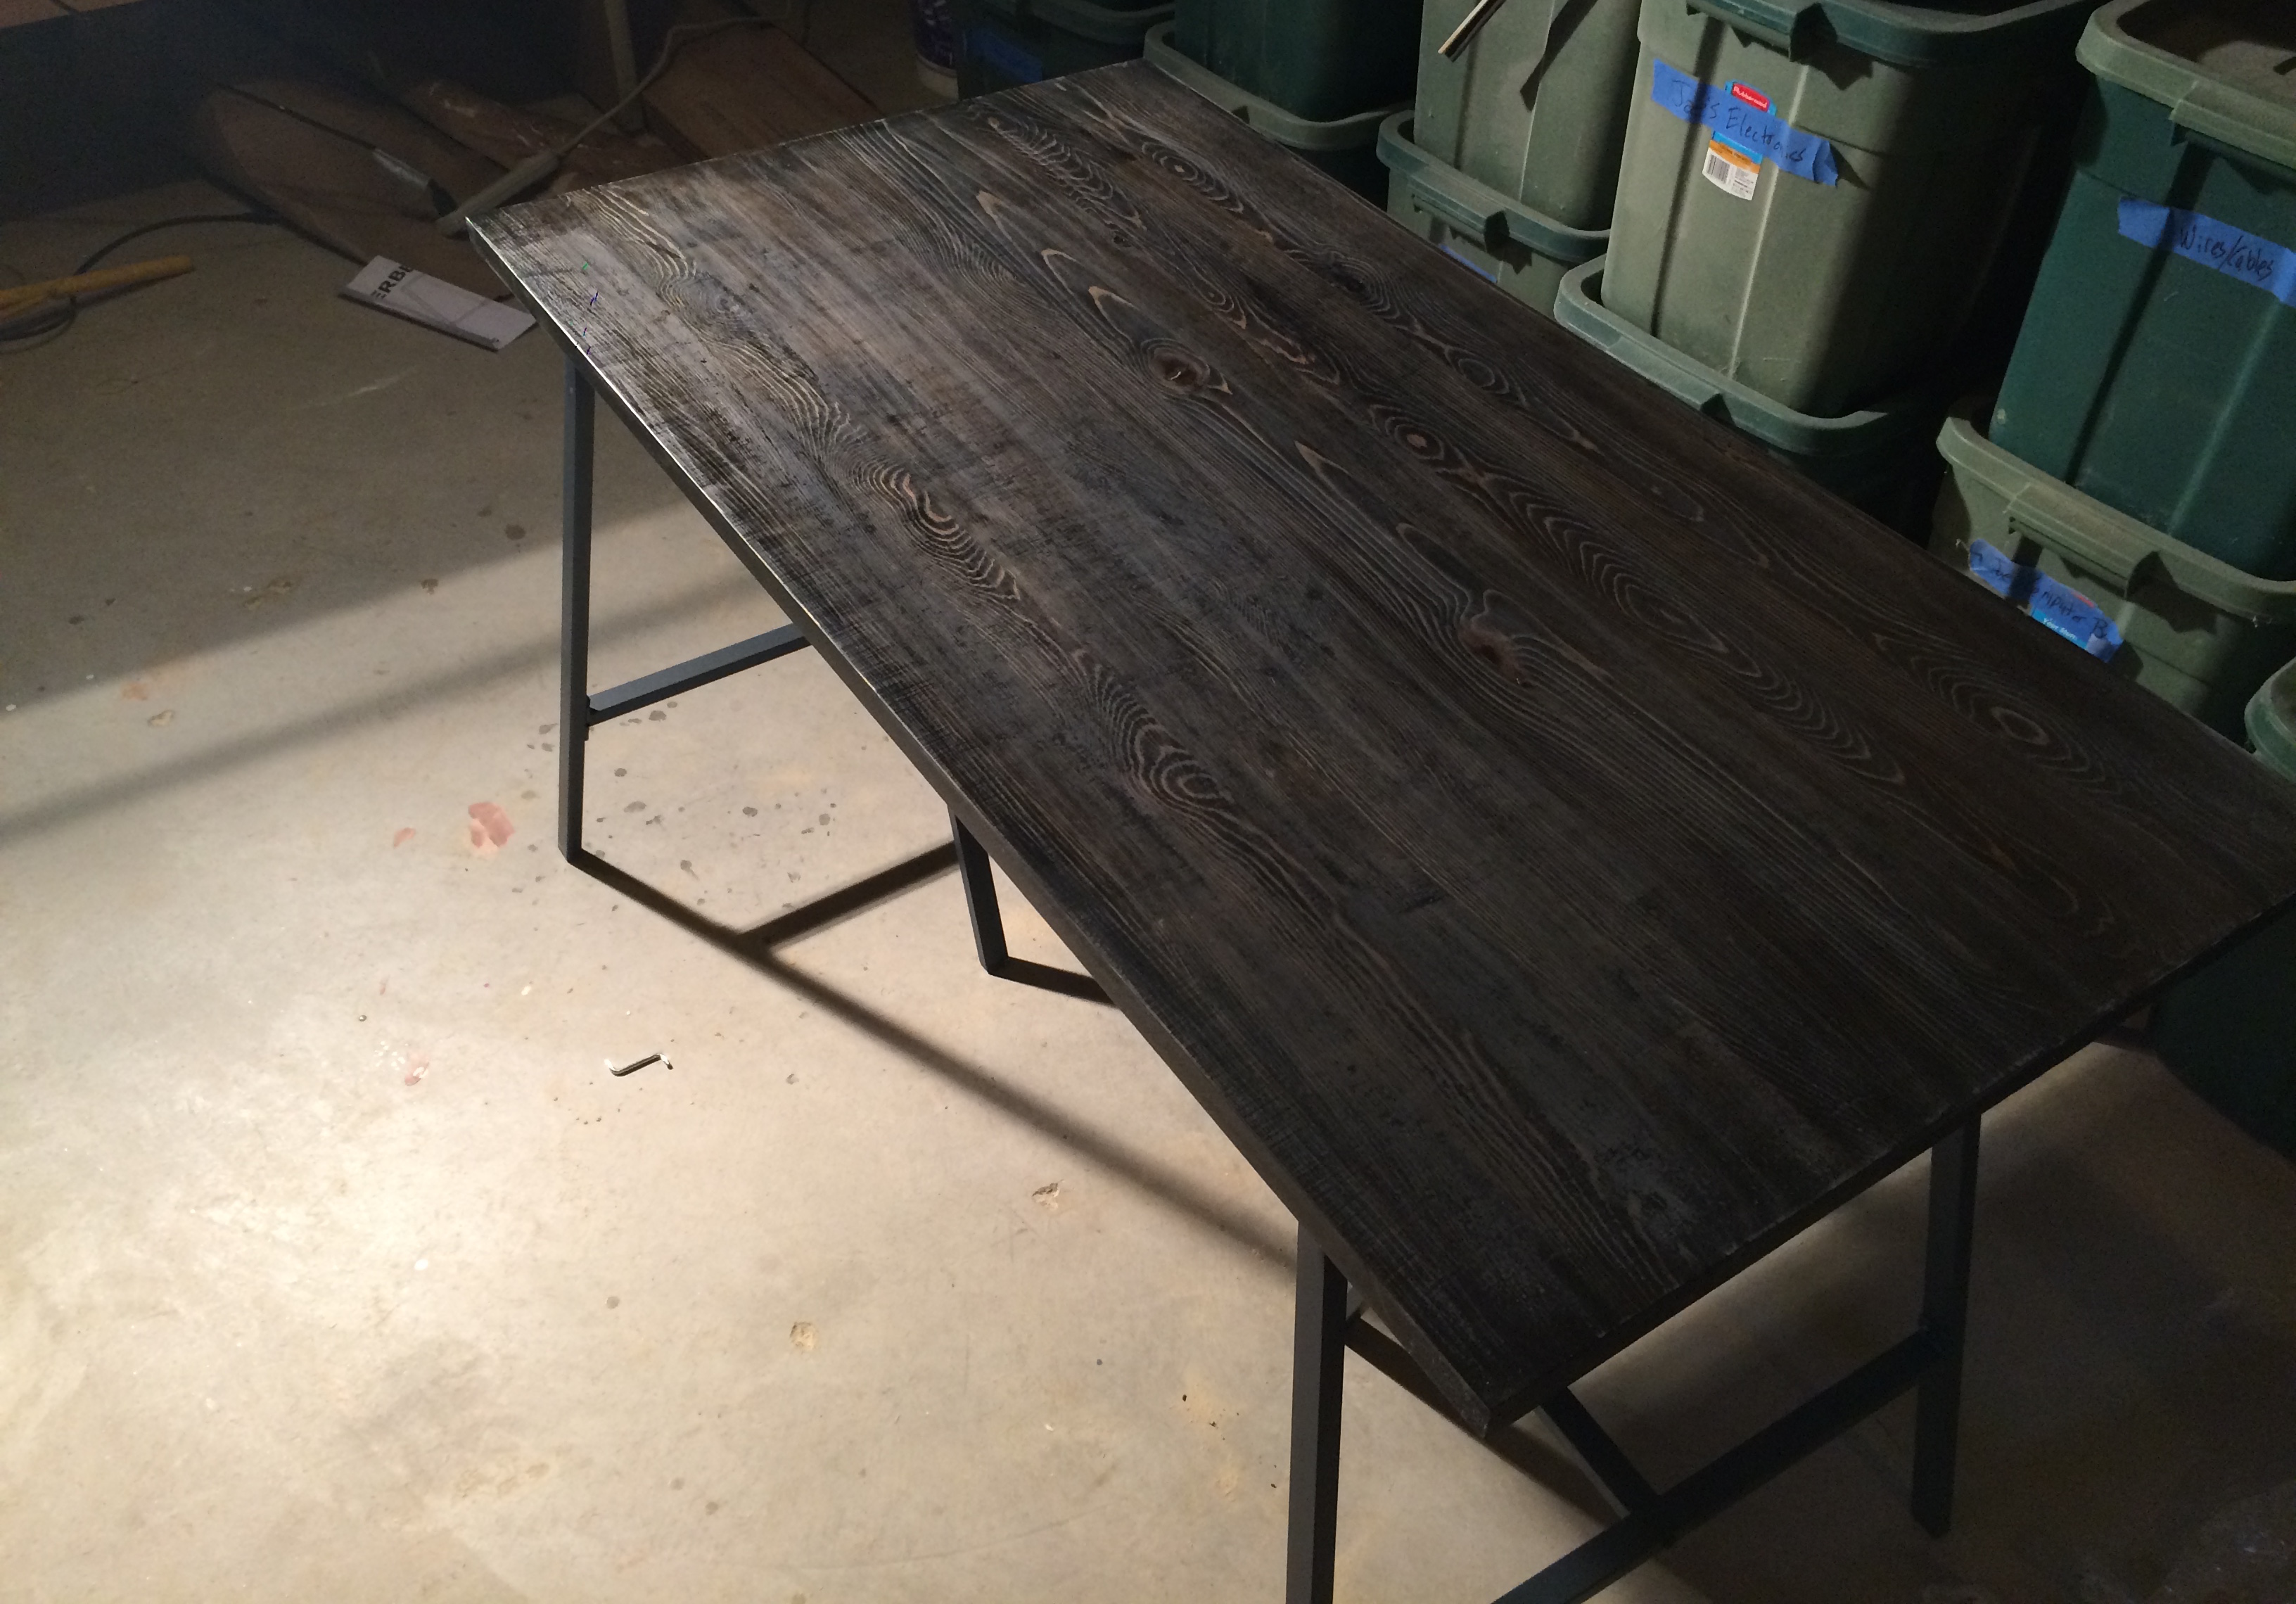
I wanted the desk to be portable, so I decided to go against legs that were secured to the surface itself. Ikea had some really cheap, simplistic looking trestle style legs that I decided to go with, which you can find here. I think they were ~15 dollars a piece.
I also snagged a second desk top. There's a campus buy/sell page for Georgia Tech, and I found someone selling a dining table for 20 dollars, with four chairs. We already had a dining table for the apartment, but needed the chairs, so I decided to repurpose the table as a side desk. I removed the legs, and the framing around the rim of the surface, sanded it down aggressively, and then followed the same procedure for the other desk, except I decided to use the stain.
The finish on both surfaces was great. I don't think I've ever had such a good result applying finish. I'm really excited about how everything turned out.
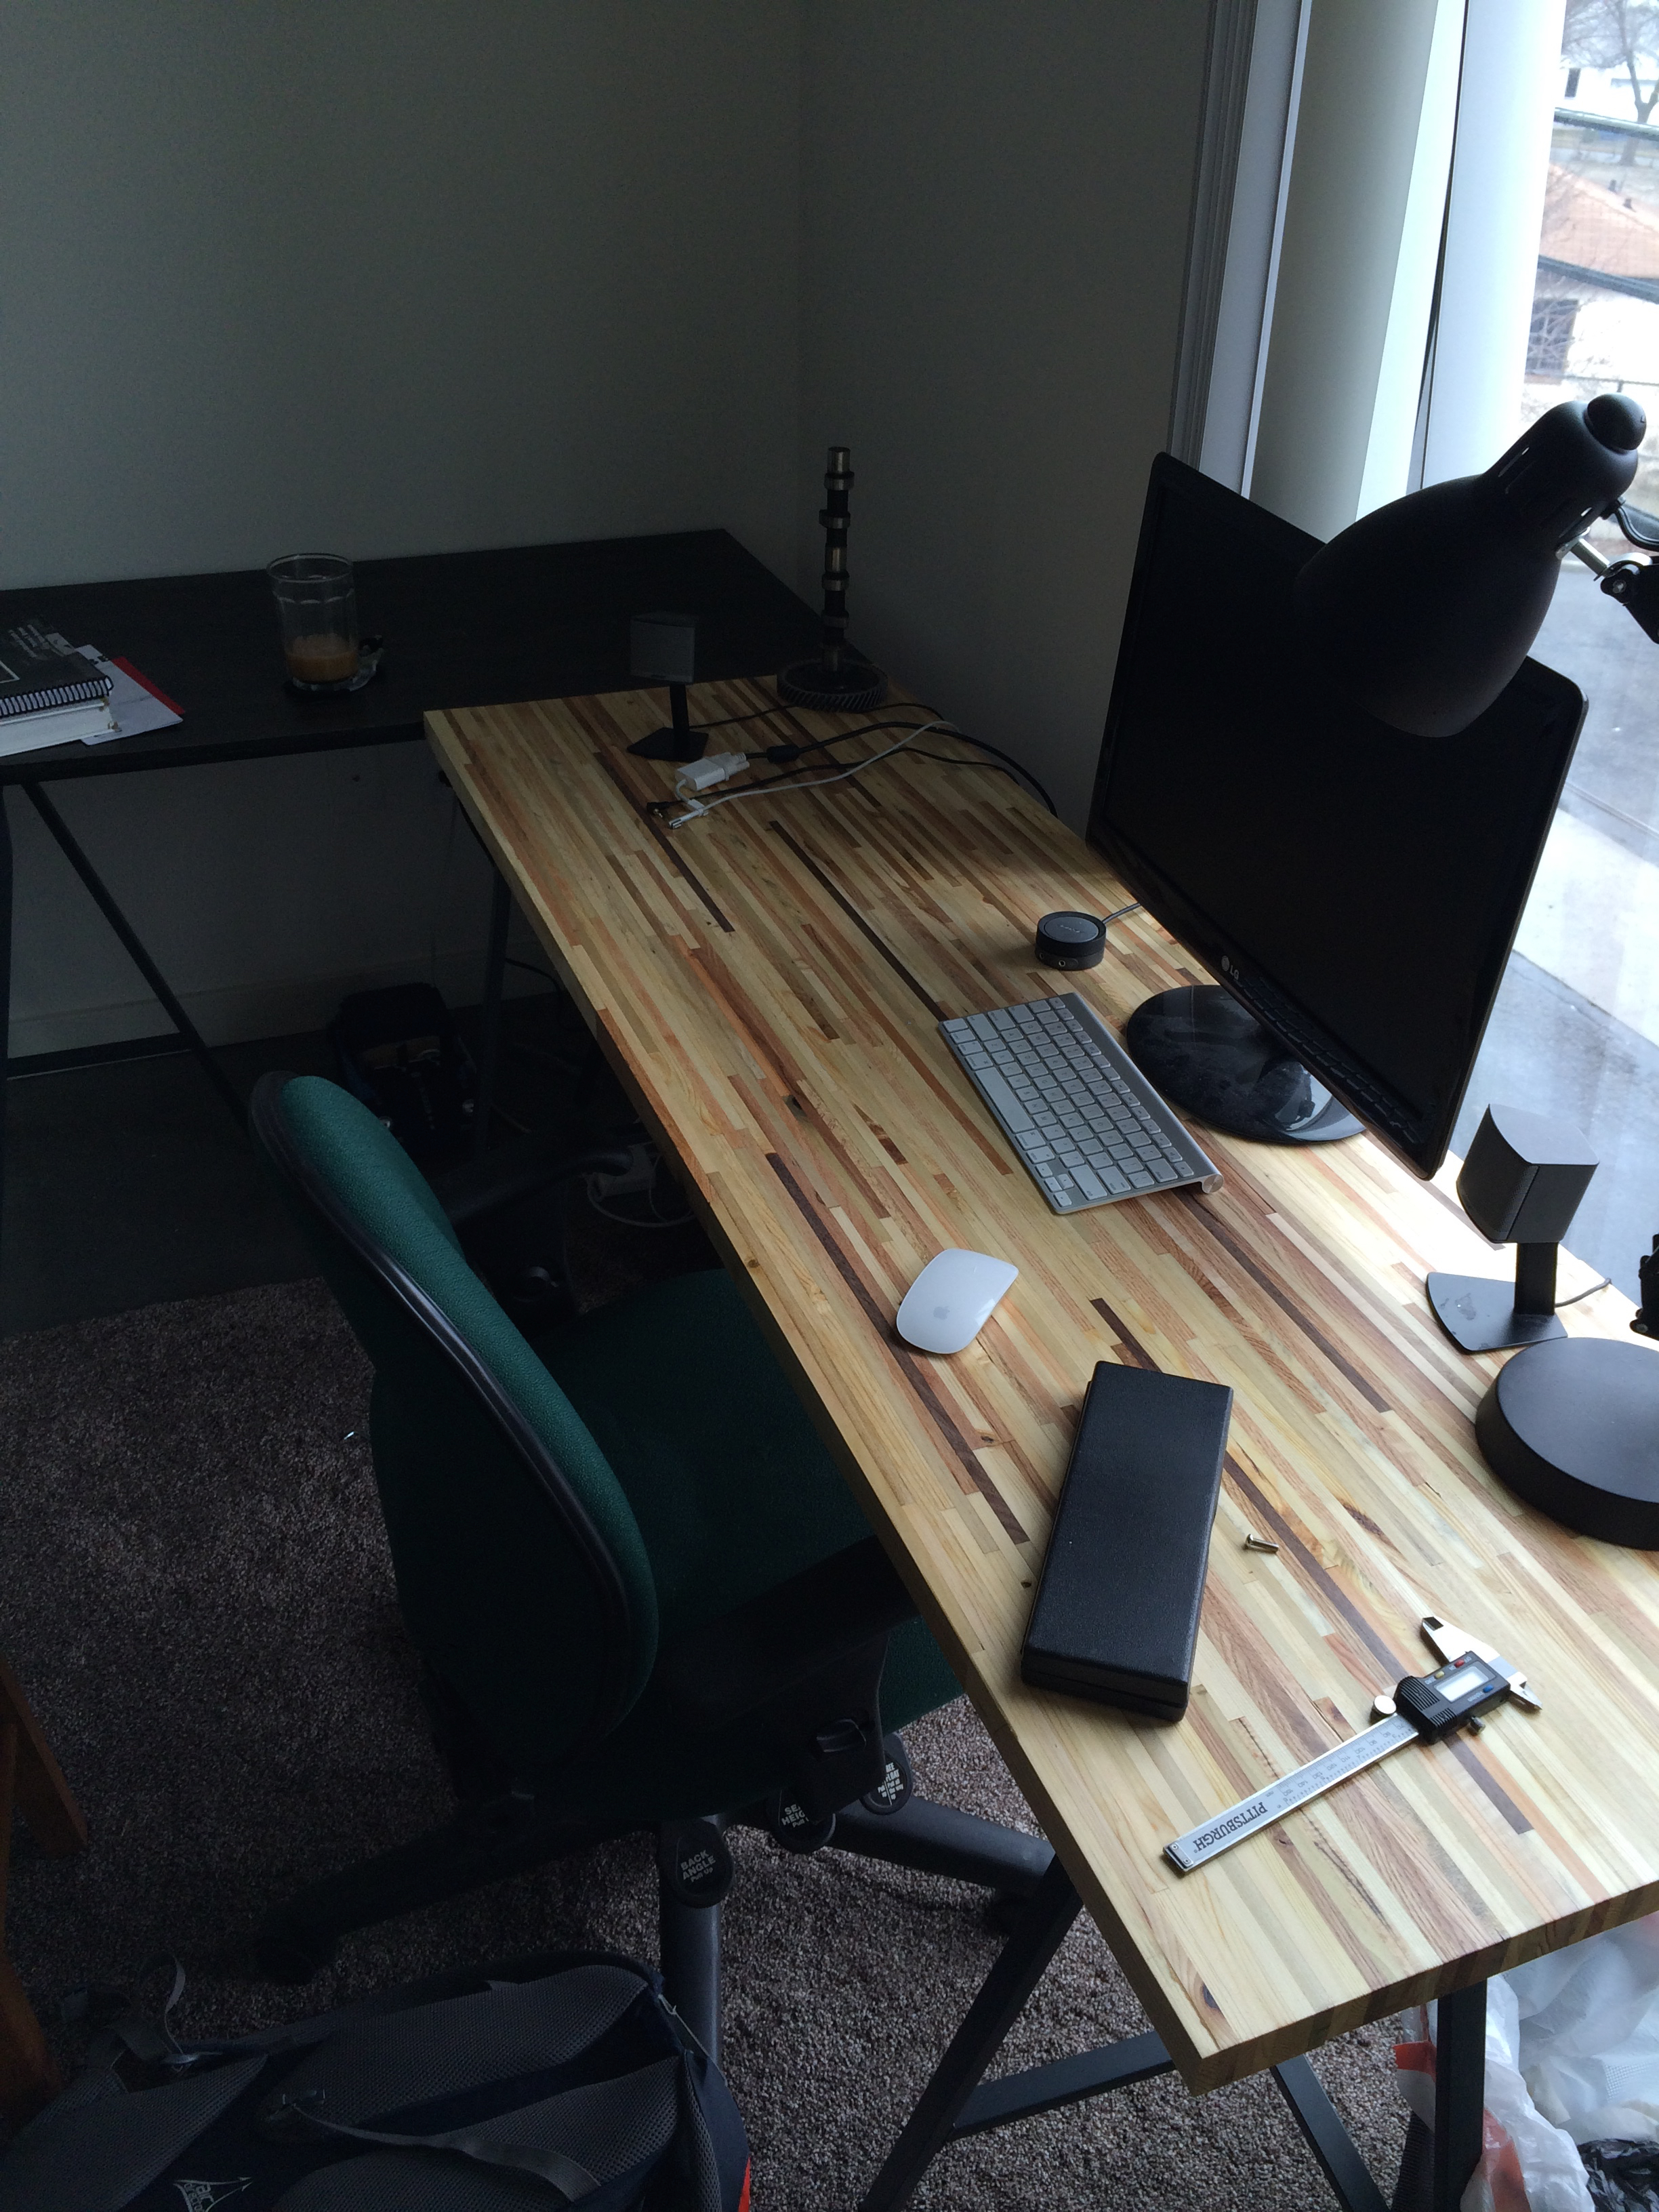
I've also posted more images on the DIY subreddit. Some of the comments are pretty great, and I've responded to some questions that people have had. Overall, the project was worthwhile. I had a lot of fun throughout the process, and now I have something I can call my own.