08/13/2016
custom VW gauge mount
I wired up some SpeedHut Revolution gauges last year with the help of some friends in the local VW community. There wasn't enough time to mount them in the dashboard properly before I left to California, so they've been wired up in the back seat of my car mounted in the cardboard box they came in. While having the gauges makes me feel more confident about the health of my engine, having to peer over the back seat to check my oil temperature and pressure is a little dangerous. I just got back from my internship and have a little time before school is back in full swing, so now was a great time to get them properly installed.
I might cover the sensor installation at a later time. The pressure sensor is on a tee fitting off of where the stock oil pressure "switch" is normally mounted. This allows the new sensor to coexist with the old switch. The tachometer only requires one sense wire off of the primary side of the ignition coil. The oil temperature sensor is in the oil sump plate, and is not actually working well, which I'll need to fix later. The sensor doesn't see a lot of flow over it when sitting in the sump, and the body of the sensor itself is sticking directly in the air stream flowing underneath the car. It takes a long time on the highway for the sensor to read on the gauge, and the reported temperatures drop almost immediately when the car begins moving.
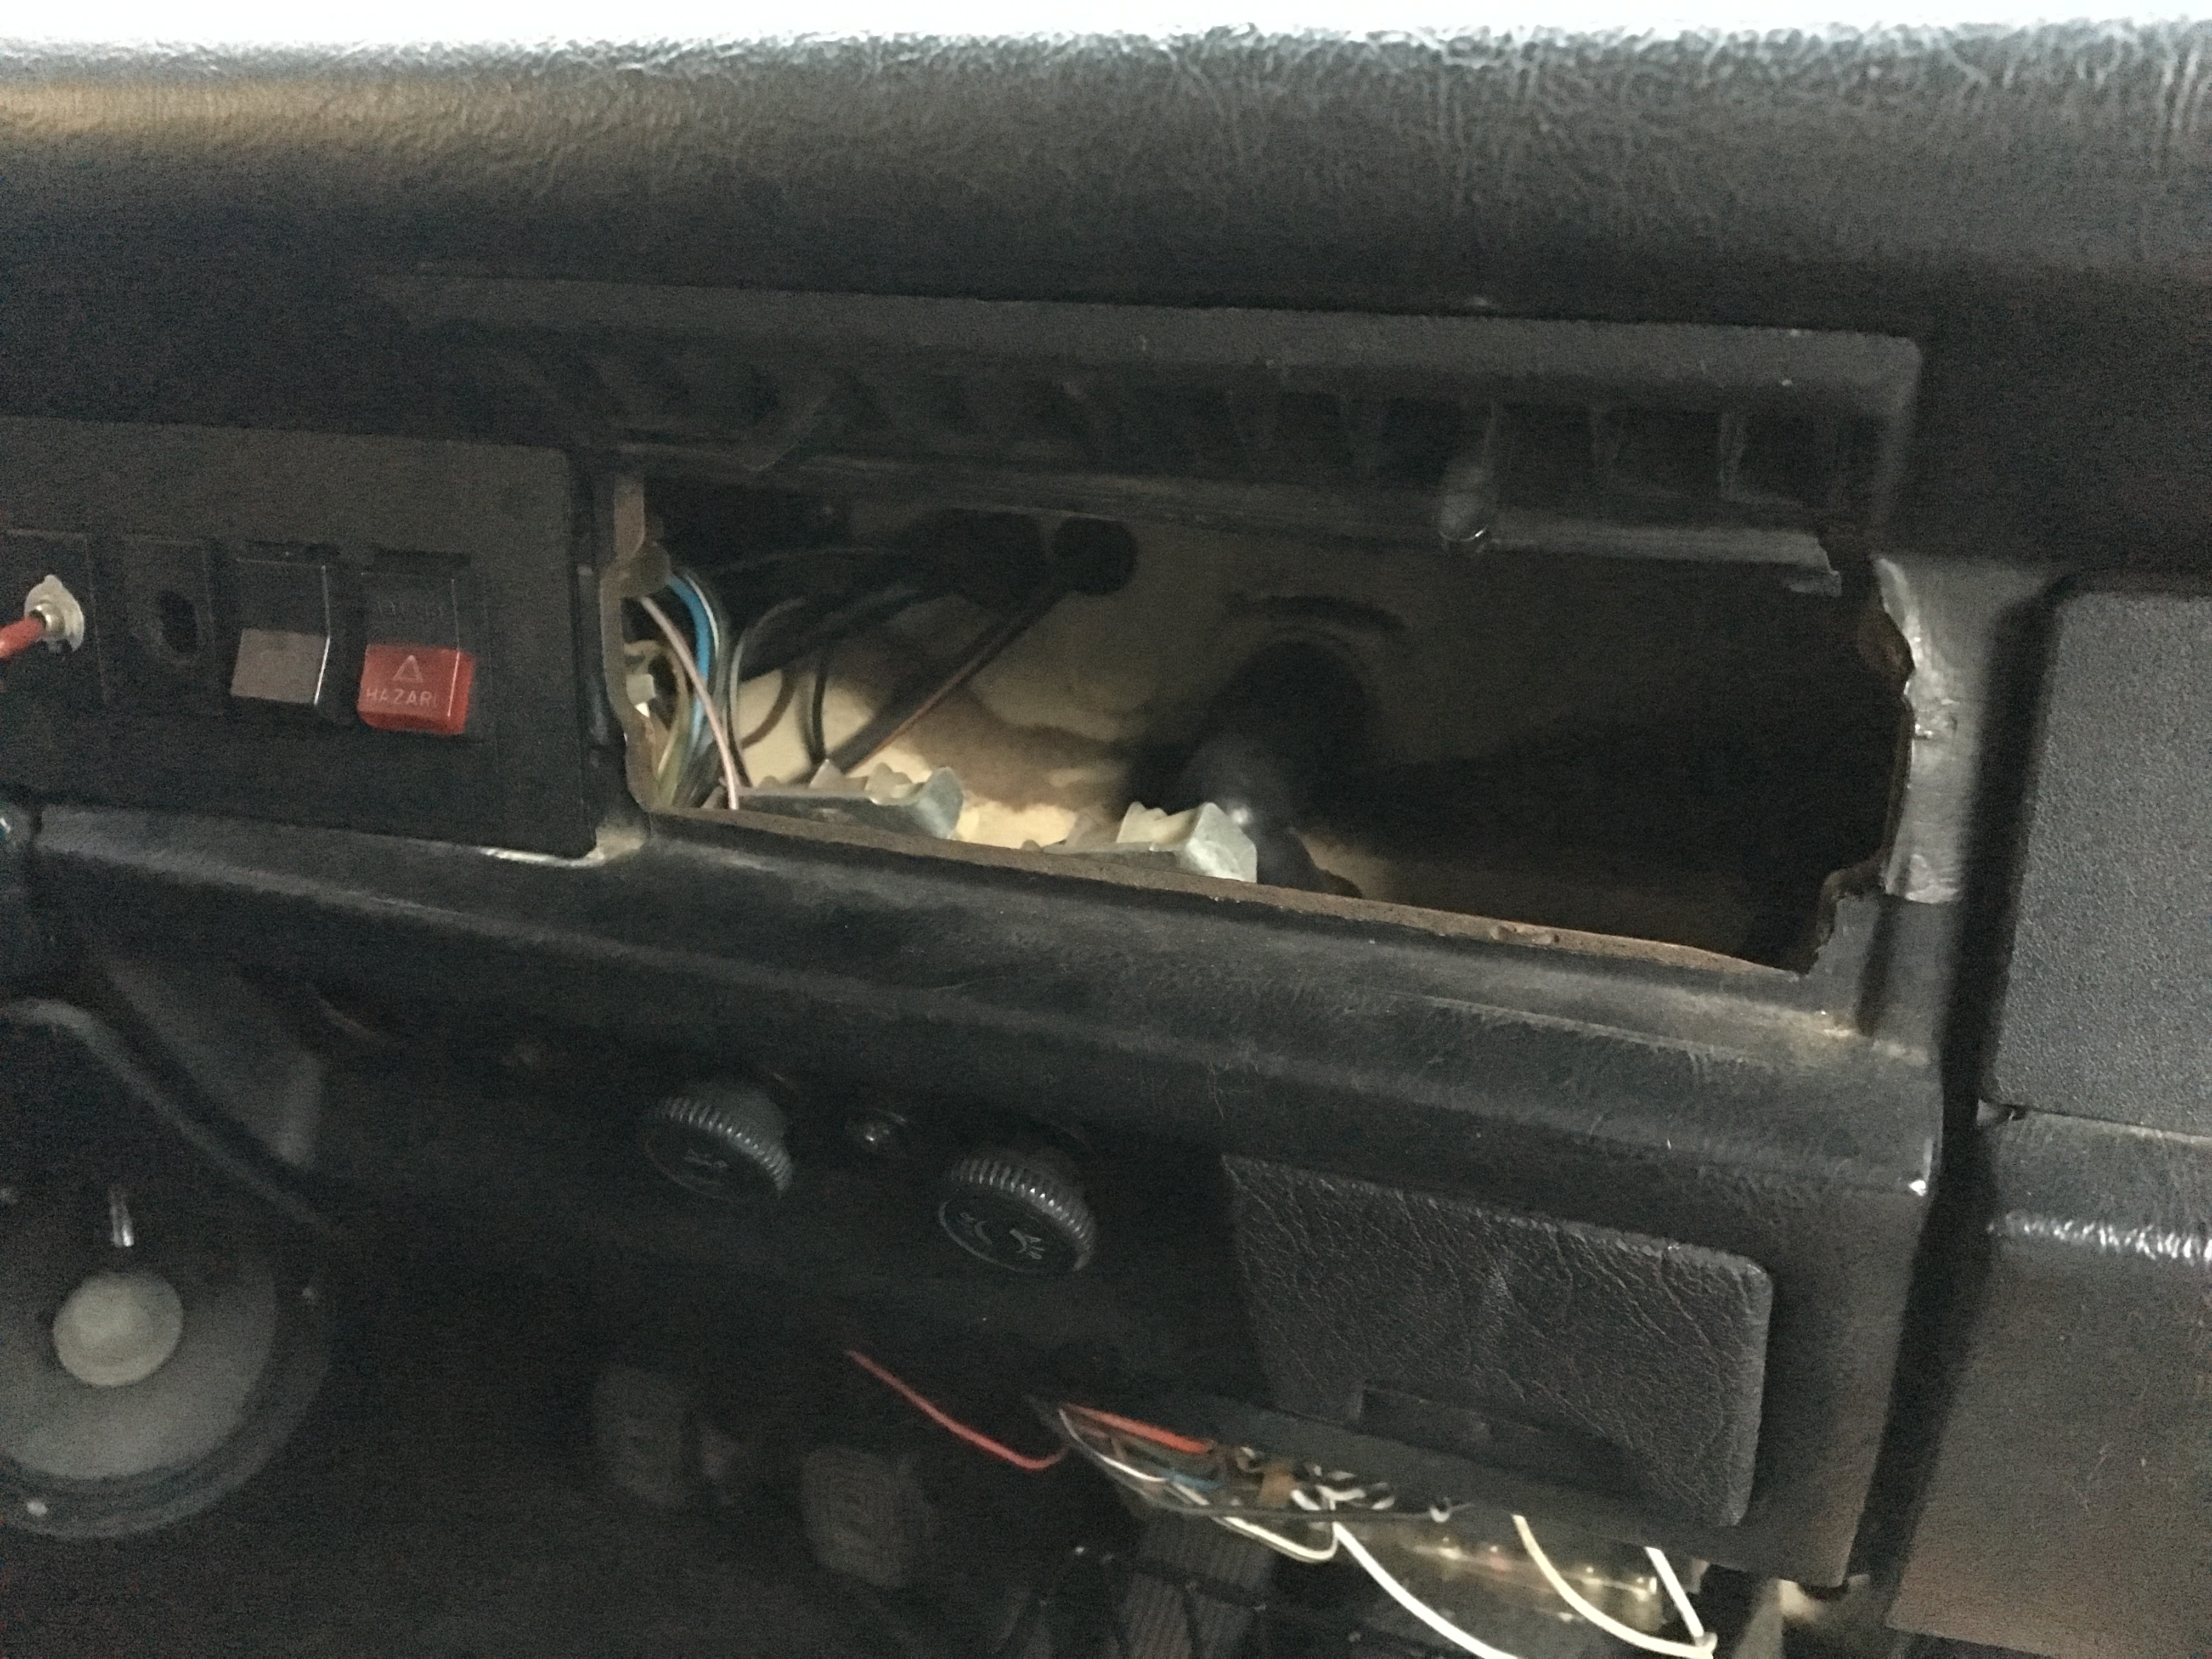
A previous owner had installed some gauges in a dash cover plate. The installation was very sloppy (the gauges aren't level with one another, and don't fit correctly in their mounting holes) and the gauges were nonfunctional when I purchased the car. There isn't enough space to fit three gauges in the same location, and I eventually want to find a replacement dash cover plate that is unadulterated to bring the car back to a stock dashboard look. I don't have the stock radio in my dash and I don't plan on having one anytime soon, so I thought the gauges would be a good way to cover up the gaping hole in the middle of my dashboard.
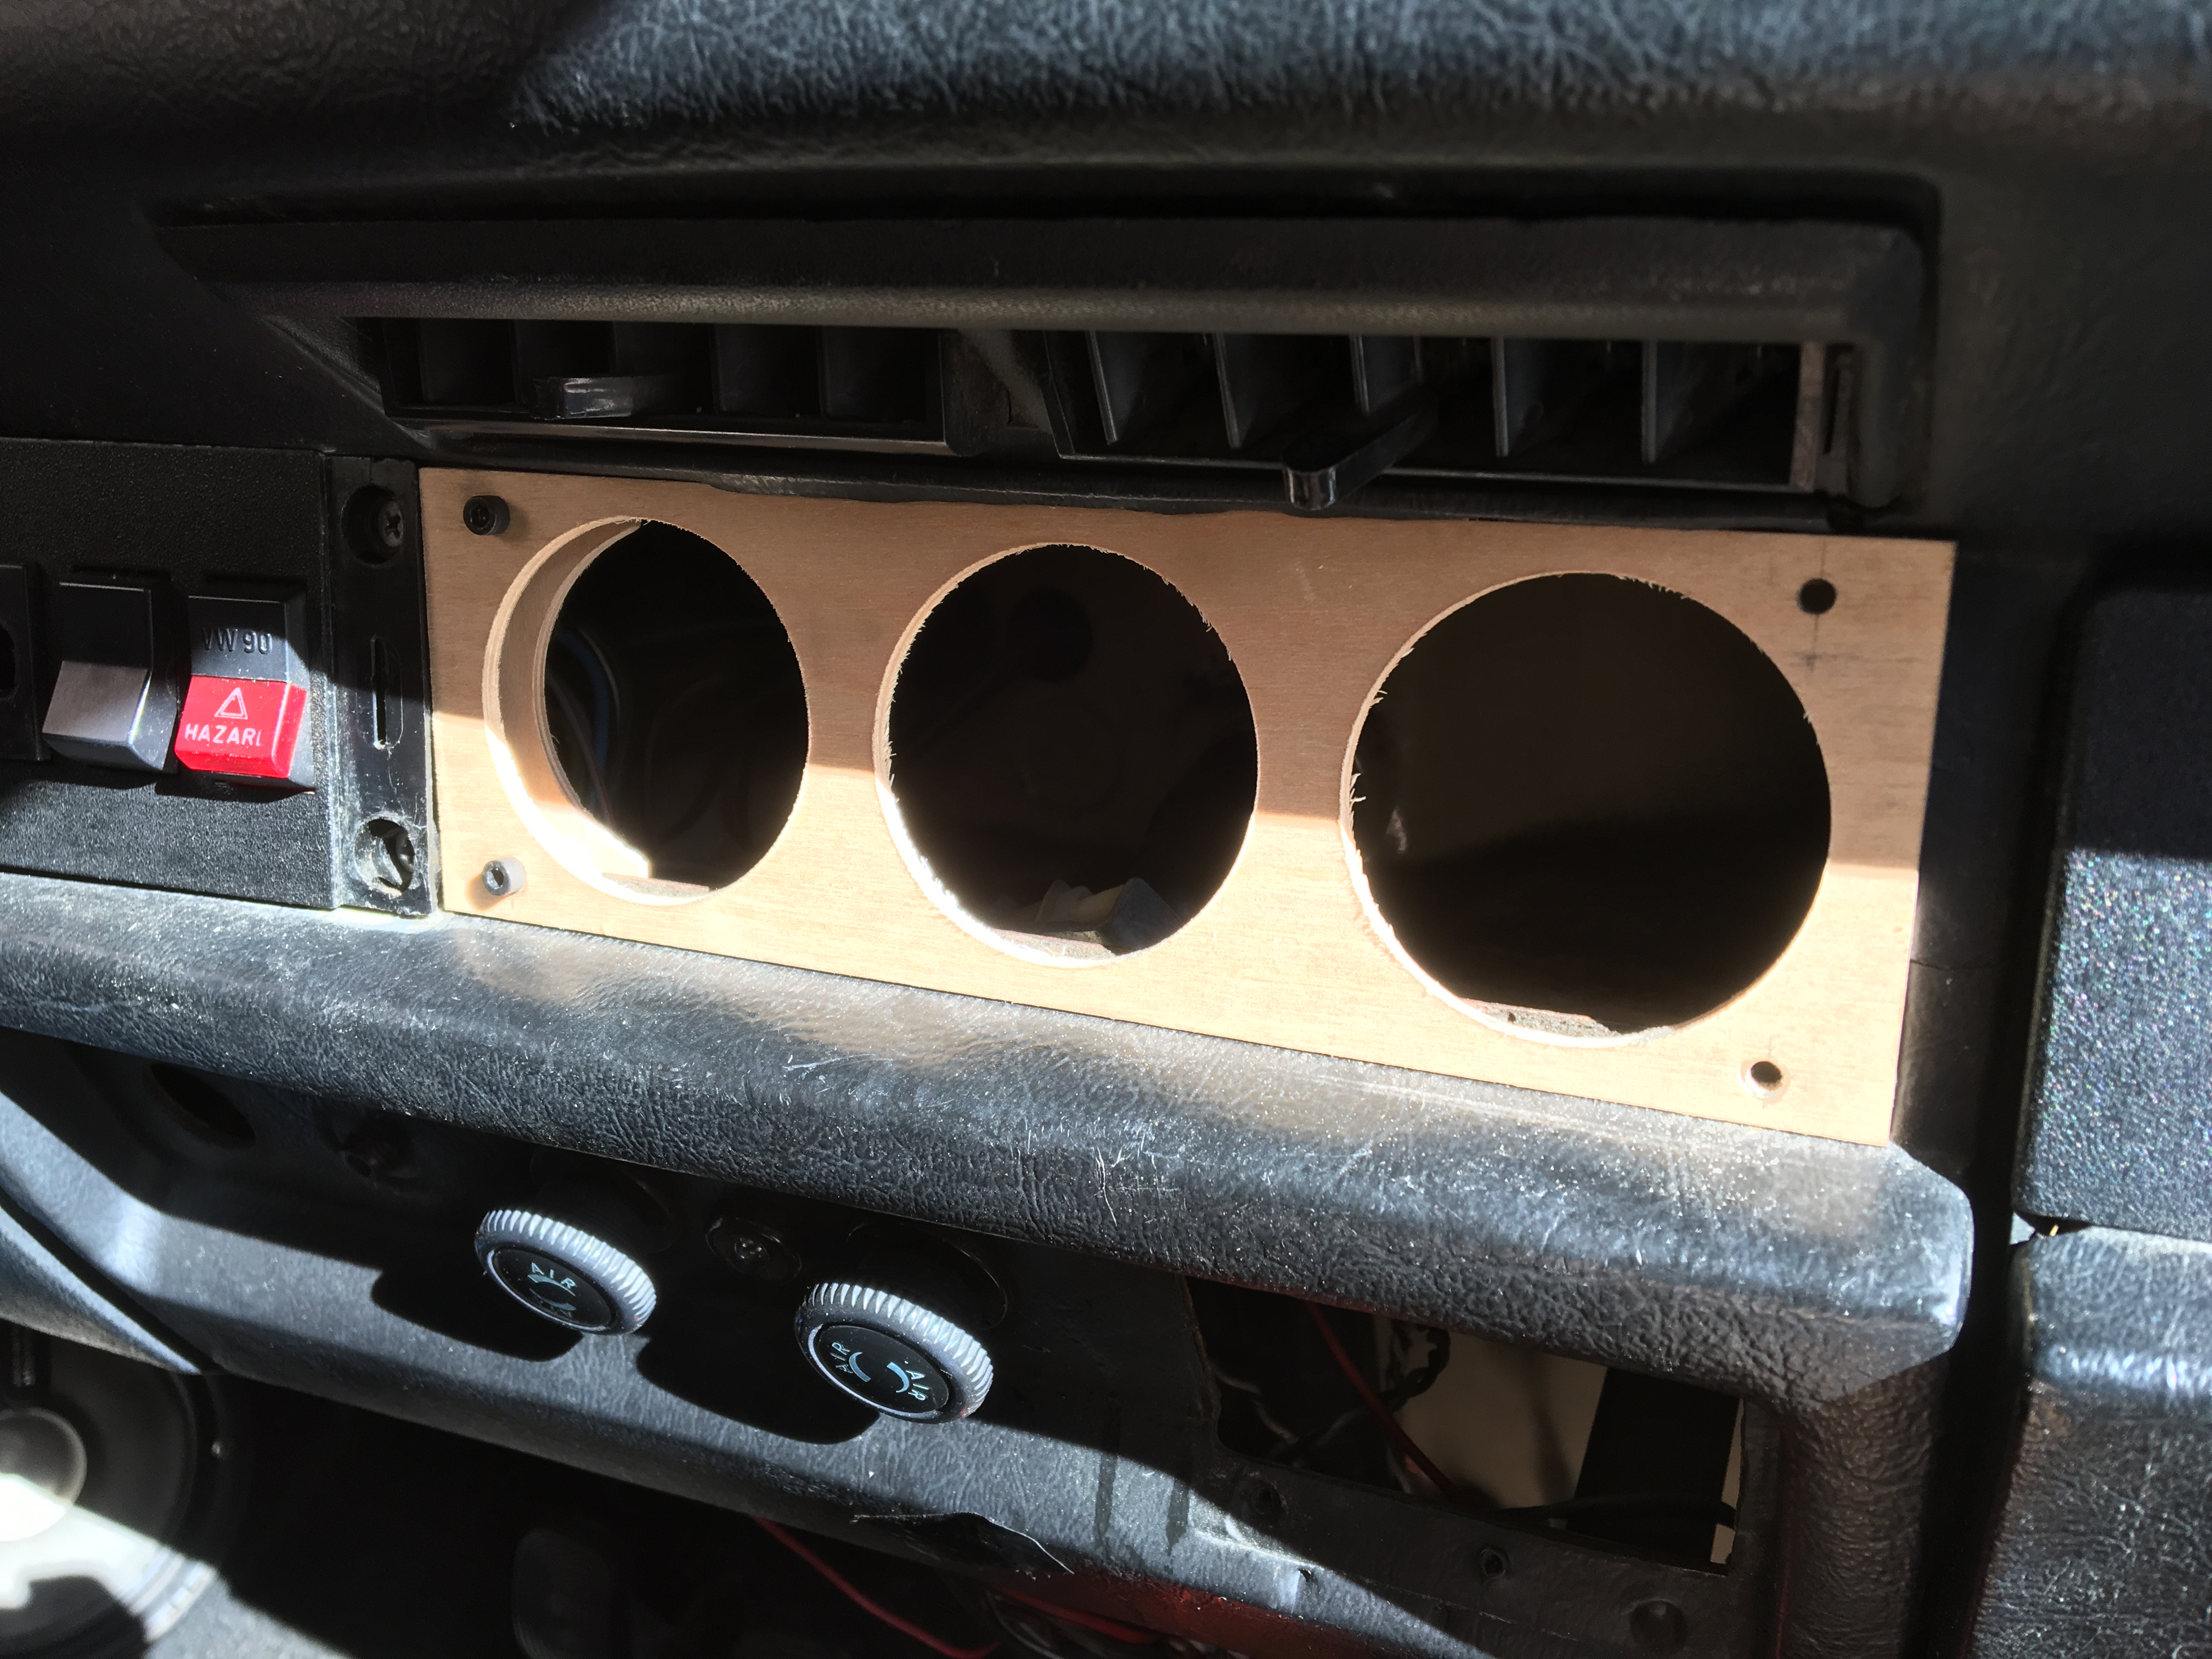
I had thought about laser cutting a custom piece of acrylic or something, but I really just wanted to get the project done. I had some thin plywood laying around so that's what I used. I measured the hole in the front and cut a rectangle out to size on the table saw. I used a hole saw to cut the holes in the front of the panel.
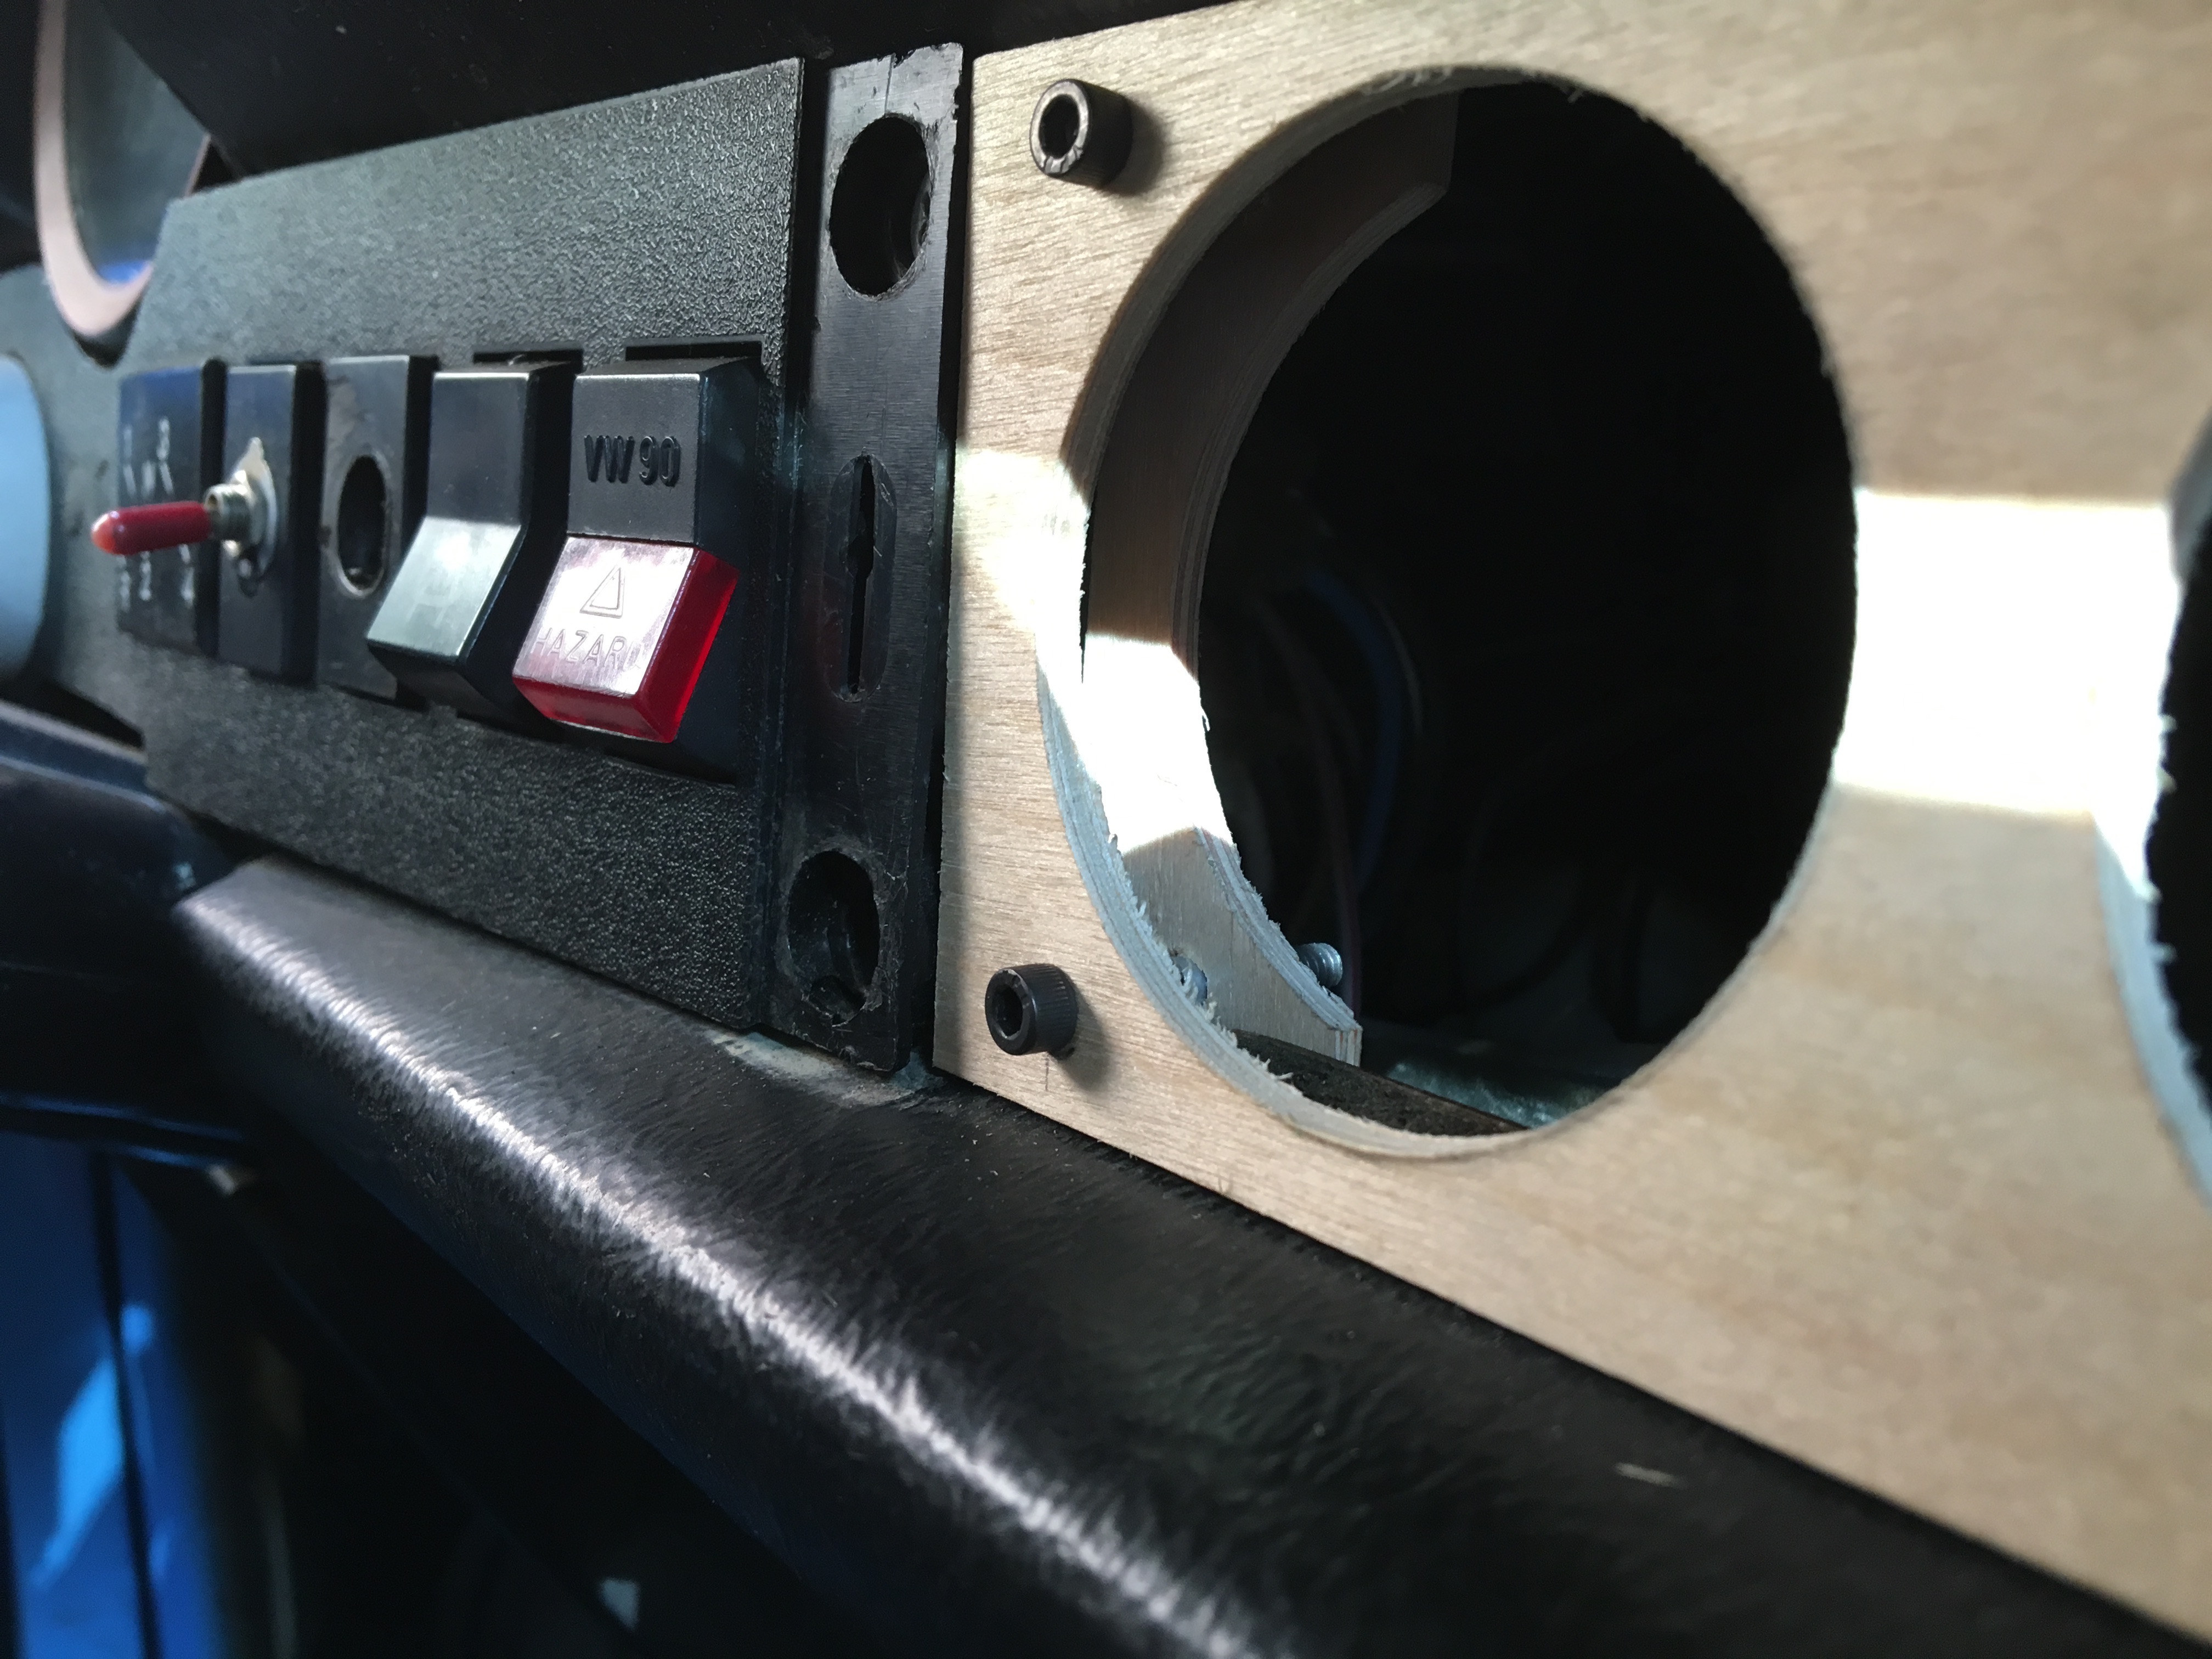
I used two pieces of wood on the other side of the flange in the dashboard to clamp the panel around the flange. I cut a hole the same diameter as the body of the gauge in a square piece of plywood and then cut the square in half. I mounted two press nuts into these two pieces.

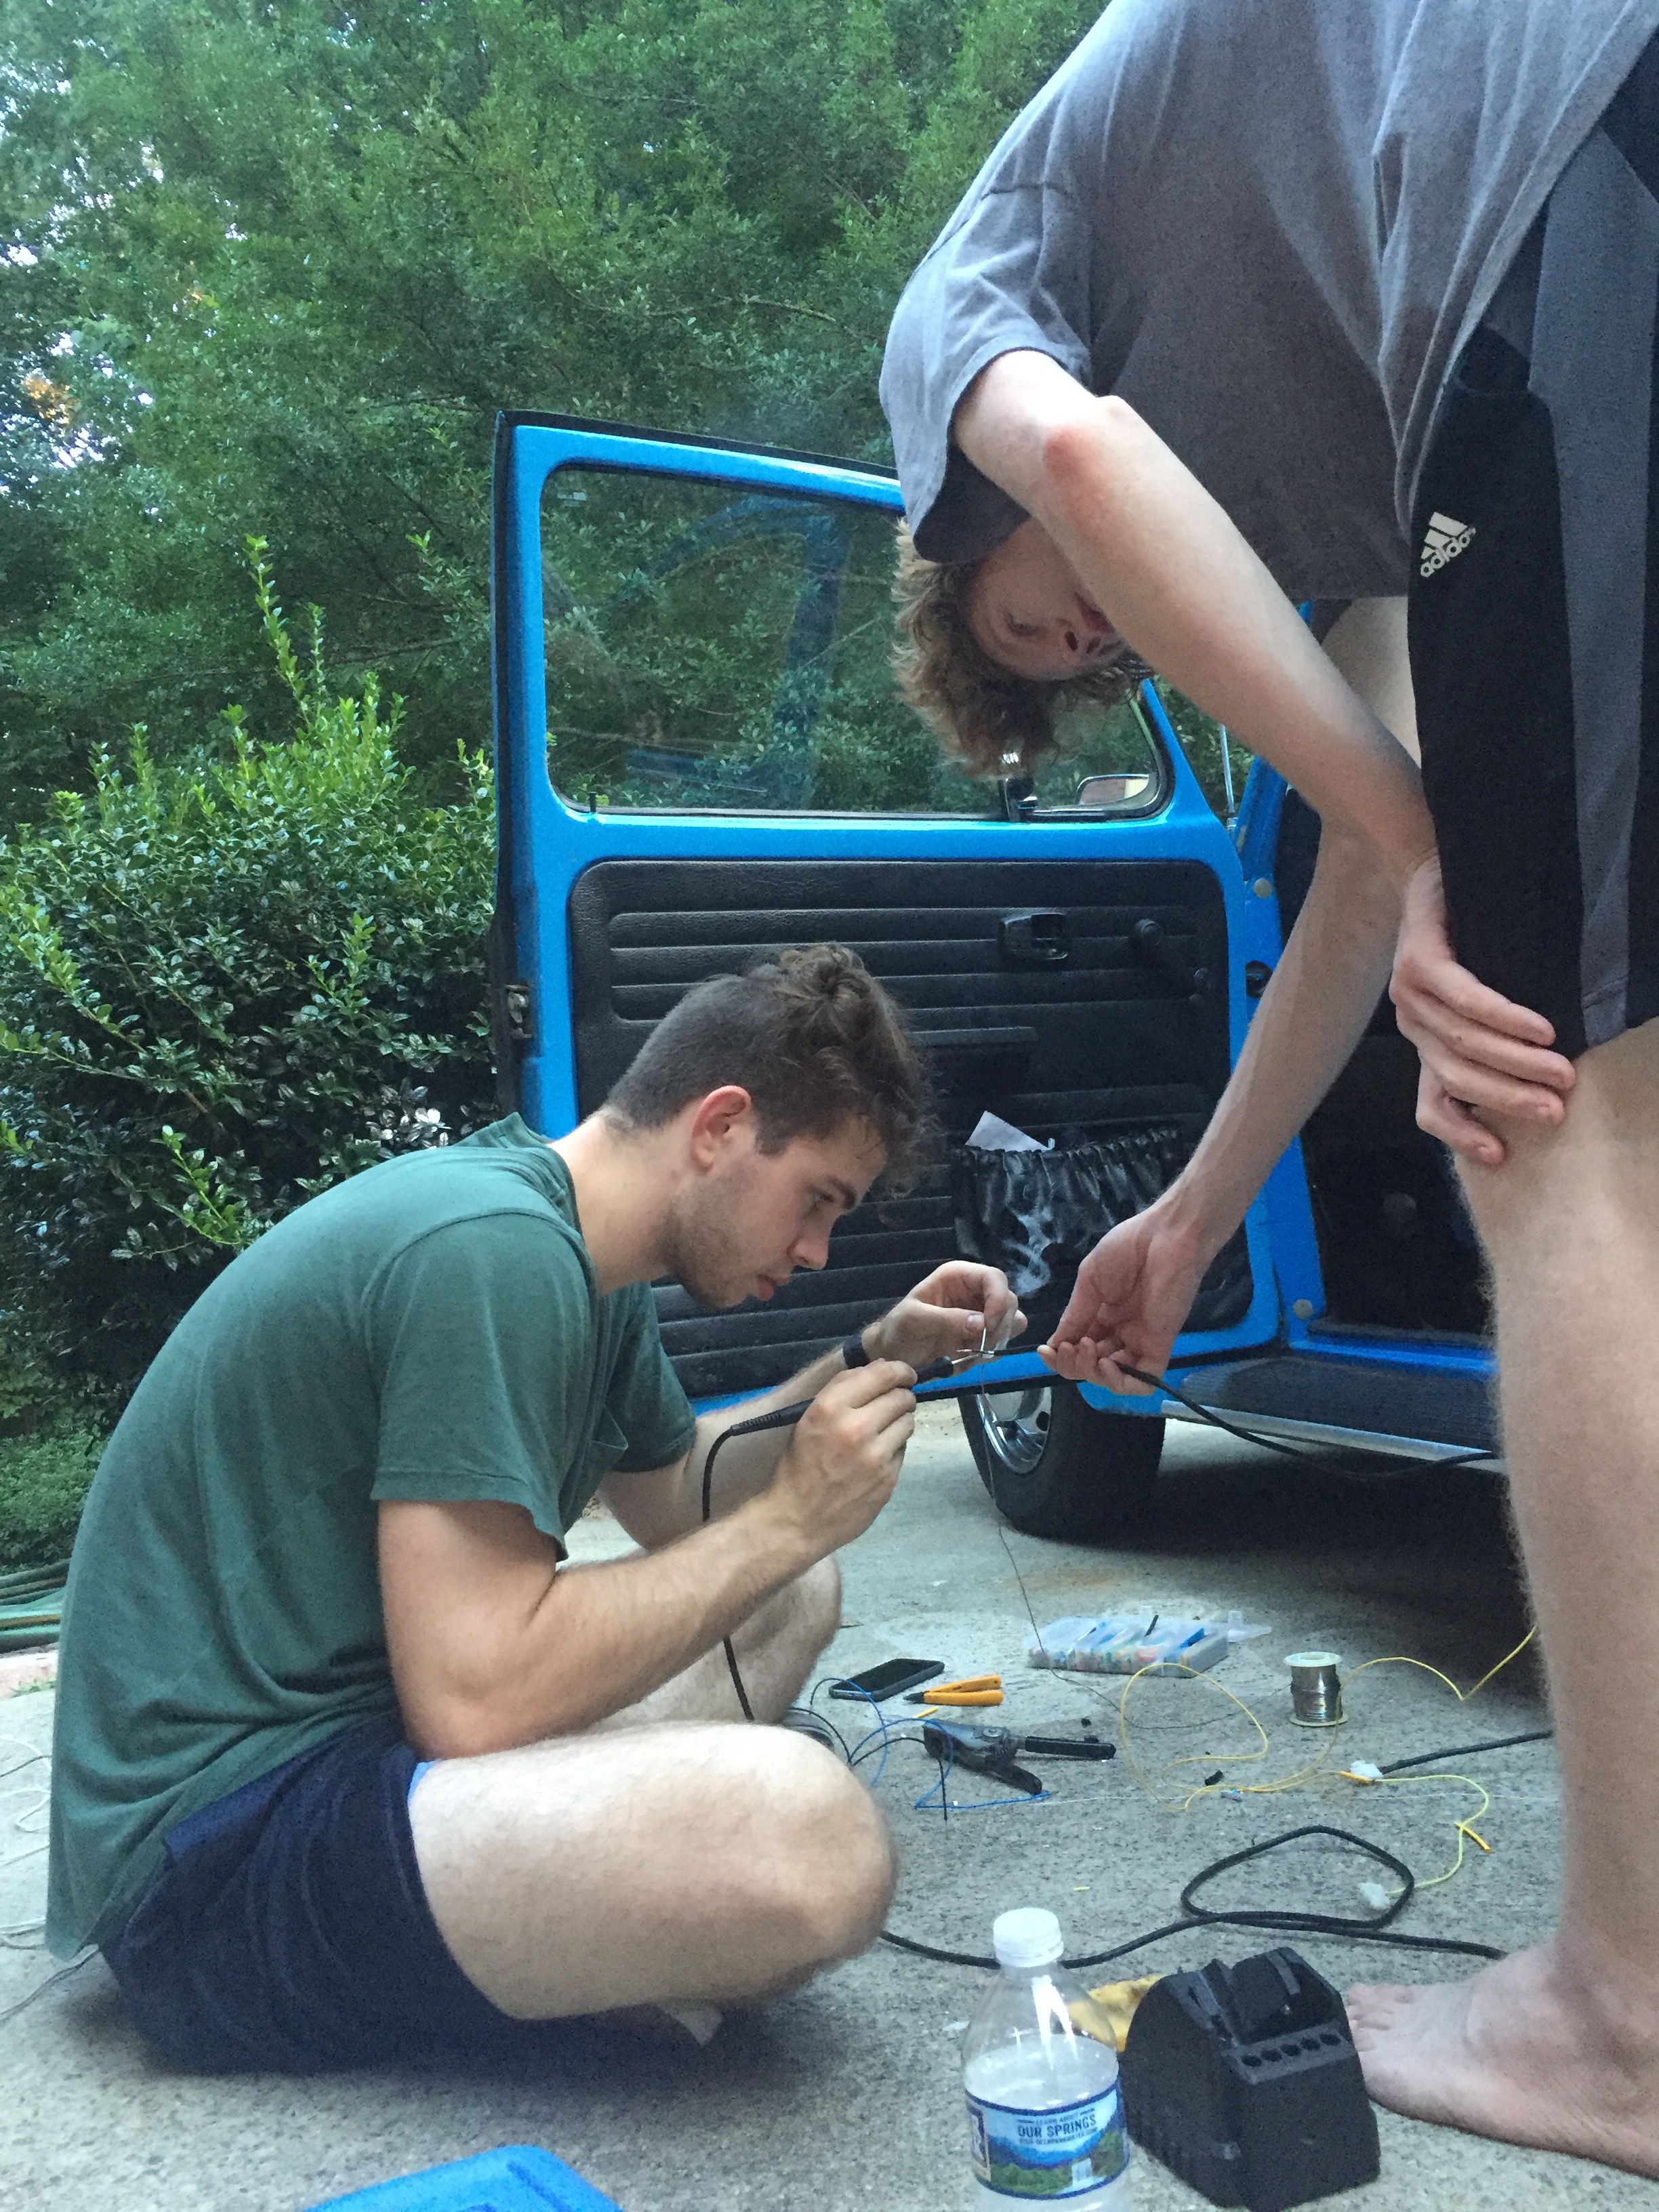
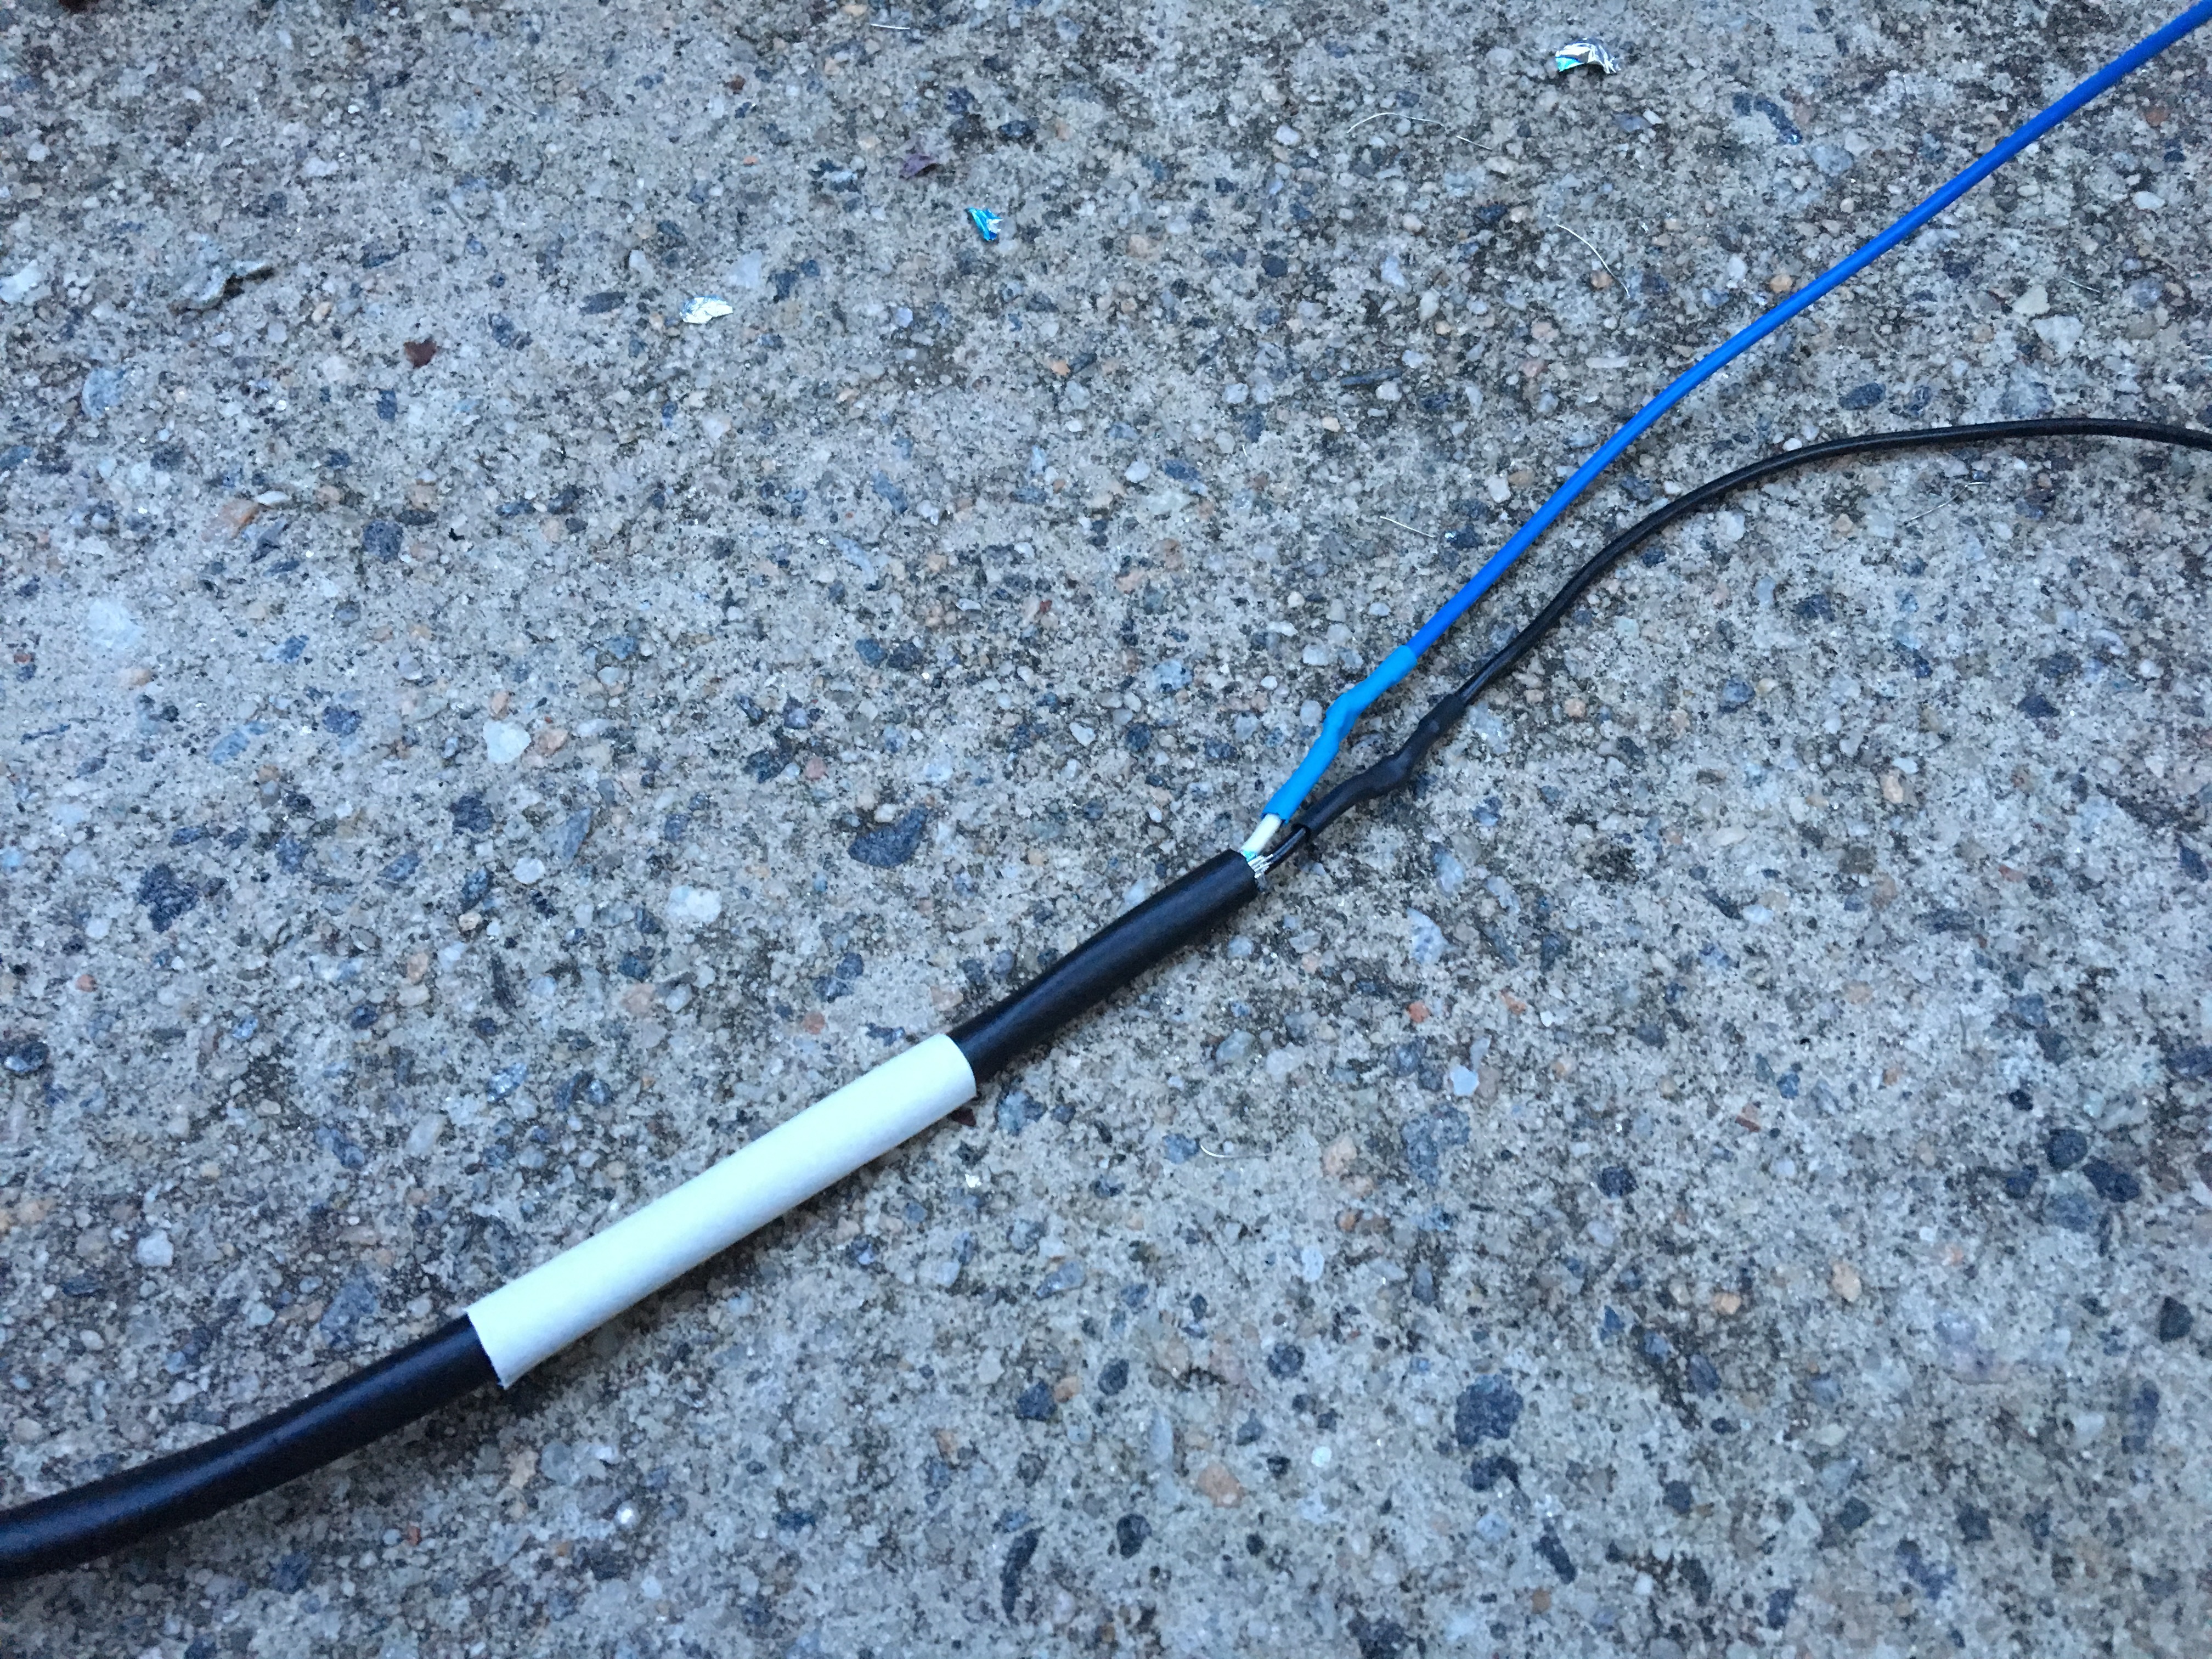
The wire runs that were included in the kit were intended for a front engine car, so the wires typically only have to reach through the firewall from the front of the car to the dashboard. Since the engine is in the back of my car, I had to splice quite a bit of wire into each bundle. I opted to solder the wires instead of using crimp connectors. I also added some heat shrink tubing to the junctions as well. Here's a boring photo. This ended up being quite a bit of work as each wire that needed length added to it had to be soldered twice (I needed to keep the correct connectors on both ends of the cable). My brother helped a lot with holding the wires.
After that was done, the gauges could be installed.
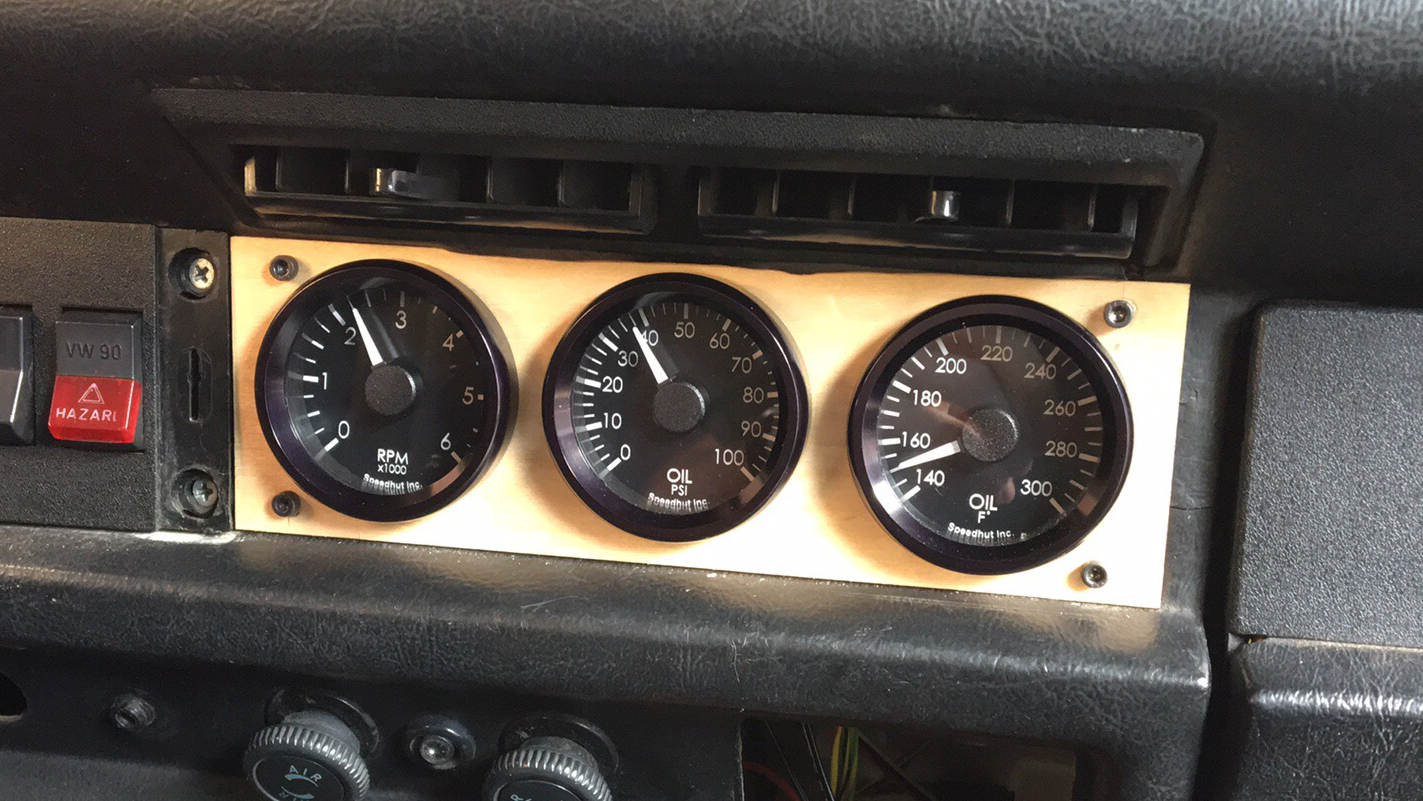
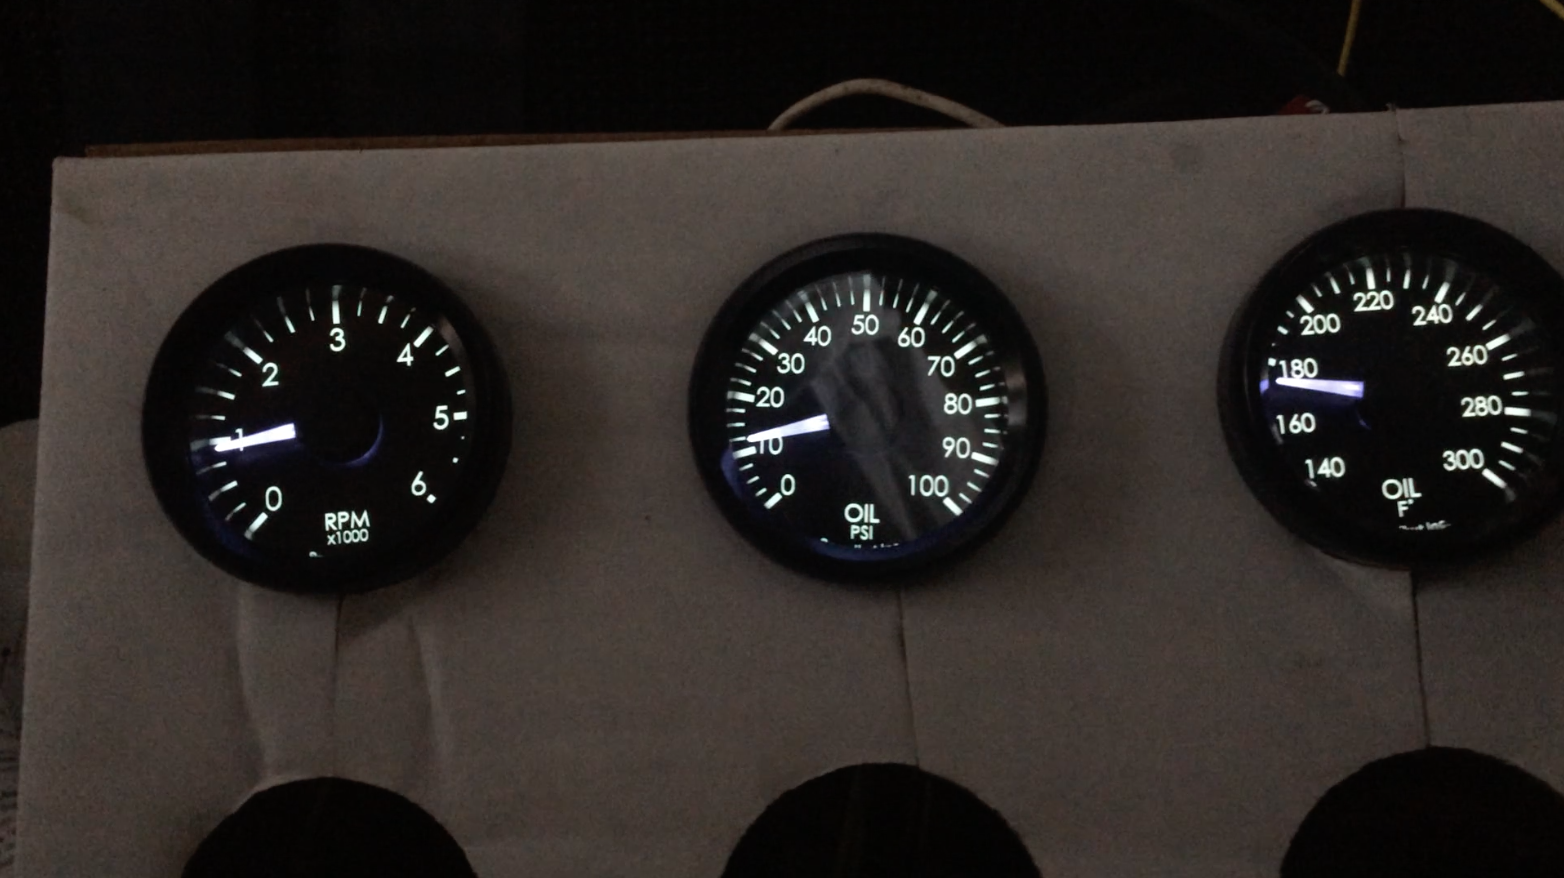
Here are the gauges in action.
Currently, the Speedhut lighting controller has a potentiometer that controls the brightness of the backlights of each gauge. I'd eventually like to wire that up to the car's dimming wheel, so that the stock brightness wheel controls speedometer and "map light" as well as the new gauges.
Overall, I'm super happy with how it looks. I think I might want to paint the panel black, but for now I'm kind of enjoying the wood grain. I probably should add washers under the bolts, but it was huge pain to get the bolts lined up correctly with the press nuts in the clamping pieces, so I'm not super inclined to go through the process again just to add some washers. -- If I were to do it again I'd probably drill an oversized hole in the rear and use a traditional nut instead of a press nut. Using the press nuts meant that the hole pattern in the front and rear pieces had to be almost exactly the same for both bolts to thread in correctly.