02/5/2017
prusa i3 mk2 assembly + first prints
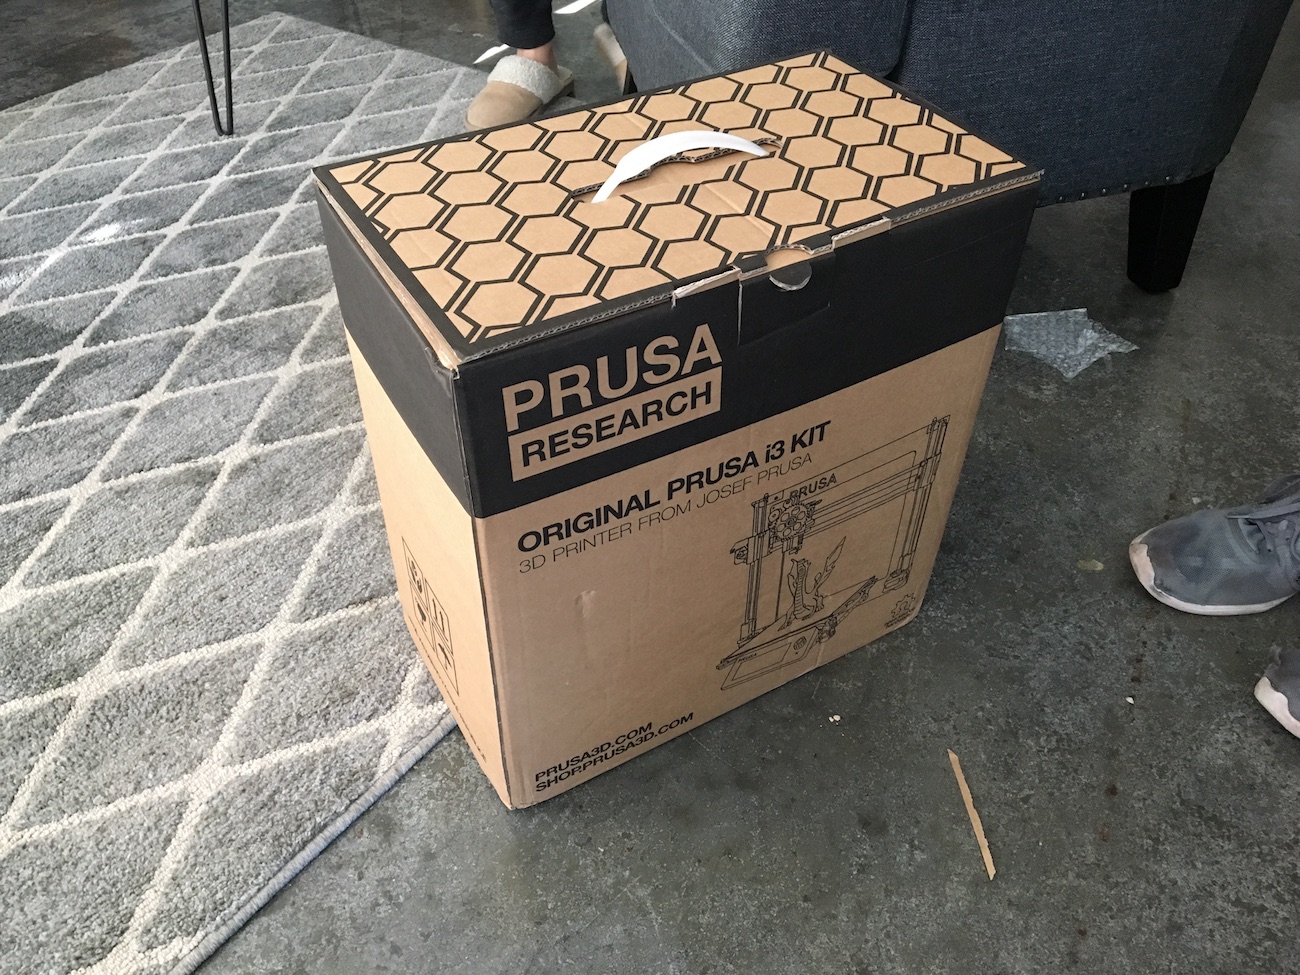
After a few months of waiting, my Prusa i3 mk2 finally turned up in the mail!
I deliberated a lot over which printer to order, and while there's really not a best choice, the Prusa i3 might be close. It's a hard balance between price, convenince, support and reliability. I wanted something that I didn't have to tinker with too much to get to print, since my main reason for wanting a 3D printer was not to have a 3D printing hobby, but to make things. -- I wouldn't want a drill that I had to re-assembly every time I wanted to drill a hole.
The kit is of incredibly good quality. Each step in the manaul has an individually labeled bag of printed parts and bag of hardware. The bags have an inventory on them to make sure you have everything needed. The inventory is even in 1:1 scale, to help identify different length bolts and different sized nuts. The instructions themselves were excellent. I only had some trouble in one or two places where I tried to get ahead of the manual.
There was only about ten hours between opening the box and taking my first print off the bed, including coffee and dinner breaks. You can see a timelapse of the build and first print in the video below, the latter half of which involves me watching Seinfeld. One of my best friends (and 3D printing veteran) Austin was with me for the first half of the build, which made it super fun.
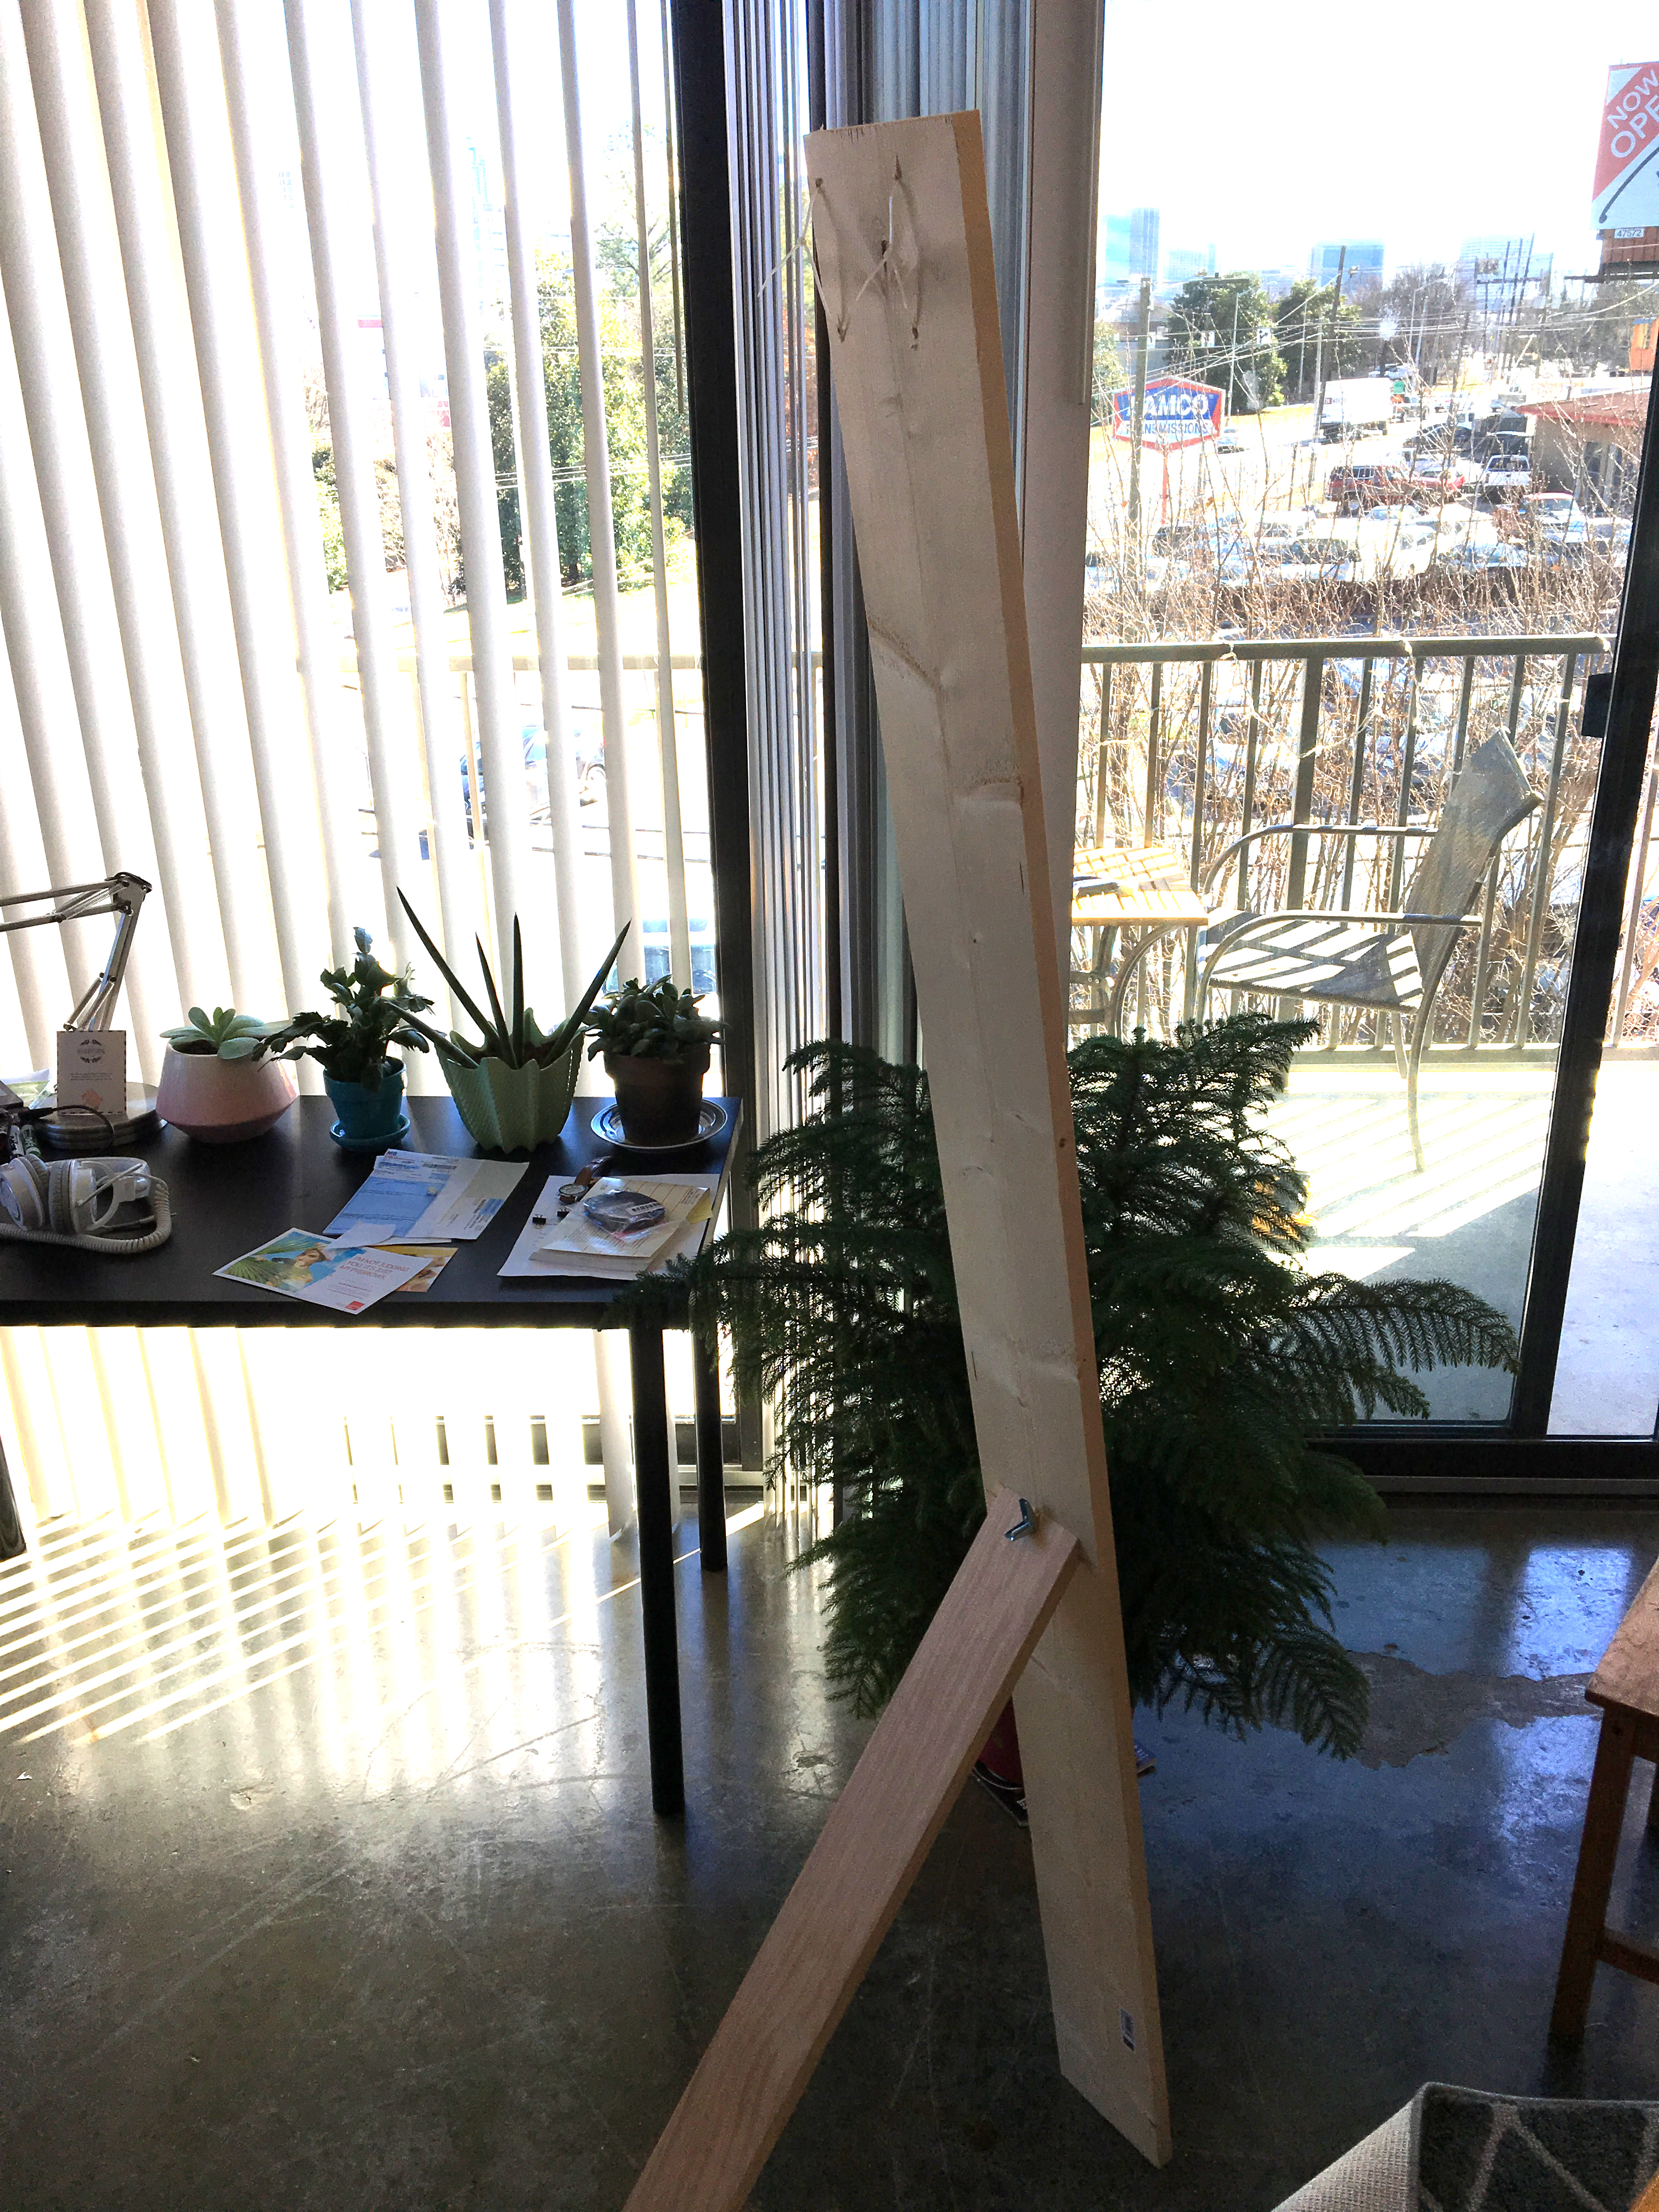
(I didn't have a tripod or anything to mount my iPhone on to take the timelapse, but I did have some spare 1x6 and 1x4, a toggle bolt (no wood screws at the time) and some zipties. So I created this makeshift bipod which worked a charm.)
The only issues I had during the construction was forgetting to embed a nut in the extruder assembly, which made me take the assembly almost completely apart to get the nut in the right place. I also had some issues routing all of the wires that come off of the extruder through their channels, but after some fanagling it was just fine. I also had a brief scare when turning the printer on for the first time: I couldn't get past the language selection screen. Turns out I kept hitting the "X" button on the front panel, which does a hardware reset on the driver board. It took a quick Google to realize that the rotary knob also has a button built in. At least I wasn't alone.
test prints
So the first print I did was the included Prusa logo badge, which helped me get through the process of adjusting the live-z value correctly. The printer has an inductive probe to measure any XY skew in the printer frame as well as any warping of the bed, but it needs a reference height to tell it exactly where it is above the bed. The process of setting this for the first time was a bit nerve-racking as the hotend looks as it's going to plunge directly into the bed while doing a Z traverse. Here's a video from Prusa themselves explaining the concept behind their calibration method.
![]()
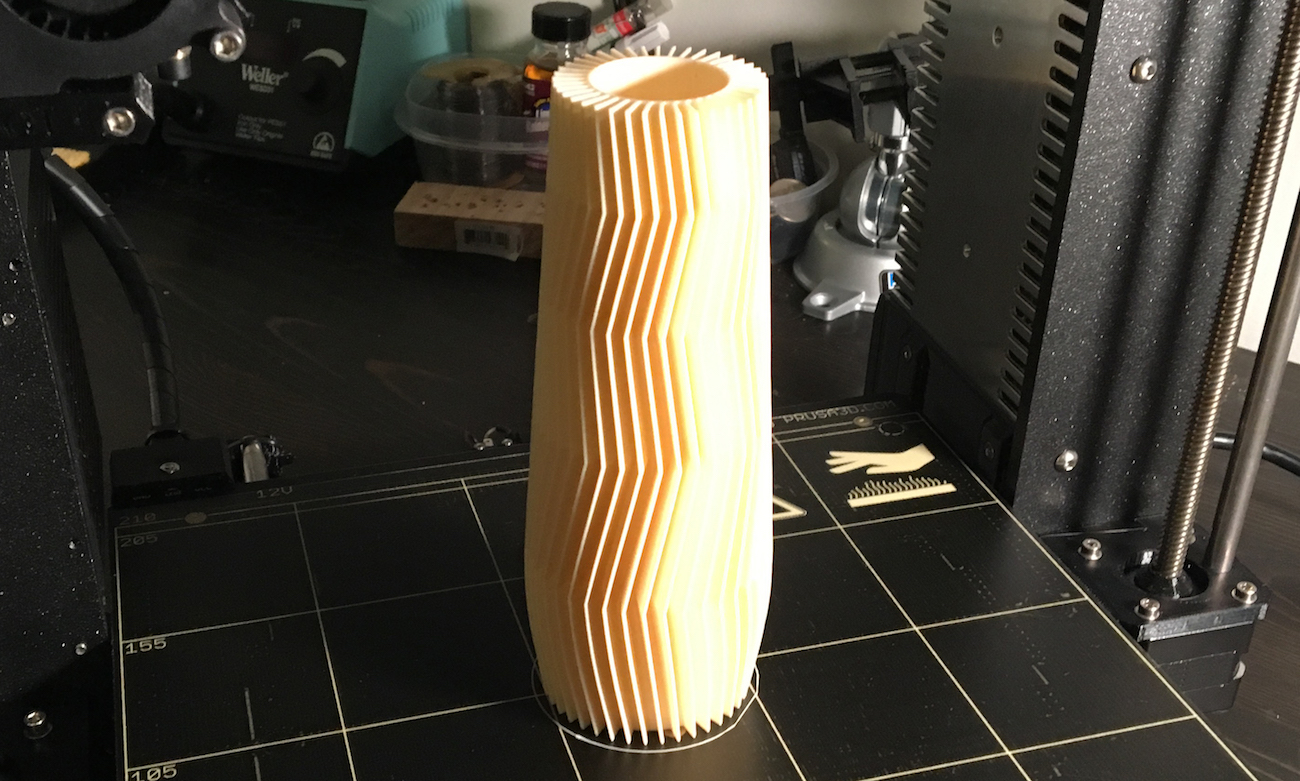
I also printed the whistle that was included, which was my first time watching the printer pull off a bridge, very exciting. The last thing I printed before trying one of my own models was this vase, which blew me away. It took about seven or eight hours of print time, which it handled no problem. There was very little banding on the print, which I was really excited about.
designing + slicing + printing
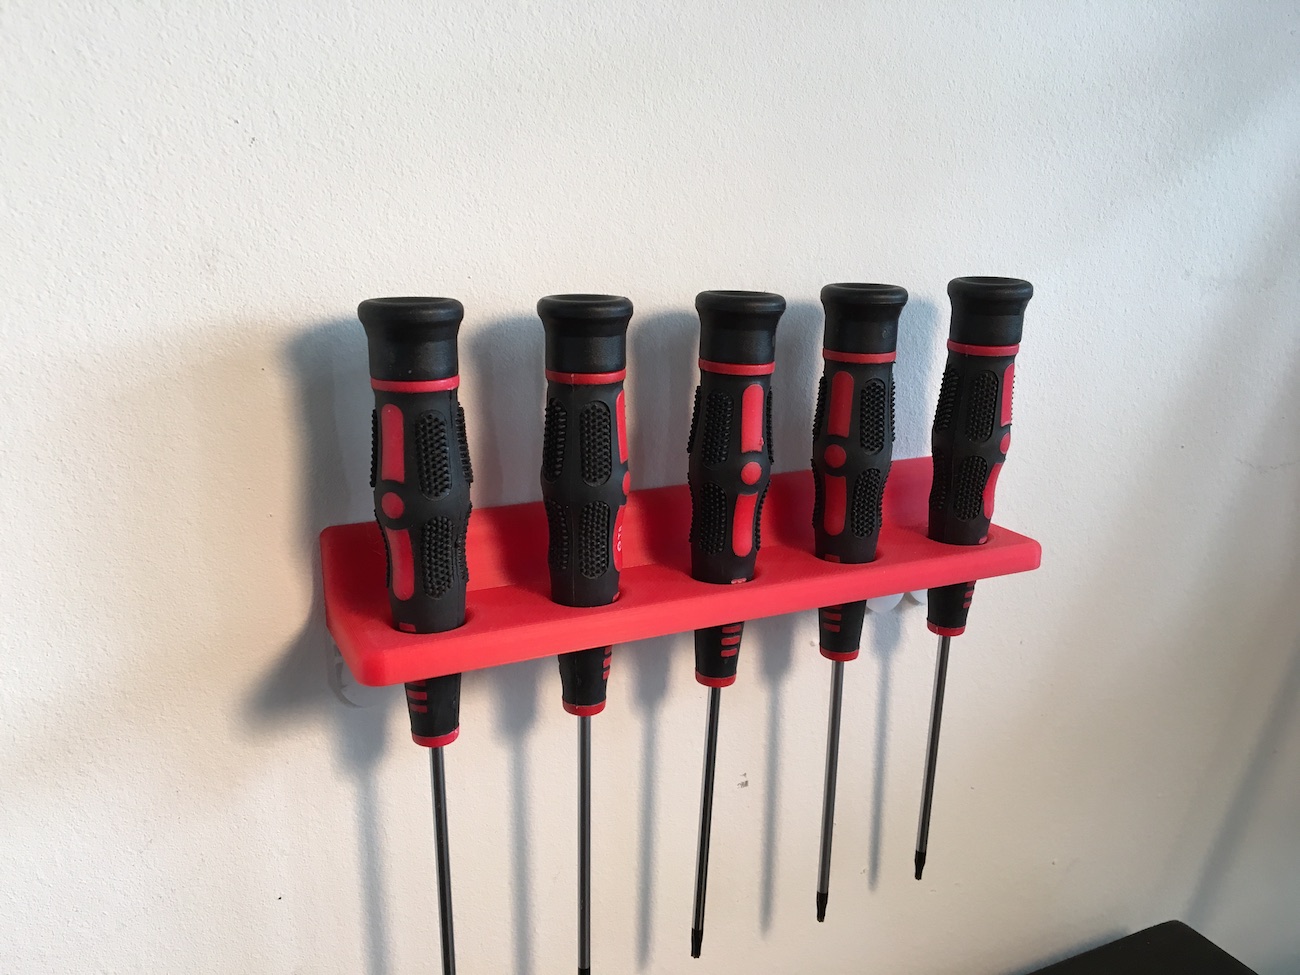
I wanted to print something of my own, but didn't have anything ready. I looked around and thought my torx drivers could deserve not being on my desk anymore, so I modeled up this little holder in Solidworks. I'd already used Slic3r a bit, so I loaded in the Prusa provided material and slicing presets and I was off. Very, very easy. Seeing something on your computer screen and then holding it in your hands just a few hours later might never get old.
I also played a bit with modifying meshes in Fusion360 (something I've used very little of before) to remove the "JP" initials from the whistle model that shipped with the printer (sorry Josef). I printed two more whistles at 150% and 50% size, which was very fun. The small one took less that ten minutes to print.

I don't have much more to report, other than I'm extremely happy with my purchase and I can't wait to print more stuff.